Category Archives: Instrument

Making a Mountain Dulcimer from a Kit

I built this dulcimer from a kit from Folkcraft Instuments. I would recommend it to people interested in such things, It required minimal tools and not too much woodworking (although you can bring what skill and equipment you might have to bear on making the head and sound holes fancier) and I ended up with a decent instrument. Once again, as I was working from a kit I won’t cover the details of the building process, so I will just leave you with the pictures. 

Renovating an old rebec (part 2 – the thrilling conclusion)

So, I finally got back to this one…

I think part 1 contains enough preamble (and you should probably read that part if you haven’t already) so lets just get right into it.

Clean up

To start with I needed to remove the old sound board and then clean up the whole instrument, removing all the old finish to make it ready to start putting back together.I used a thin knife and a chisel to remove the old sound board. I had hoped to be able to remove it in one piece but it did end up breaking.  Additionally a small chip broke away from the body with the soundboard so I had to glue that back in. At the same time I also glued up the long crack that was in the body. Once these glue jobs were dry I set about sanding the whole surface of the body to remove the old finish. It would not be possible to remove all the finish on the carved head without removing detail, so I sanded on the high points and left the finish in the troughs and I figured it would end up adding deeper shadows when I applied the new finish anyway.

The Bow

I had two rebec bows without their horsehair, which I could use to work out how the hair had been attached, and then go on to repair one to use. Additionally one of the bows had split near the end so I started by gluing that together.


I worked out that the horsehair was held in the bow in a slot with a small piece of wood pressed in after to hold it in place. The other end of the bow had a groove with two hooks. I guessed that this was supposed to hook some expansion on the end of the horsehair.


I prepared the horse hair following instructions I found online: wrapping the hair with thread and then applying a drop of superglue to turn the tread wrapping rock solid. It took a bit of experimenting to find the correct place to put the second thread wrap to give the bow the correct tension when strung.


   The bridge 

I started by tracing out the shape of a bridge for second rebec onto some of the spare wood for the sound board. I sawed out the rough shape and then sawed at intervals into the space between the feet and cleared it out with a chisel. From there it was a matter of cleaning up the shape with needle files and sandpaper.

  Small fittings

I needed to make a few additional pieces: the saddle, end button and top nut.  For these parts I used a few ebony scraps I got from a local violin maker. I started by sawing a large block in two to make the saddle and top nut, from there this was all file work to get them into shape and then clean up with sandpaper to get them to a nice finish.


Finishing

Finally it comes to glue up and applying a finish. I just used standard wood glue on all the parts, there are fancier glues people use for violins but this seemed to work fine for me. After glue up I then went over everything again with progressively finer grades of sand paper to clean it up.  For the finish I used Tru Oil, which is a gun stock finish which is also often used on musical instruments. I applied layers of that until I was satisfied with how it looked.

Out of a desire to get this finished before I went away from home again, I ended up deciding to just buy a new set of tuning pegs. So from here it was just a matter of stringing and tuning it and I was done! Hopefully I can update this at some point with someone who knows how to play violin having a go with it!

Renovating An Old Rebec (Part 1)


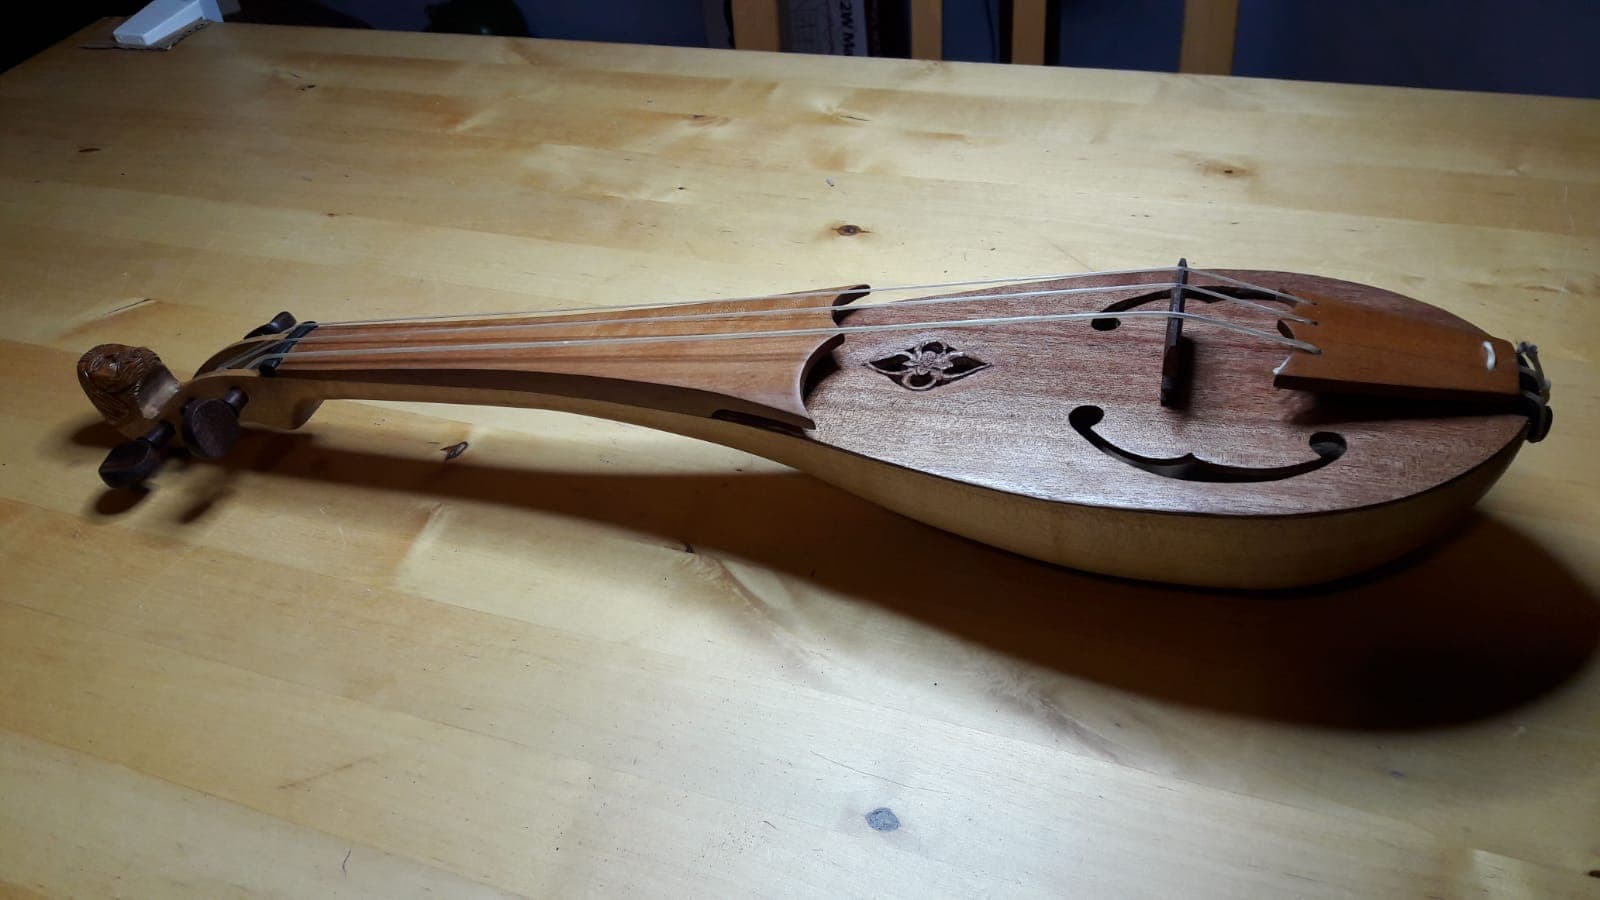
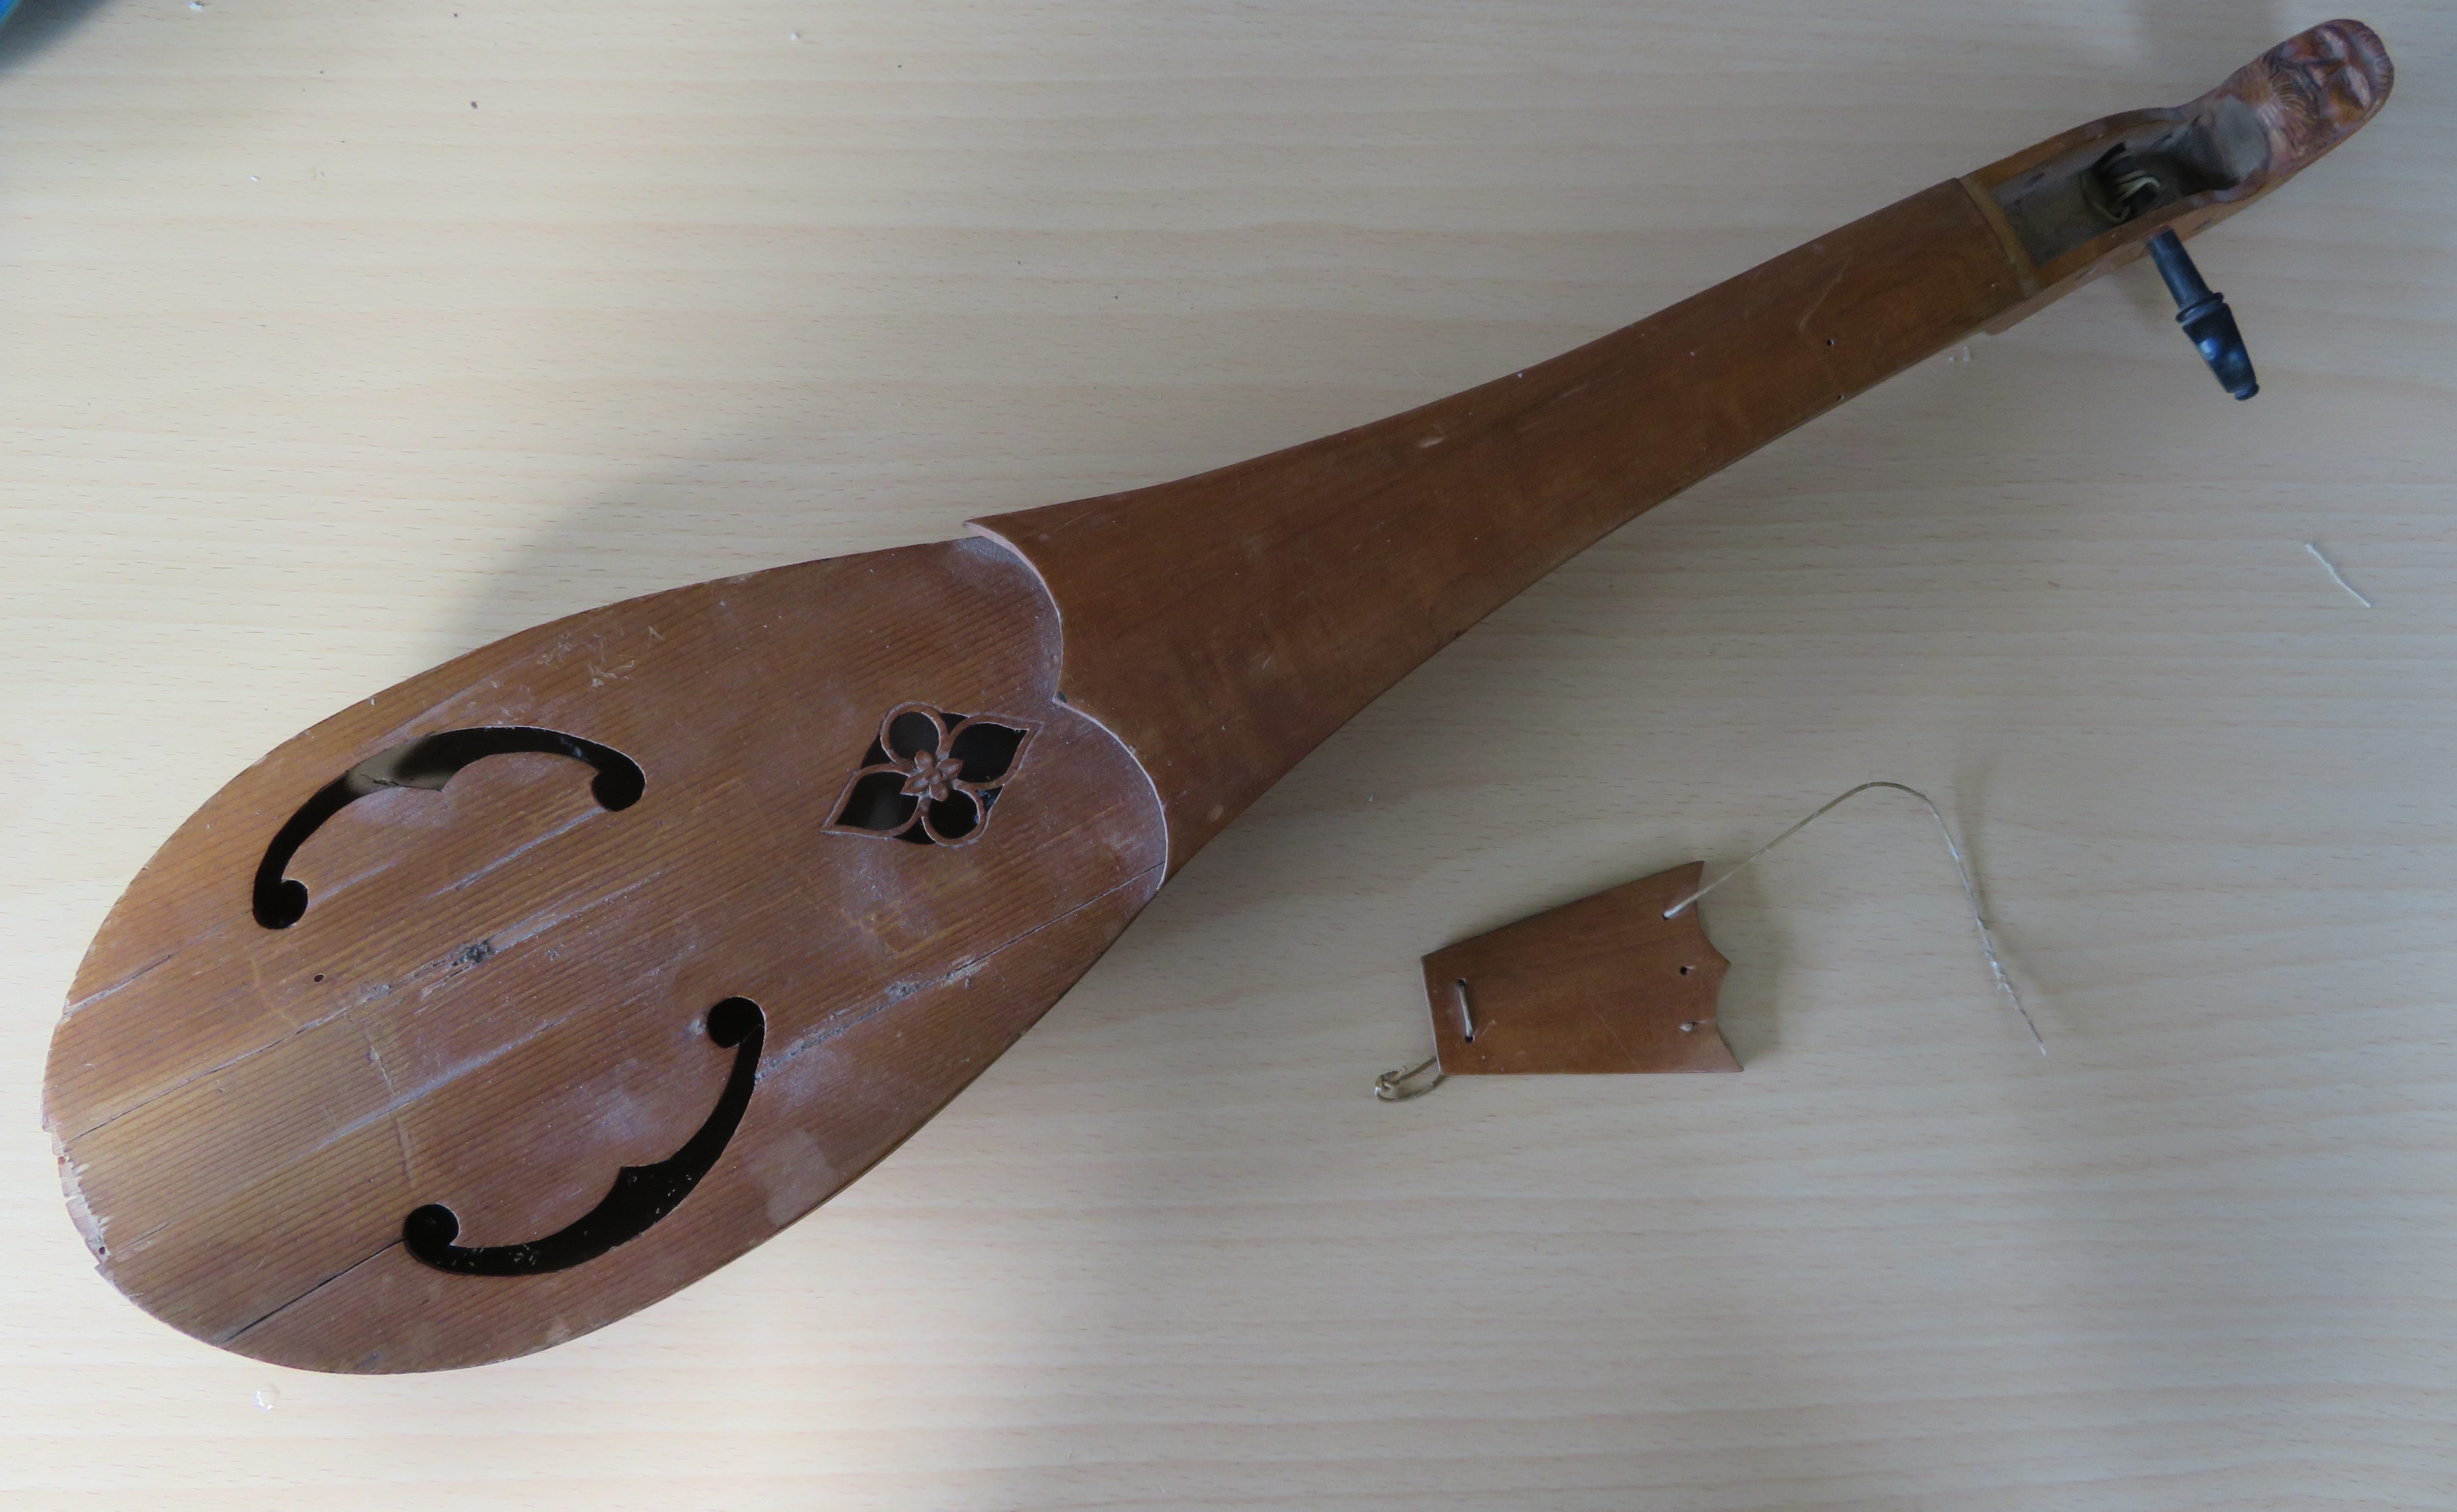
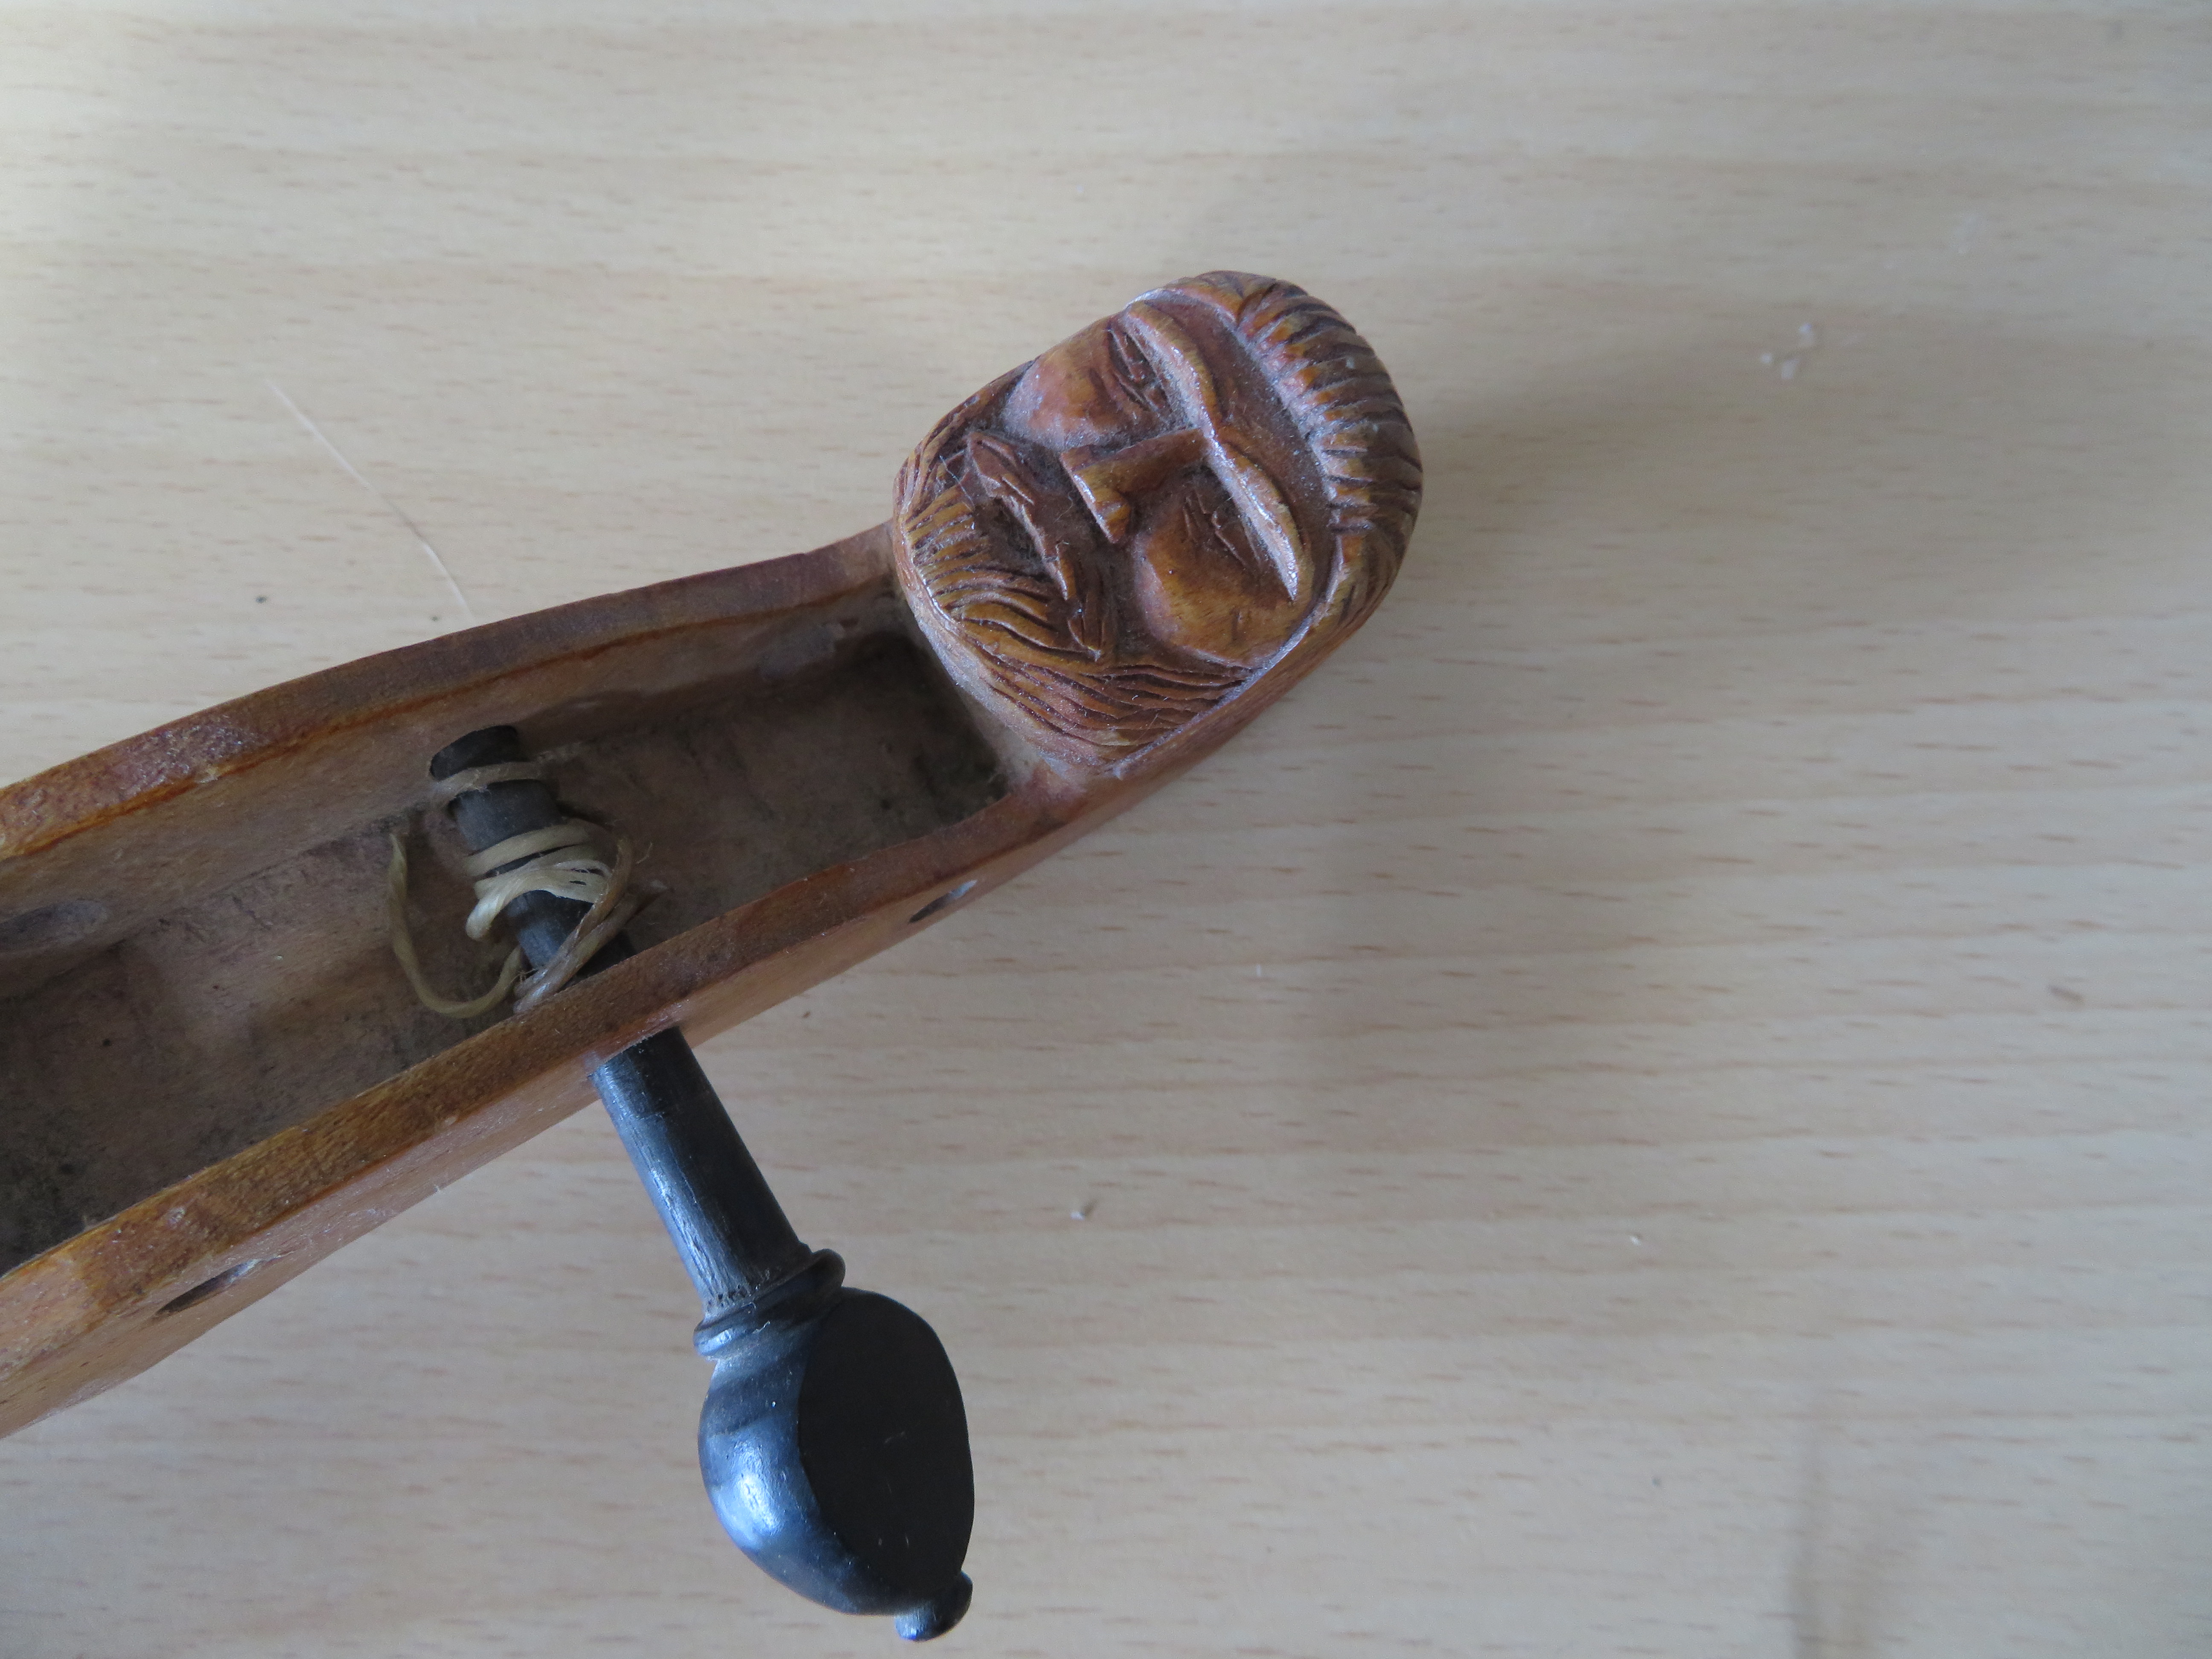
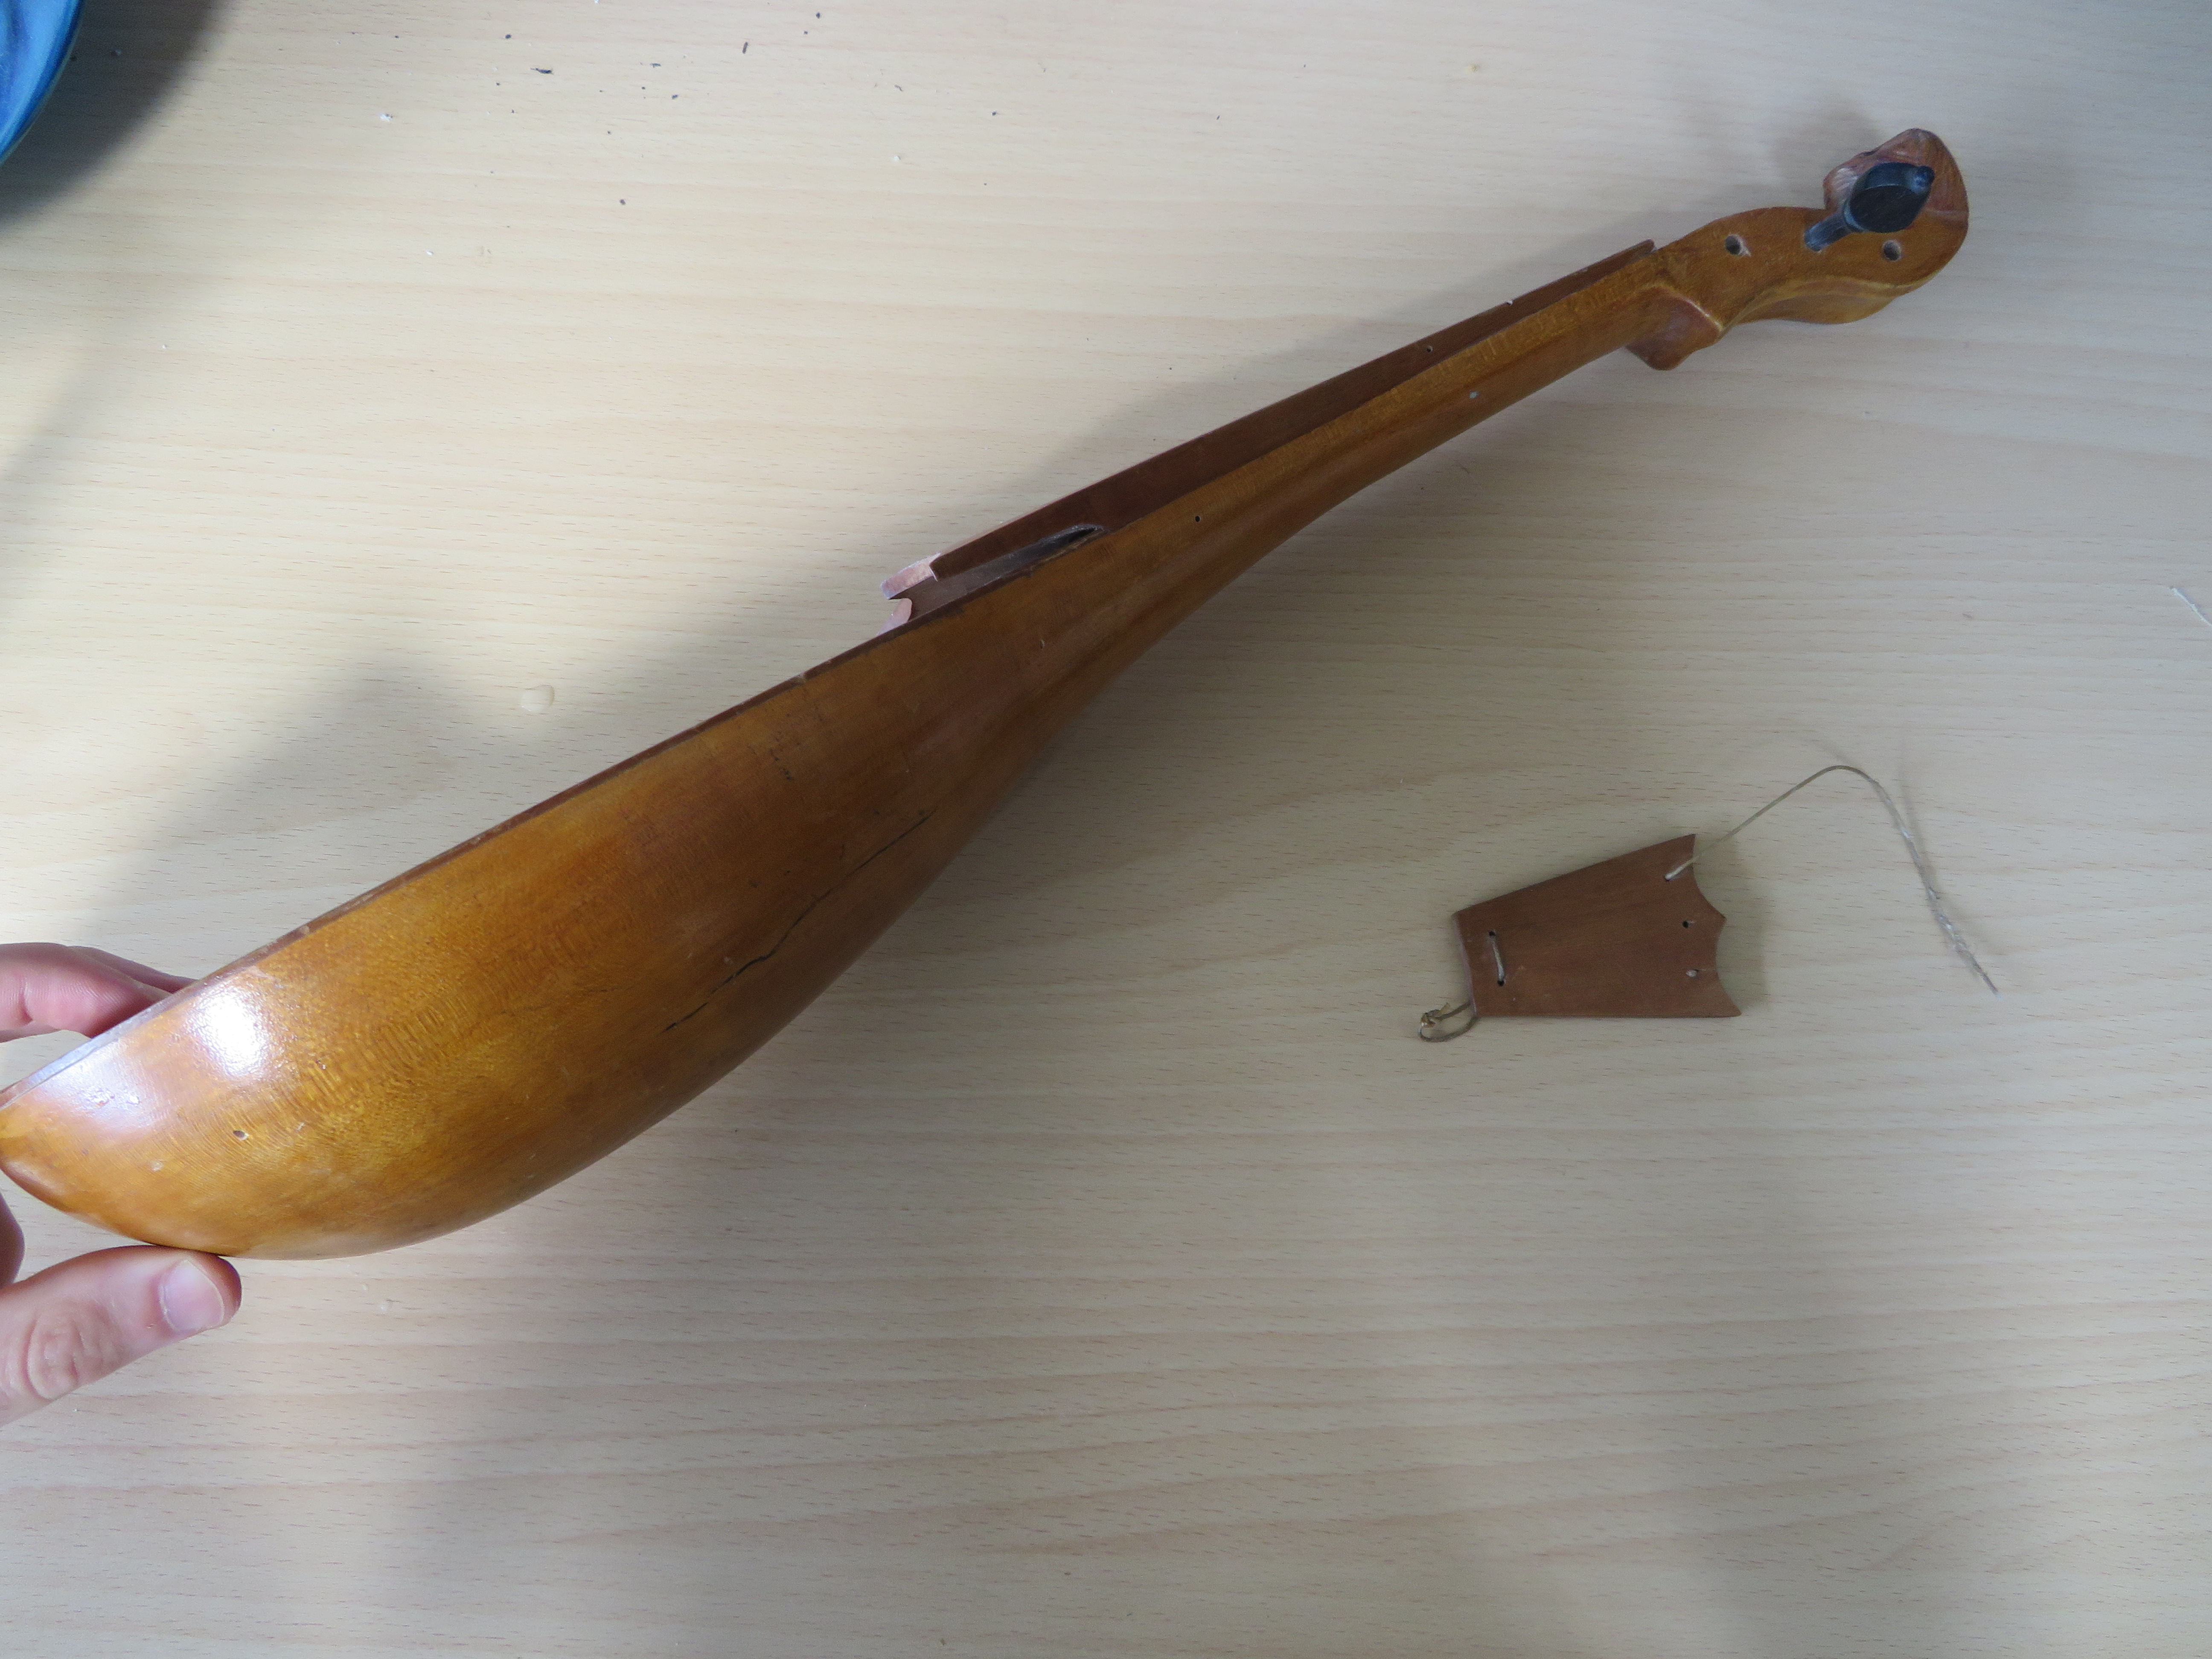
This instrument caught my eye in my granny’s house where the carved head was poking out from on top of a cupboard so I got it down and found something desperately in need of some attention. After consulting with her it was identified as a rebec, which is an old relative of a violin, with only 3 strings and half round body somewhat resembling that of a lute. This particular rebec had clearly taken a bit of a beating over the years and a number of parts where either missing or broken, so I thought I would take it upon myself to try and repair it and get it back to a playable state.

The keen eyed among you will have noticed that this is listed as part 1 and that is because at the time of writing I have only got so far with this project and will not be able to work any further on it for a while what with university and not having access to my woodworking tools. Therefore, this article will include a rundown of the state of the rebec and what things I need to do and how I am thinking I will do them and then also a more usual description of how I did what I have done so far.


 The state of things

The first part that is broken is the soundboard, which is heavily cracked to the point of probably not being sturdy enough to support the bridge anymore. This is the part that I have already made a replacement for so more details on that will follow later in the article.

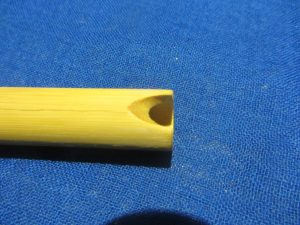
There is currently only one of the three tuning pegs remaining, but the one that if left is in good condition. These are going to be one of the trickier things to make as they really have to be turned and as I continue to not have a lathe that is rather difficult. What you can use to make the tapered section of the pegs, which is the only part where the shape is actually important (for the rest it is purely aesthetic), is something that is essentially an oversized pencil sharpener. So, an option would be to get one of them to form the tapered part and then to try and hand carve the heads on the pegs but that seems like it will be unlikely that I will be able to make them much of a match to the original one. A last resort would be to just try and either buy two that match the original or a completely new set of three but that seems to go rather against the spirit of the thing.

Another part that is missing is a peg that goes into the end of the body onto which the tail piece attaches, which is the part the strings are attached to. This is another part that would be quite a small and easy part to make on a lathe but trying to make it without is much more challenging.

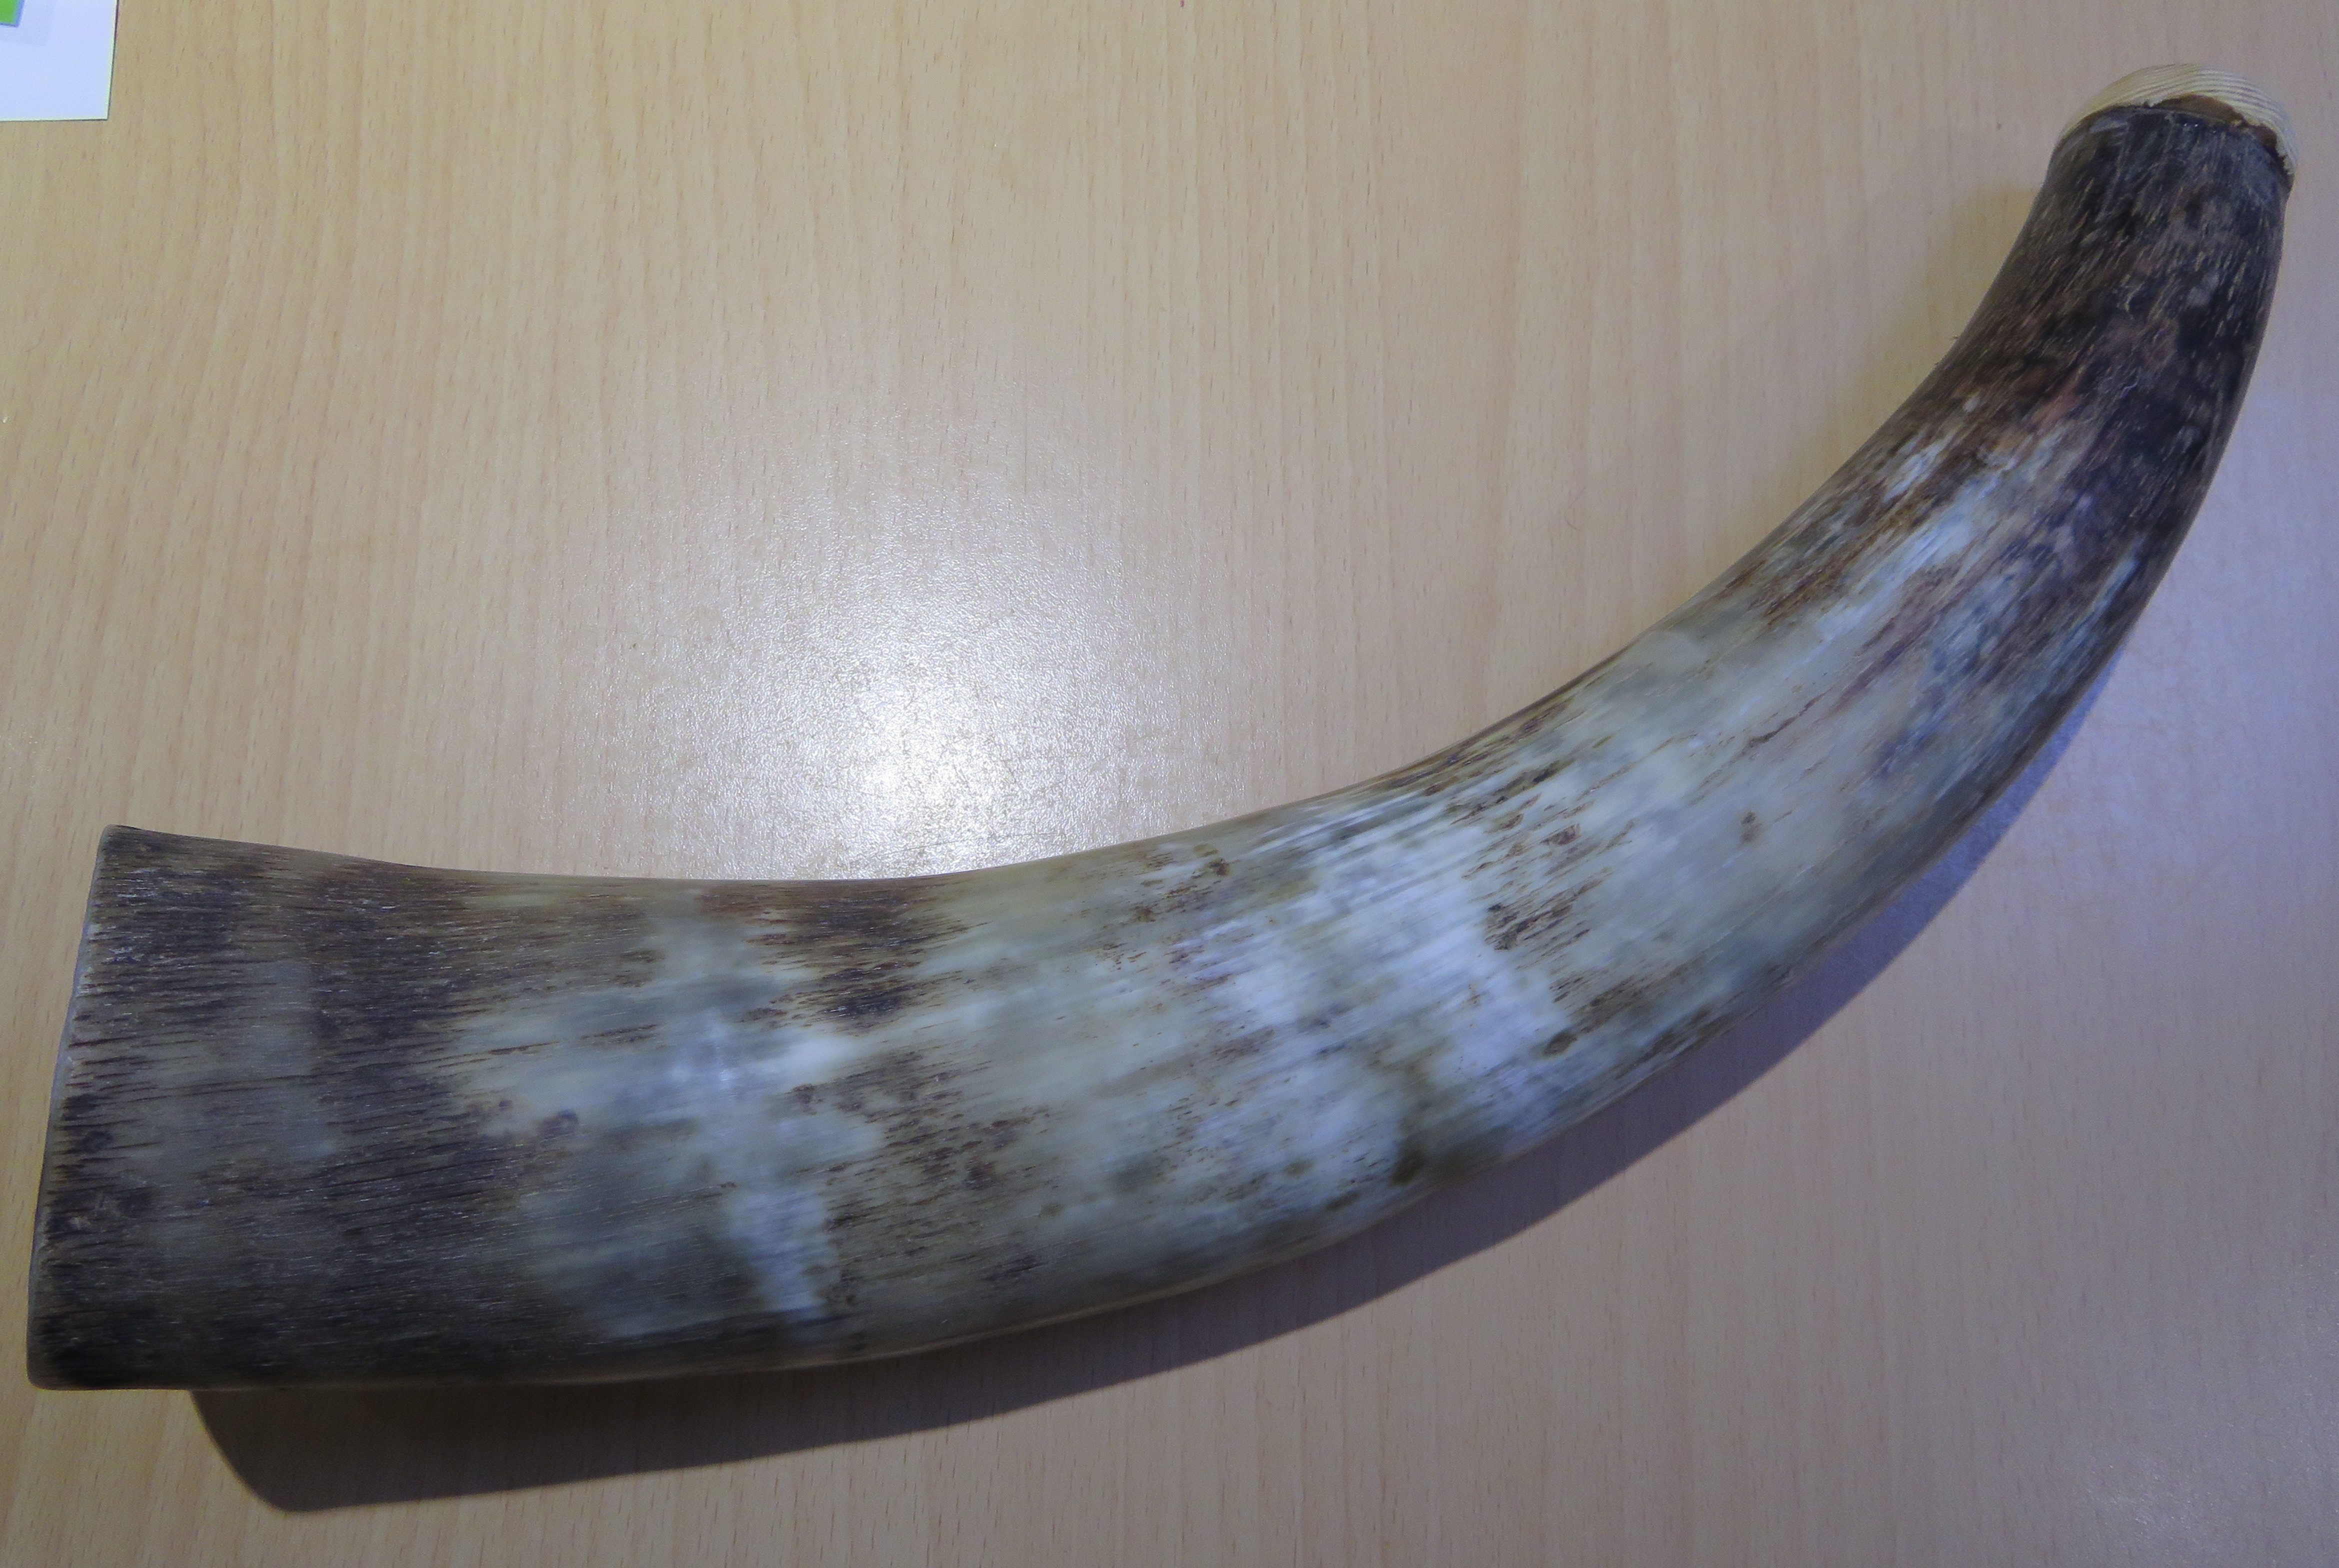
The last part that is entirely missing is the bridge. I think this should be relatively easy to make and I should be able to follow a fairly similar process to what I used to make the body and I am also hoping that I should be able to use the same piece of wood.  


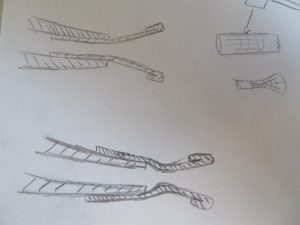
The rebec came with a bow that is currently missing its hair but is otherwise in good condition. I can’t quite tell how the hair was originally attached and it may end up being rather tricky to replace so I will probably just use a regular violin bow on it initially.


Making the sound board

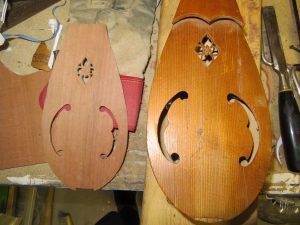
For the sound board I bought a set of sheets intended for the soundboard of a small guitar, with one of the sheets being large enough for the rebec. I traced the shape of the original soundboard on to a piece of paper and then stuck this to the wood. I cut roughly around the outside with a small hacksaw, taking care to stay on the outside of the line and then sanded to the final shape.

The next step was the trickiest, which was cutting the holes in the sound board. These being the two large ‘F’ holes (which aren’t actually f shaped in this case) and the four smaller holes that make up the decorative design towards the top. To cut these holes I first drilled a hole inside the space to be cut out to insert a coping saw blade through. I then cut the rough shape using the coping saw, in the process of which I snapped a lot of blades, which I think is partly due to the blades I had to hand being slightly to thin. Once I had cut one of the F’s I then took a trace of its inside shape to make sure the second once matched, which was necessary as that feature did not show up well on the original tracing due to the sound board being cracked and giving way under the pressure of the pencil. I then refined the shape of all of the holes using needle files, which was slow work as the files are meant for metal and are not very efficient at cutting wood but they were the only thing I had that would fit in the small space.

I then used a plane and chisels to put a slight dome on the soundboard, with it being thickest at the bridge. I then carved the design around the four small holes using chisels and a craft knife. My carving ended up looking a fair bit chunkier and clumsier than the original but was ok considering I don’t really have any tools for that sort of work. Finally, I sanded over the whole surface to smooth it up and remove any marks left from the plane or chisels.

All that remains is to remove the original soundboard and glue this one in its place.


….and then do all the other things I talked about earlier, which will come in part two, eventually.

EDIT: part 2 is here!

Making A Bamboo Notched Flute

This style of flute is among the oldest and most straightforward to make instruments. Flutes of this style are quite widespread with examples being the Quena from the Andes and the shakuhachi from Japan. While it is fairly easy to make I found it rather difficult to play even compared to regular flutes which are already fairly tricky. The flute works by sealing the hole with the area bellow your bottom lip and then blowing down over the notch to create the vibrations in the instrument. Covering the finger holes  then changes the note as with an ordinary flute or a recorder.

How I Made It 

To start the project I selected an appropriate length of bamboo. Bamboo is ideal for this sort of instrument as it is already hollow most of the way down, with solid parts only at the divisions between the sections, called nodes. Luckily we have some fairly large bamboo in our garden, which made sourcing a piece very straight forward. Although this bamboo has somewhat thinker walls than would be ideal. When I found a part with fairly large diameter and two sections spanning roughly 30cm I sawed through it just inside of each of the nodes leaving a tube that was open at each end and had a solid node in the middle. The next stage was to open up the node in the middle, which proved to be a reasonable amount of work. The only thing I has that was both thin and long enough was a length of threaded rod, which I used to ram down the bamboo it try and knock out the middle of the node. Once a hole had opened up I used double sided tape to attach sandpaper to the rod and used that to widen the hole and clean up the inside.

The next stage is working out where to place place the finger holes, to do this I used the flutomat calculator. I entered dimensions and then tried different scales until I had a set of holes that would fit nicely on the flute. Where the calculator says embouchure it is referring to the hole that you would blow across on an ordinary flute, for this design this is effectively the end of the flute. Now the flute needs to be cut down so that its overall length is the length given for the embouchure.

I then drilled the holes. Bamboo has a sort of groove running down each segment, with each one being on the opposite side to on adjacent segments, when drilling the holes I oriented the bamboo such that the two grooves were on the right and left sides rather than top and bottom. It is important to realize that the holes do not need to be all in a straight line down the middle of the flute. Moving them slightly over to either side will make it much more natural to hold so, once you have marked up where each hole needs to be try holding the flute and see where your fingers naturally want to go  (obviously only moving them side to side and not further up or down the flute). This is where you should place the holes. I first ran over where I was going to place each hole with a half round file so as to give a better surface to drill into. I then drilled a small pilot hole before expanding it to the full width. I then files over it again to give a slight dip around the hole for your fingers to fit in.

Then comes making the mouth piece. I shaped this using a round file. It needs to have a ‘U’ shape with a sharp edge at the bottom. There is quite a lot of variation of the exact shape with some being much shallower and others being deeper like the one I made. I would recommend searching about for different pictures and also experimenting a bit with how it sounds with different shapes. Although you will not be able to add material back once you have taken it off so if you have a shape that sounds good probably don’t take it any further.  

After this all that remains is to give it a nice surface finish, which I did by going over it with sandpaper, working up the grits until it has a shiny surface, which is relatively easy to achieve with bamboo. If you wan’t to go on to paint it you will probably have some difficulty as bamboo does not seem to take well to any paints that I tried, the surface being much too shiny and not absorbent at all. 

Now that you have your flute all that follows is trying to learn to play it, which may prove to be a bit of a struggle. 

Making An Instrument From A Cow Horn

Ok, instrument is a bit of a stretch, I mean like a hunting horn or a war horn sort of thing. You would be hard pressed to get any music out of it. To be honest you are pretty hard pressed to get a single good note out of it. That is because the mouthpiece I made is not particularly good, which is ok because the point of this horn was experimentation. I got myself 3 horns: one really big one and two smaller ones, one that looked really nice and the other that had some defects and a rather rough surface. I started working on this one first to try and work out a good way to make them and if it didn’t work it wasn’t a huge loss as I still has the two nicer ones. 

How I Made It 

The horns I bought were pre-cleaned out, if they weren’t there would be a lot of preamble cleaning out the stuff that is on the inside of the horn. this is rather outside the scope of the article as I have no experience with this, if your horns are like this do a bit of searching and you will quite easily find instructions on how to do this. 

There is really very little that has to be done to a cow horn to make it into an instrument, most of it is already pretty much in the required shape. All that needs to be done is to put a hole through the pointy end and make that into a mouthpiece. Horns use a mouthpiece like that of a brass instrument, which are much simpler than what you find on other instruments such as woodwind. You can actually just make do with a plain old pipe with no embellishment at all (this is actually a training exercise sometimes used for people learning brass instruments) but this is a lot harder to play and doesn’t sound so good. The basic shape of a brass mouthpiece is a narrow tube that widens into a bowl like shape, which is where the lips are placed. 

My first method of making a mouthpiece was to cheat and not make one at all and just steal one from a brass instrument and stick it in the horn. To do this I cut a small piece of the point off the end to give a flat face and then drilled a hole through the solid end of the horn into the hollow bit. Then I put the mouthpiece into the hole and it worked pretty well. 

That isn’t really in the spirit of things though (and it didn’t really look that good) so I set about thinking about how I could best make something myself. All the most proper ways to do it such as casting something and turning it on a lathe or turning it from wood were not really options for me. I attempted raising something from sheet metal but that quickly turned out to not be feasible. My next idea was to try to carve the bowl of the mouthpiece into the horn itself. To do this I had to make another cut further up the horn so as to get the larger diameter necessary. The trouble turned out to be that the horn did not take kindly to being carved and it proved impossible to bit a curve into it and I just ended up with a flat edge. This hadn’t really worked but the main trouble was that I had painted myself in to a bit of a corner as the end was now really wide and had a large hole in it, which rather limited my options for new ideas. 

The next plan was to make a piece out of wood that would sit in the gap the last failure had left and then to a carve the bowl of the mouthpiece into that. This also did not really work. Partly because of the wood that I had at the time, which did not take to carving very well, and also because of my tools forming the bowl proved to be rather tricky. Had I had a lathe I think this would have probably worked (though I am still not sure how good a wooden mouthpiece will ever sound) but working with a fairly large set of chisels in poor quality wood it wasn’t really going to work.


This then leads to my last attempt, which was easy enough to execute but doesn’t work very well. I cut out a ring of wood and curved one side to give it a better surface to blow on and then glued this to the end of the horn. It doesn’t look particularly good and could have been made to look a bit prettier but once I had seen that it wasn’t going to work I didn’t think it was worth it.

Finally I polished up the horn, which was just done by working through steadily finer grades of sandpaper. Because the surface was fairly rough and had some cracks in it it wouldn’t be possible to get it to a really high quality finish. For this stage its important to wear a dust mask as, with any process that produces a lot of dust, it really isn’t something you want to be getting in your lungs.


I was going to record a clip of me playing the horn to demonstrate the sound it makes but I forgot to do it before I left and as I am the only one of my family that plays a brass instrument (and this one is a notably difficult one to play) I can’t ask and of them to record it for me. If I remember to do it when I return home that may be added to this article at some point.


During the course of writing this article I came up with an idea for how I might be able to make a mouthpiece. That is to buy a metal tube and then hammer that into to shape. This would probably be quite a complex thing to do but I think would be much more achievable than working from flat sheet. Unfortunately this horn is a bit too far gone for this to work so it will have to be saved to try out on the next one, whenever I end up having the time to make that.