


Following a few birthdays a Christmases of giving my dad kitchen knives I have now created a demand for a knife block which I can fulfill as another birthday present. I was fortunate to be able to get a rather nice piece of oak from a generous man in the village, which served this project rather nicely.
This project is the first time I have properly used my table saw, so there was a bit of a learning curve to that.
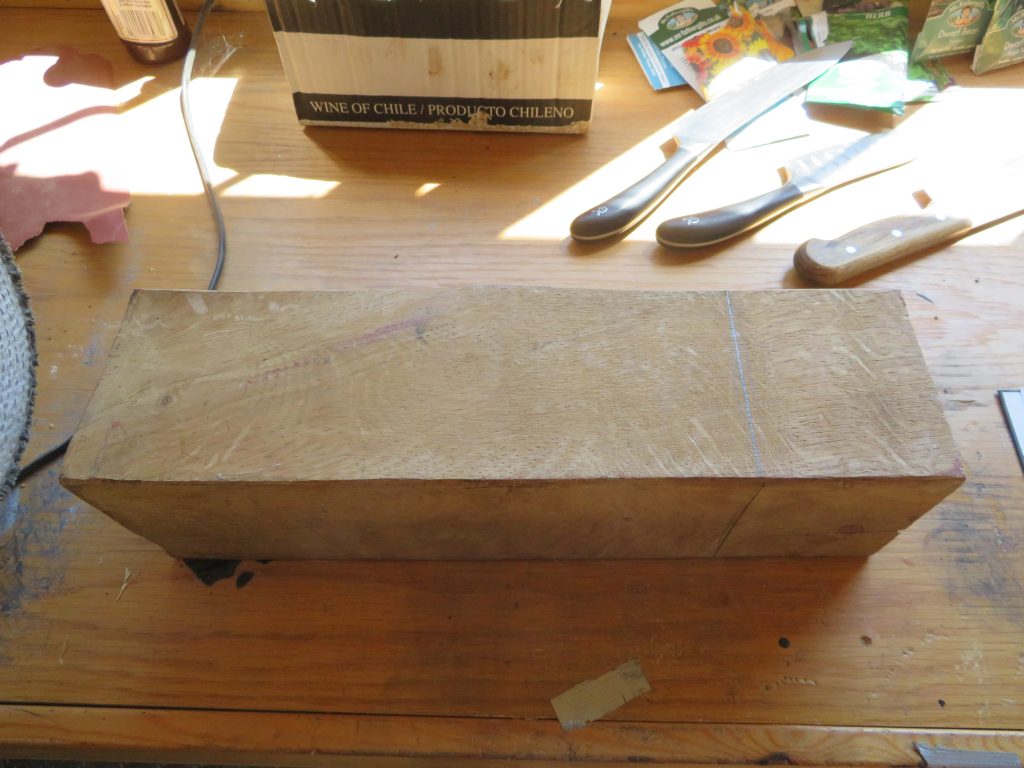
The first step was to square up the block. I very quickly discovered two things: 1) oak is very hard (this really shouldn’t have been a surprise) and 2) the blade on my table saw was very blunt. So I ordered a new table saw blade and set about on the block with hand tools as I waited for that to arrive. I spent a long time and burnt quite a few calories with a plane trying to flatten out the sides and with a hand saw cutting the excess length away.
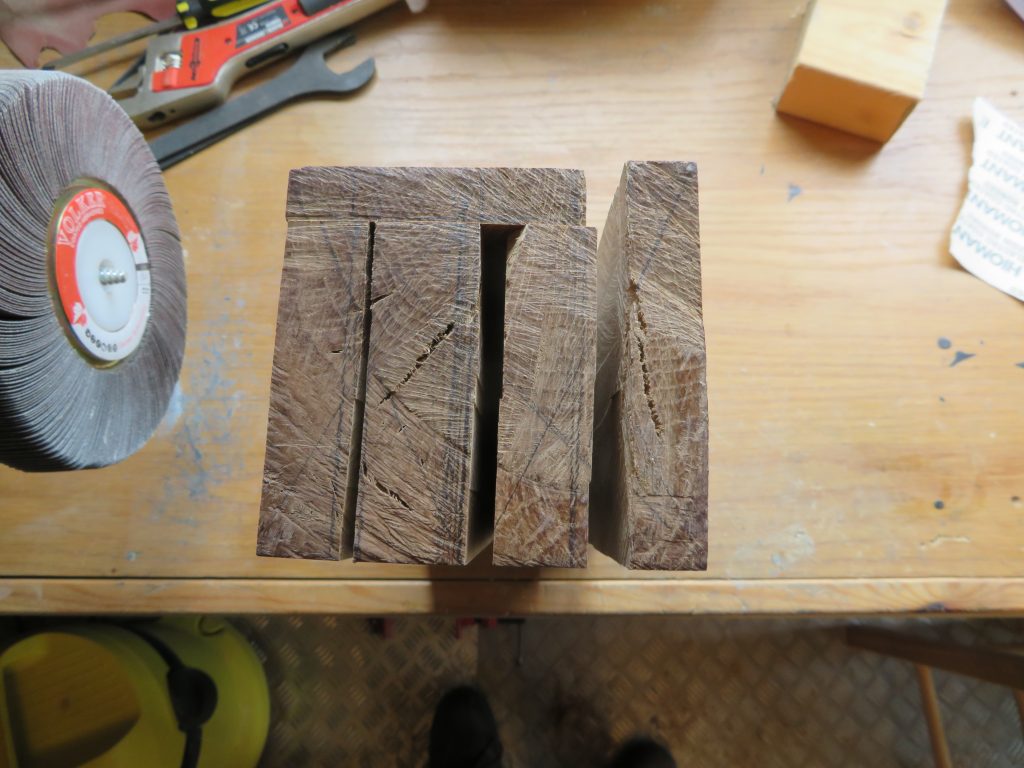
To cut the slots for the knives I first cut along the length of the block with the table saw in the places I wanted the slots to be, splitting it into a number of planks. My table saw blade was not large enough to cut through the whole block so I had to do multiple cuts of increasing depth from both sides. This ended up giving a rather uneven stepped cut, which I then had to clean up by hand.


Once I had my planks I then cut the slots by making many shallow depth cuts with the table saw. The slots then needed some cleaning up with chisels and sandpaper.

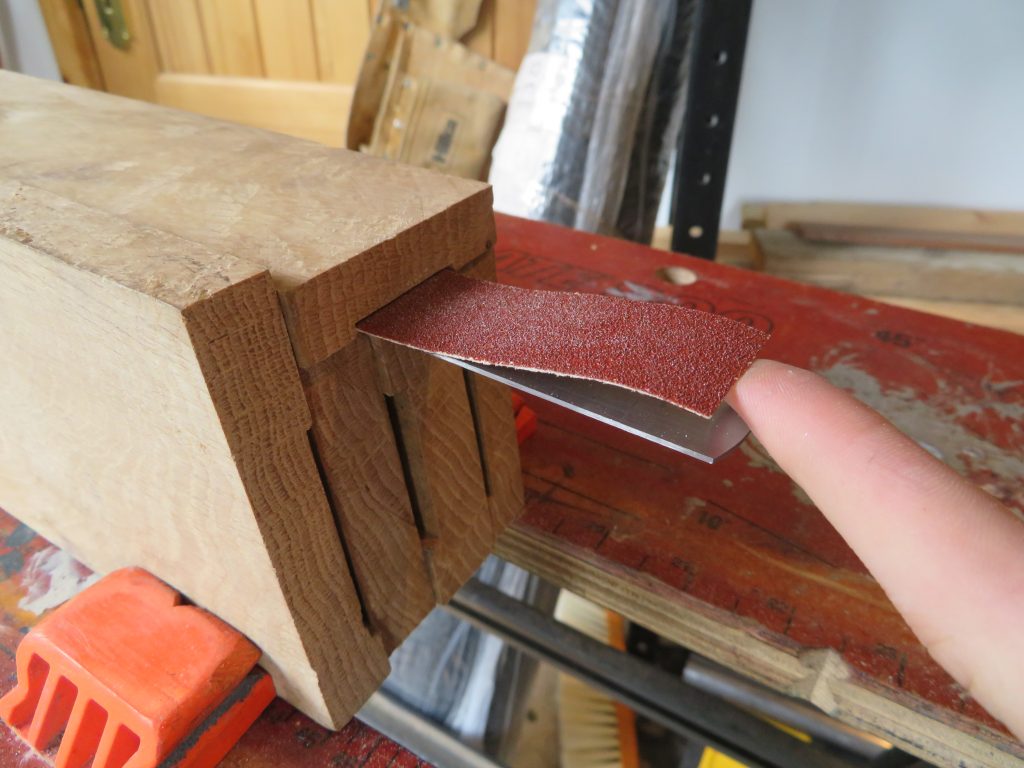
I then glued all the planks back together into a single block. I also applied glue to the insides of the slots to seal them. However, this meant that some of the slots became too tight for the knives to fit in so I sanded out the slots with some sandpaper attached to a steel rule with double sided tape.
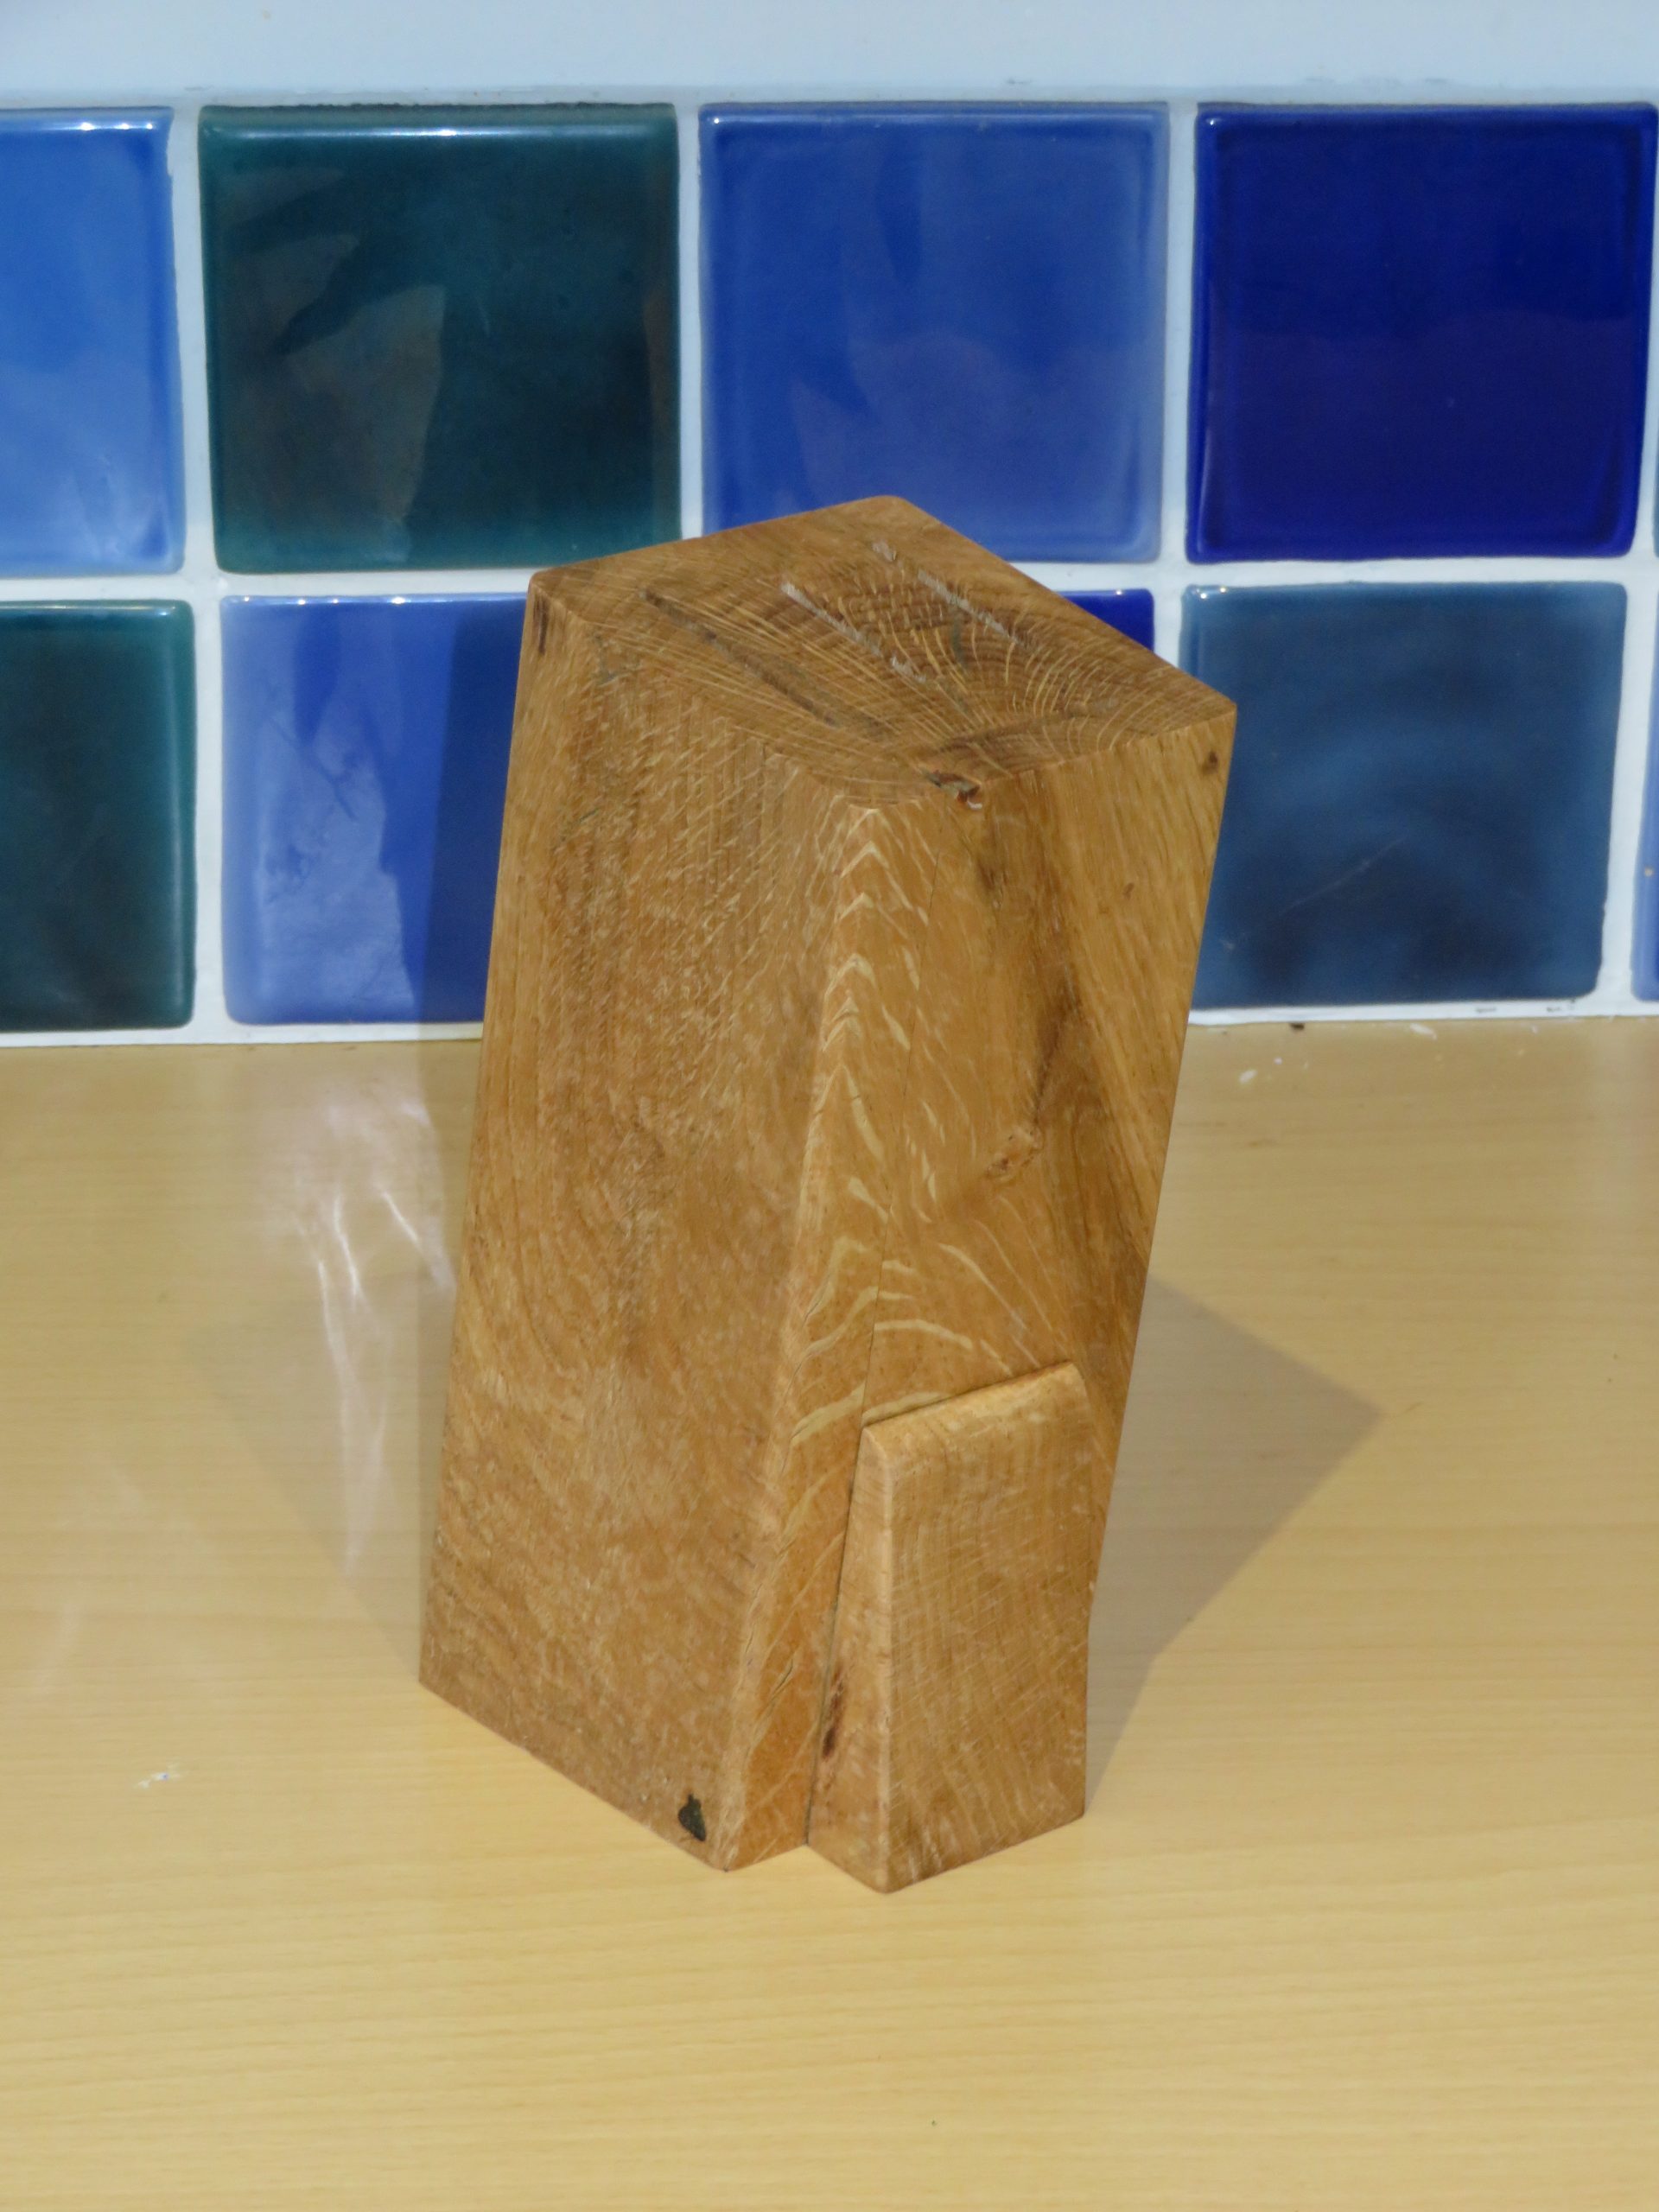
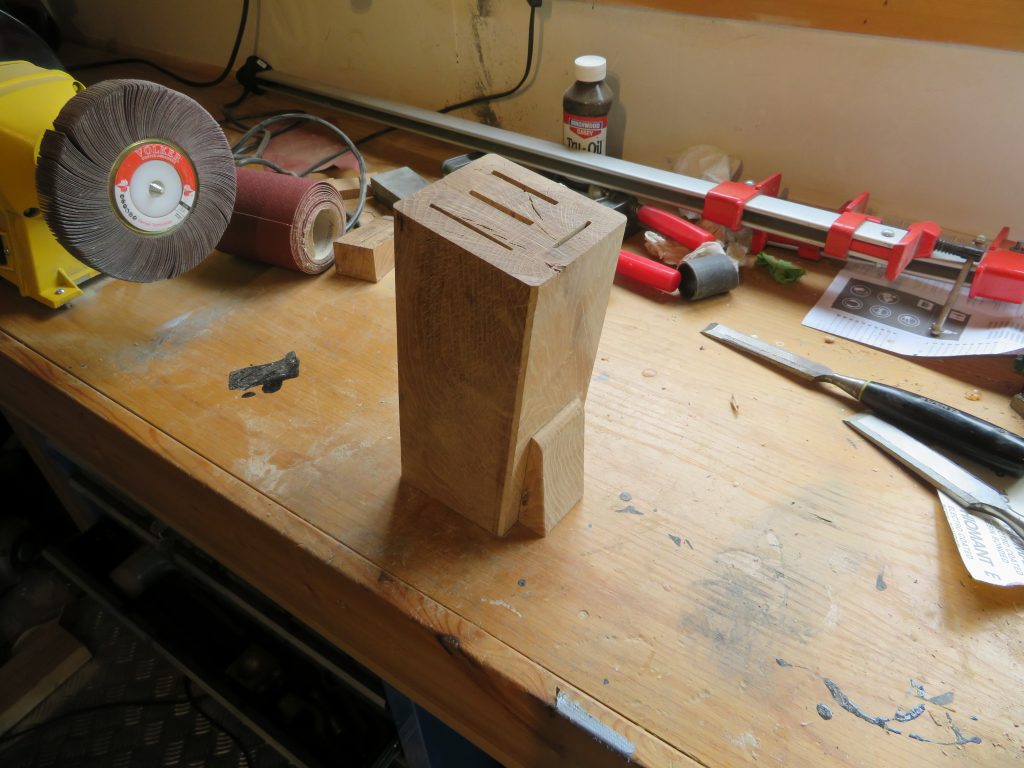
I then cut down the excess on each side and planed and sanded so it was flush.
I then put a chamfer on the four upright edges with a router.


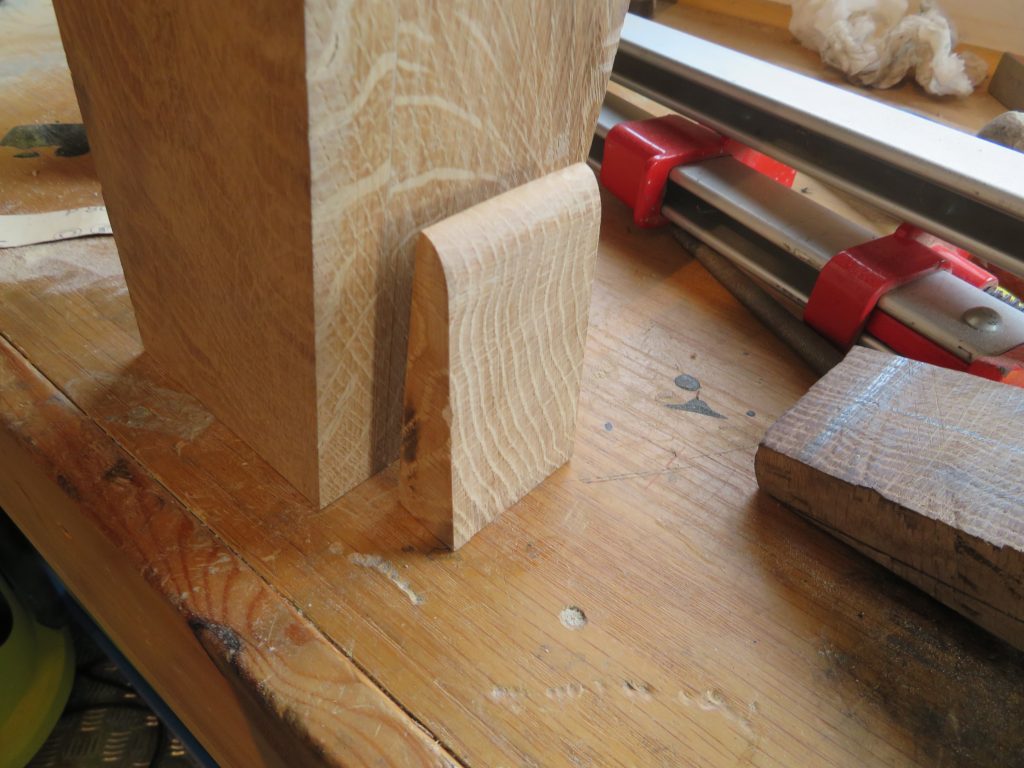
To make the block slightly more stable I added a wedge at the, which I made from the off cut from cutting the angle into the base. When gluing this piece on I had to weigh down the block otherwise the clamping force would drive it out.

There were a number of small internal splits in the wood and gaps from the glue up that needed to be filled in. I had been collecting saw dust and shavings from throughout the make which I could use to fill these gaps. You might have also noticed a very large split in one side. I was not going to fill this in and was instead referring to it as “the feature”.
I ground up the saw dust into a good fine powder by rubbing it between two sanding blocks (rather like a flour mill) and then mixed this with wood glue to make a putty to fill the caps.


I had some iron bar in an appropriate size so decided to try making a branding iron to put a mark on it. I tried a few designs but decided to do a moth to match a set of rubber moth stamps I have made. I cut a length from the stock, marked the design on one end and went at it with files to cut down to that shape.
I had some difficulty actually using the iron. Getting it the the right heat that it would make a mark but not burn so much as to obscure the smaller detail was quite difficult. I think the design wasn’t ideal. It might have been more successful with narrower raised areas rather than the big flat area of the wings.
I’m not sure how well it actually reads as a moth…so far people have guessed ‘money bag’ and ‘dress’ so it seems not very. I think the loss of the tail detail does hurt readability quite a bit


Finally, I sanded over the whole surface and finished it with danish oil.


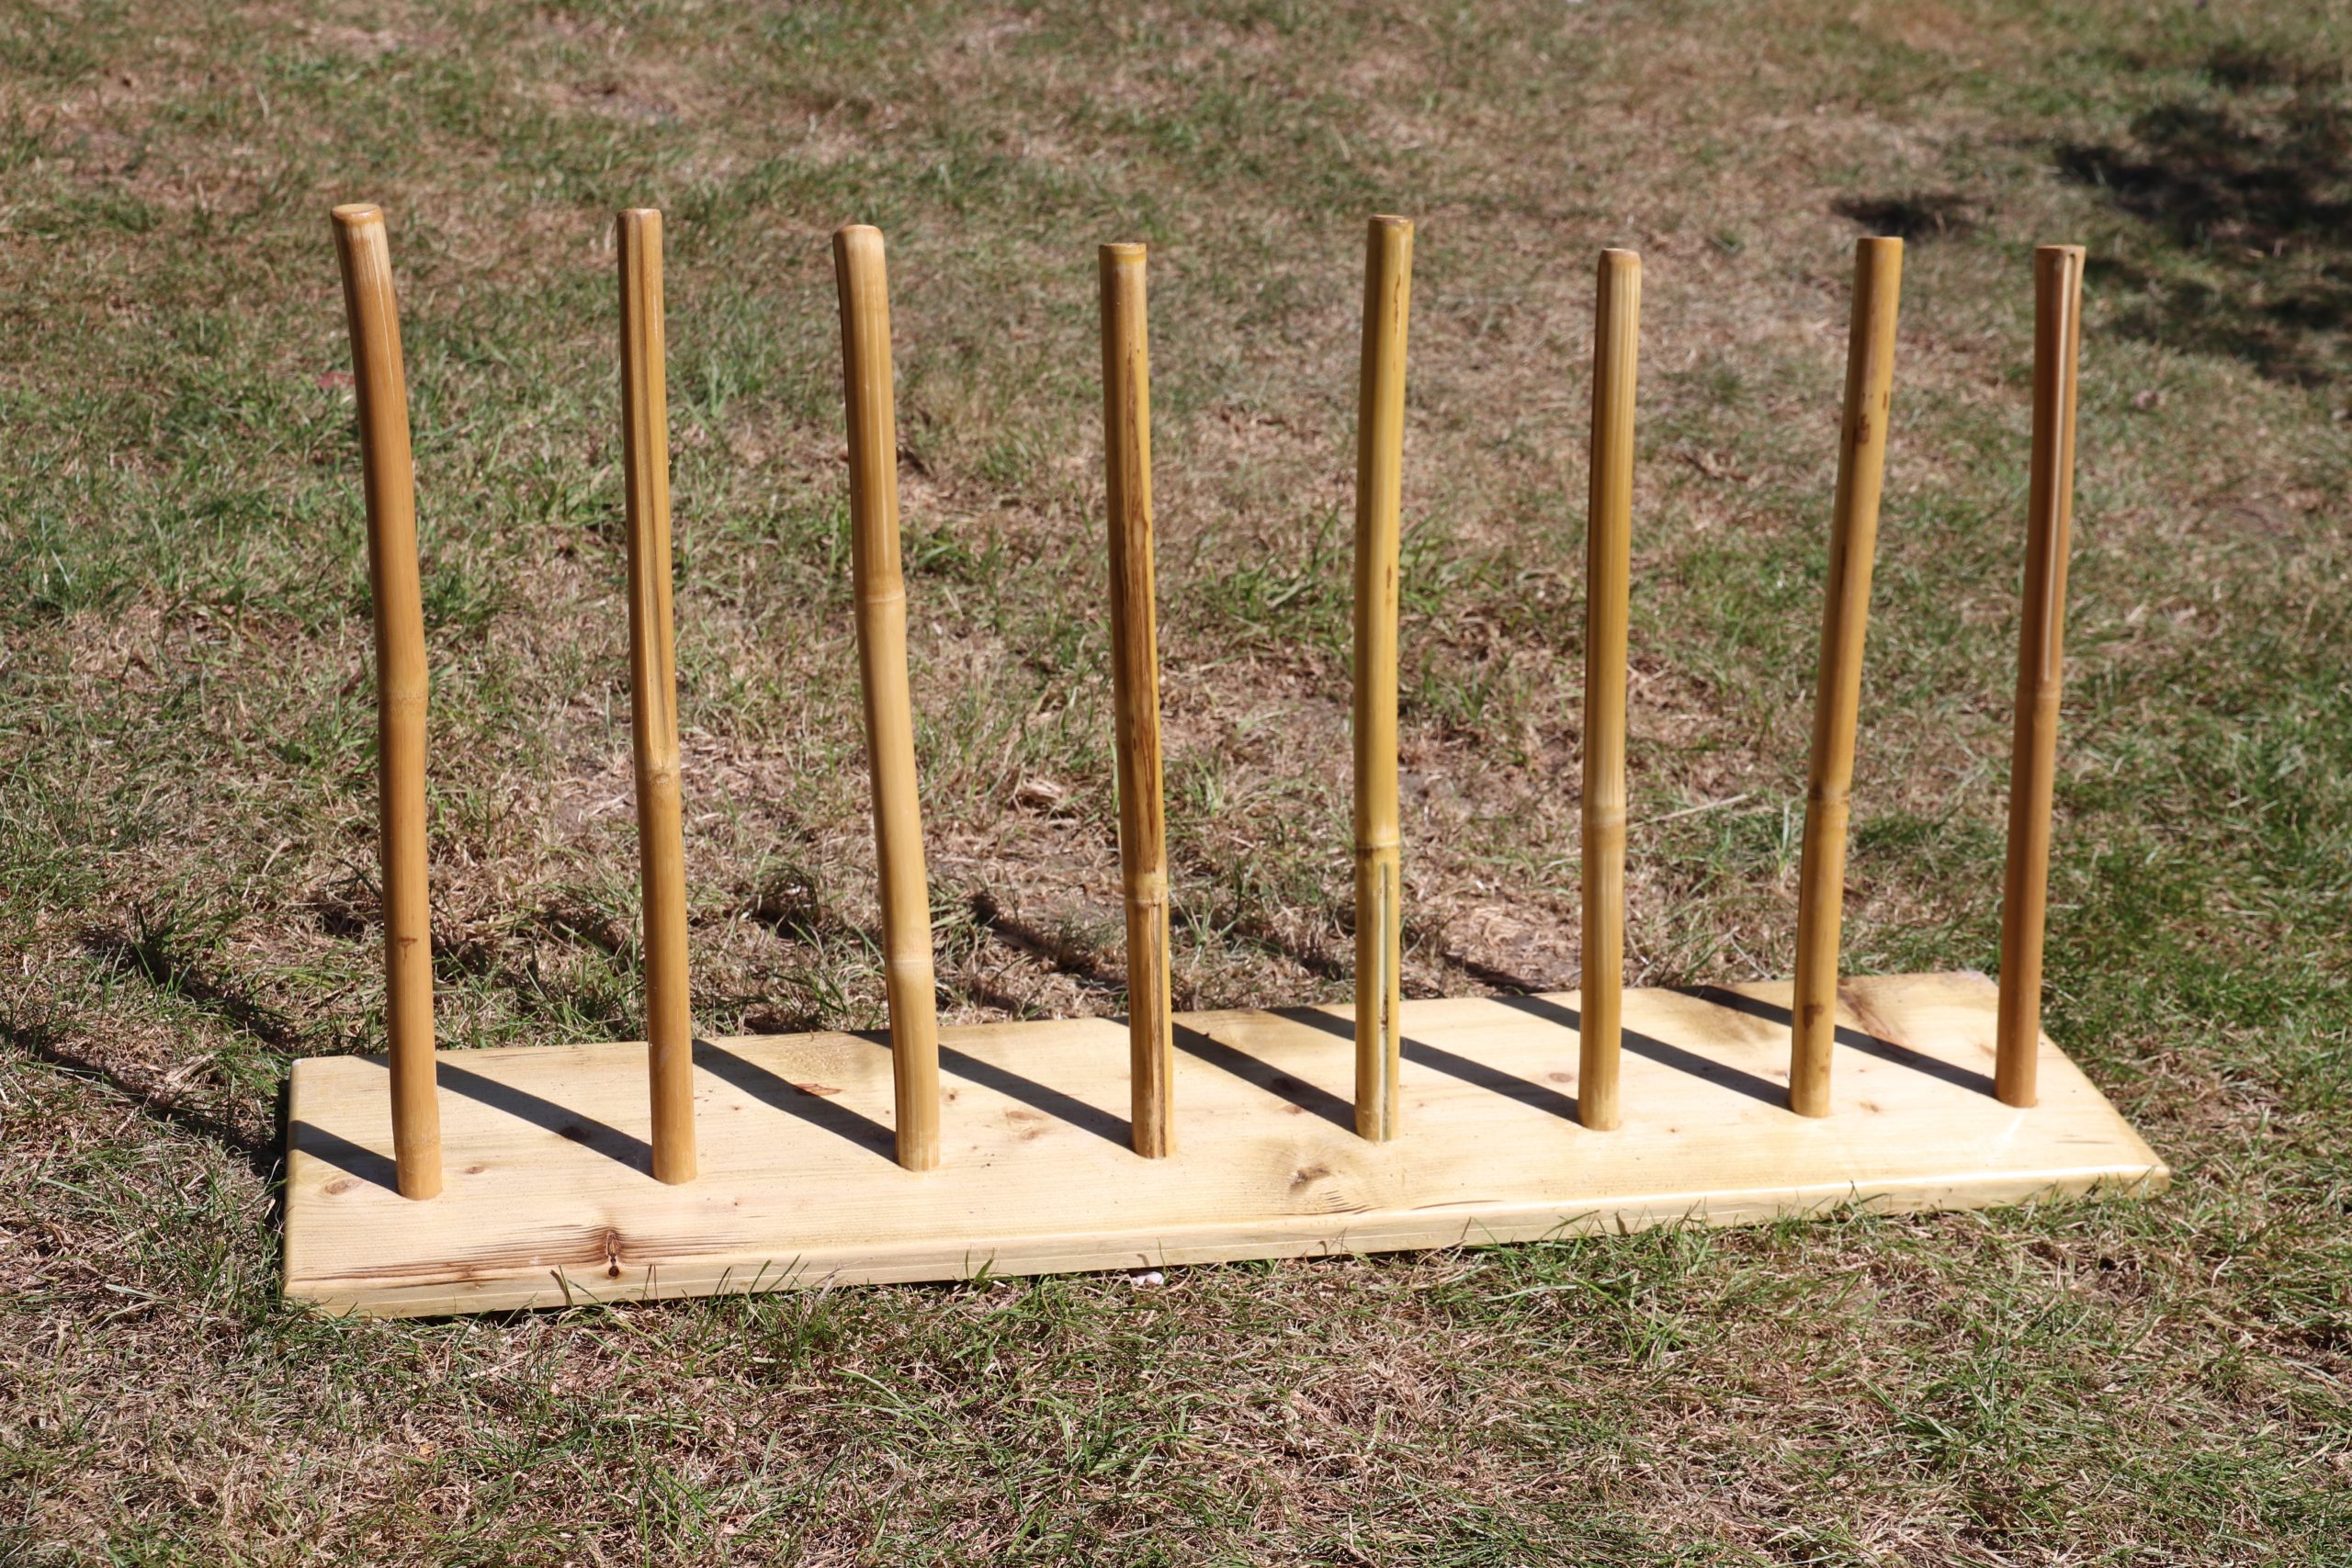
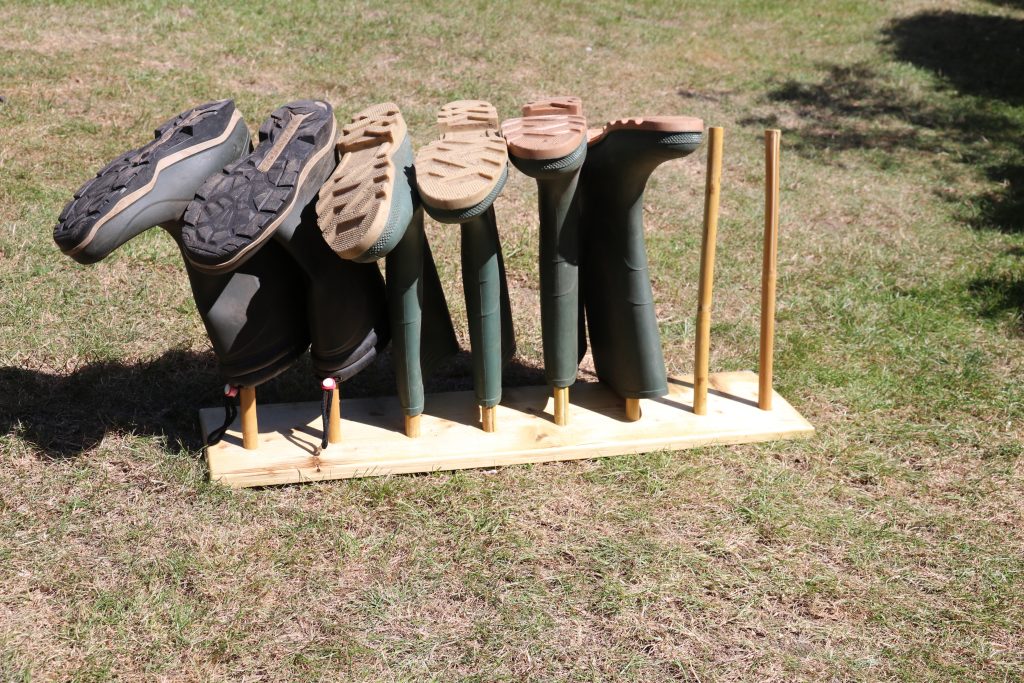
My family have been asking me to make a boot rack for a while. My Father wanted something made with the bamboo from the garden for his birthday. Hence: bamboo boot rack.
The credit for the idea must fall with my brother, although his concept was more of a lashed bamboo construction.
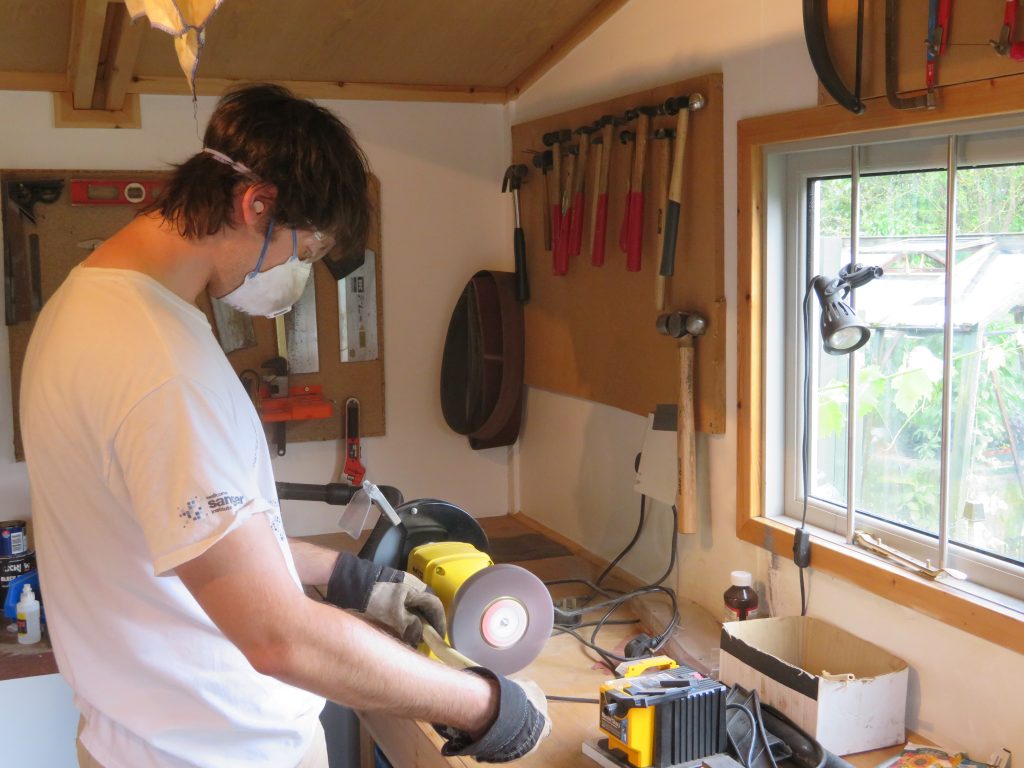
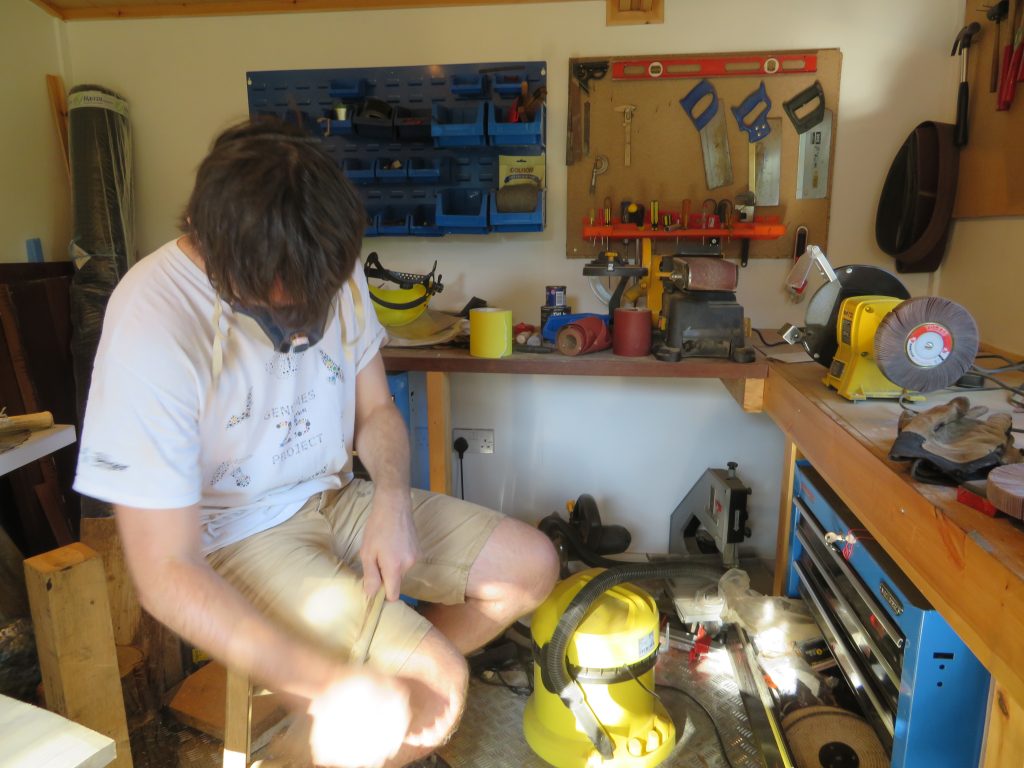
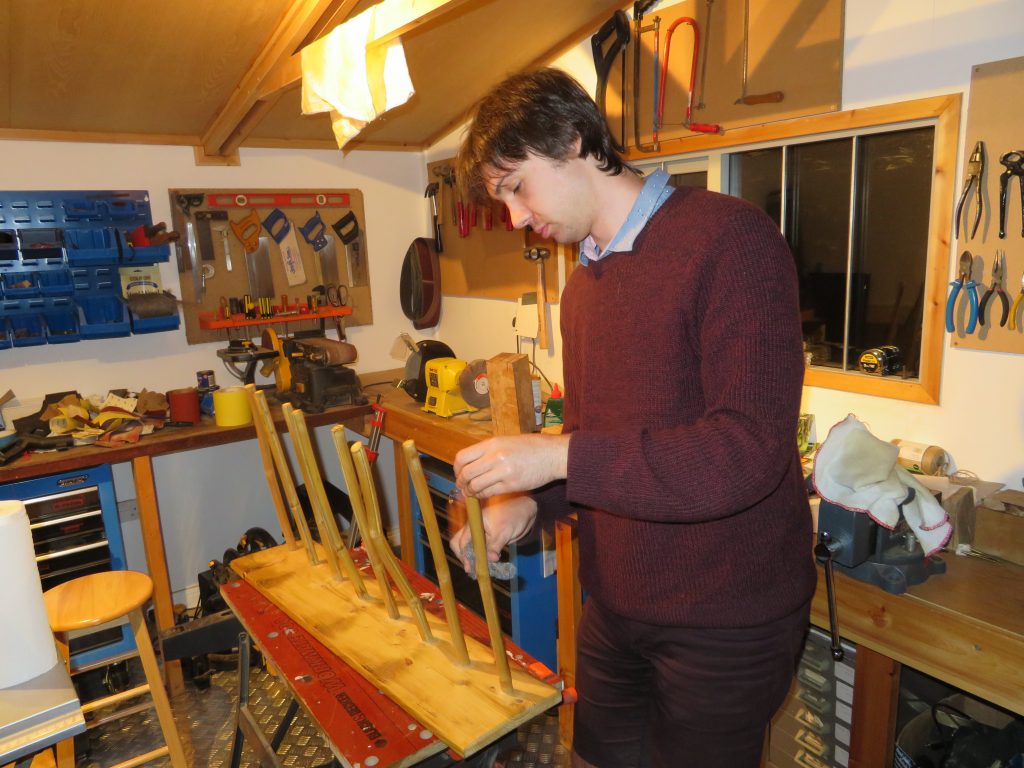
We started by measuring how long a section of bamboo was needed to fit in a boot and then searched for eight reasonably straight sections of bamboo with similar widths with a node at one end. The idea being that the node would give a solid end to go at the top. Unfortunately, when cutting across the nodes, only half of them ended up being solid. We then set about sanding down the bamboo sticks. We initially tried using a flap wheel on the polisher, but it was fairly uneven so we ended up just doing it by hand, going through 80, 120 and 240 grits of sandpaper.
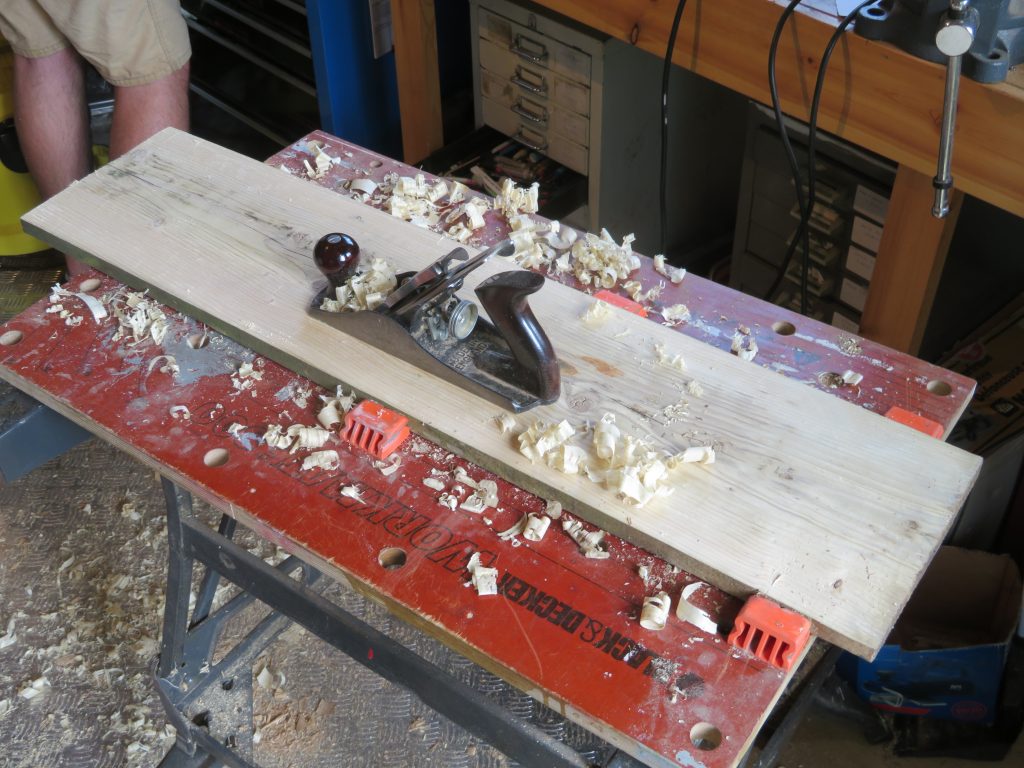
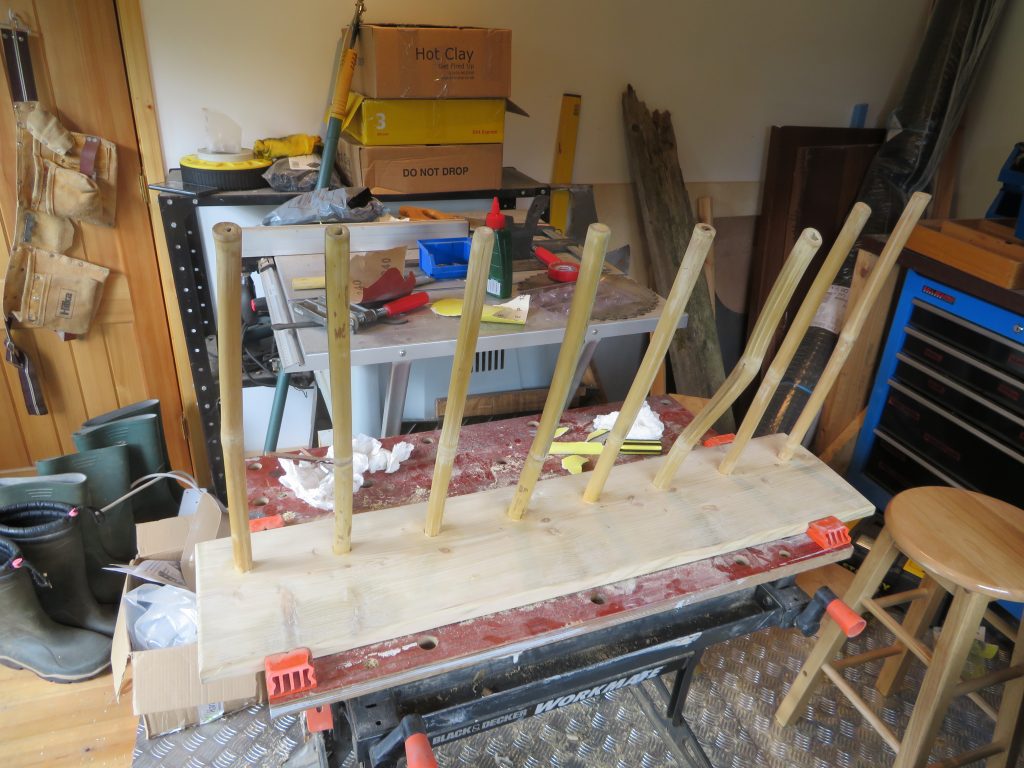
I found a rather weathered and warped old plank that was about the right size, and when I planed off a small section the wood inside seemed pretty good, so I set about planing it down to a clean flat board. I could have put a little more time into this as there were still some discoloured areas that show quite well once the finish was applied. After planing it, I rounded over the top edges with a router and sanded the board all over.
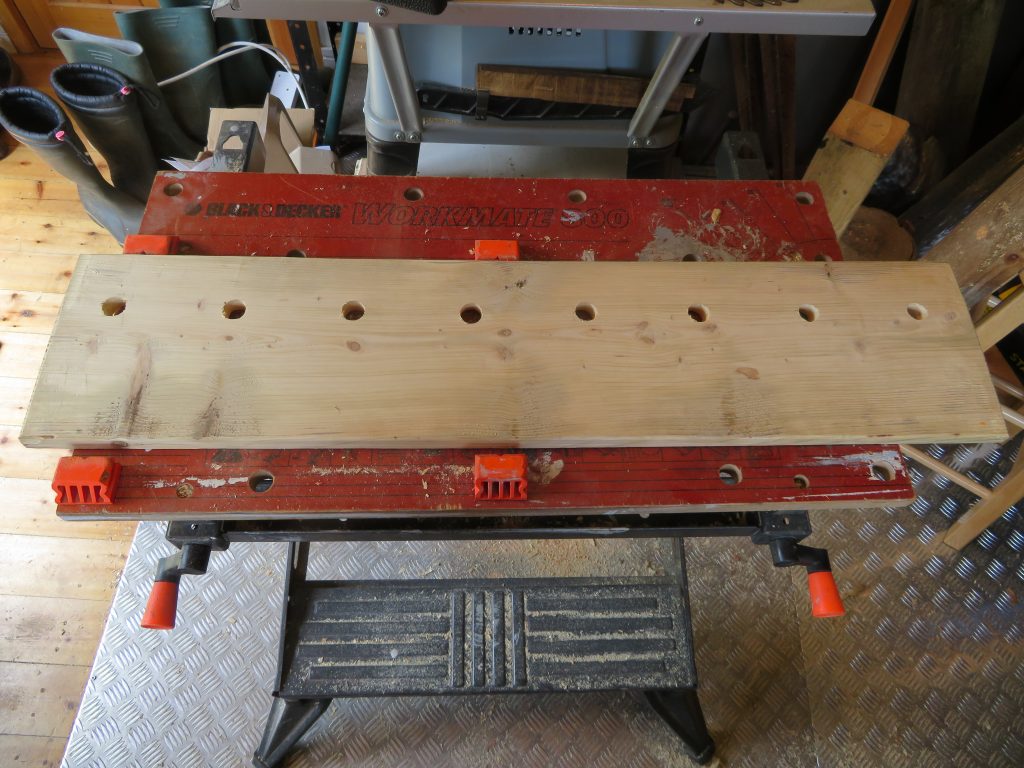
We decided to fit the bamboo posts into holes in the base. This is slightly tricky as all the bamboo posts are slightly different sizes do not have a circular cross section. We measured the diameters of each of the posts to work out what size drill bit to use for each, aiming slightly undersized so the holes can be expanded and the posts tapered to give a tight fit.
The posts also needed to be at an angle do the boots will sit correctly and the whole thing won’t tip over. unfortunately the holes need to be angled in a plane that my drill press will not do. We spent a fair while trying to set up an arrangement to drill all the holes at the same angle using the press but eventually gave up and used a hand drill using a wedge cut at the correct angle as a guide. We then worked filed out each hole with a round file and sanded a taper onto the end of each post with the belt sander until there was a good fit. The posts were then glued in with wood glue.
There were still some gaps around the base of the posts and holes at either end. We decided to use a mixture of wood filler and glue to fill the holes as plain wood filler was too dry and not sticky enough. This wasn’t a very good idea. Our concoction needed large amounts to completely plug the holes, especially the larger ones at the bottom and then took forever to dry.
Because of the deadline of our dad’s birthday we eventually gave up waiting for it to fully set and applied the finish, which was danish oil.
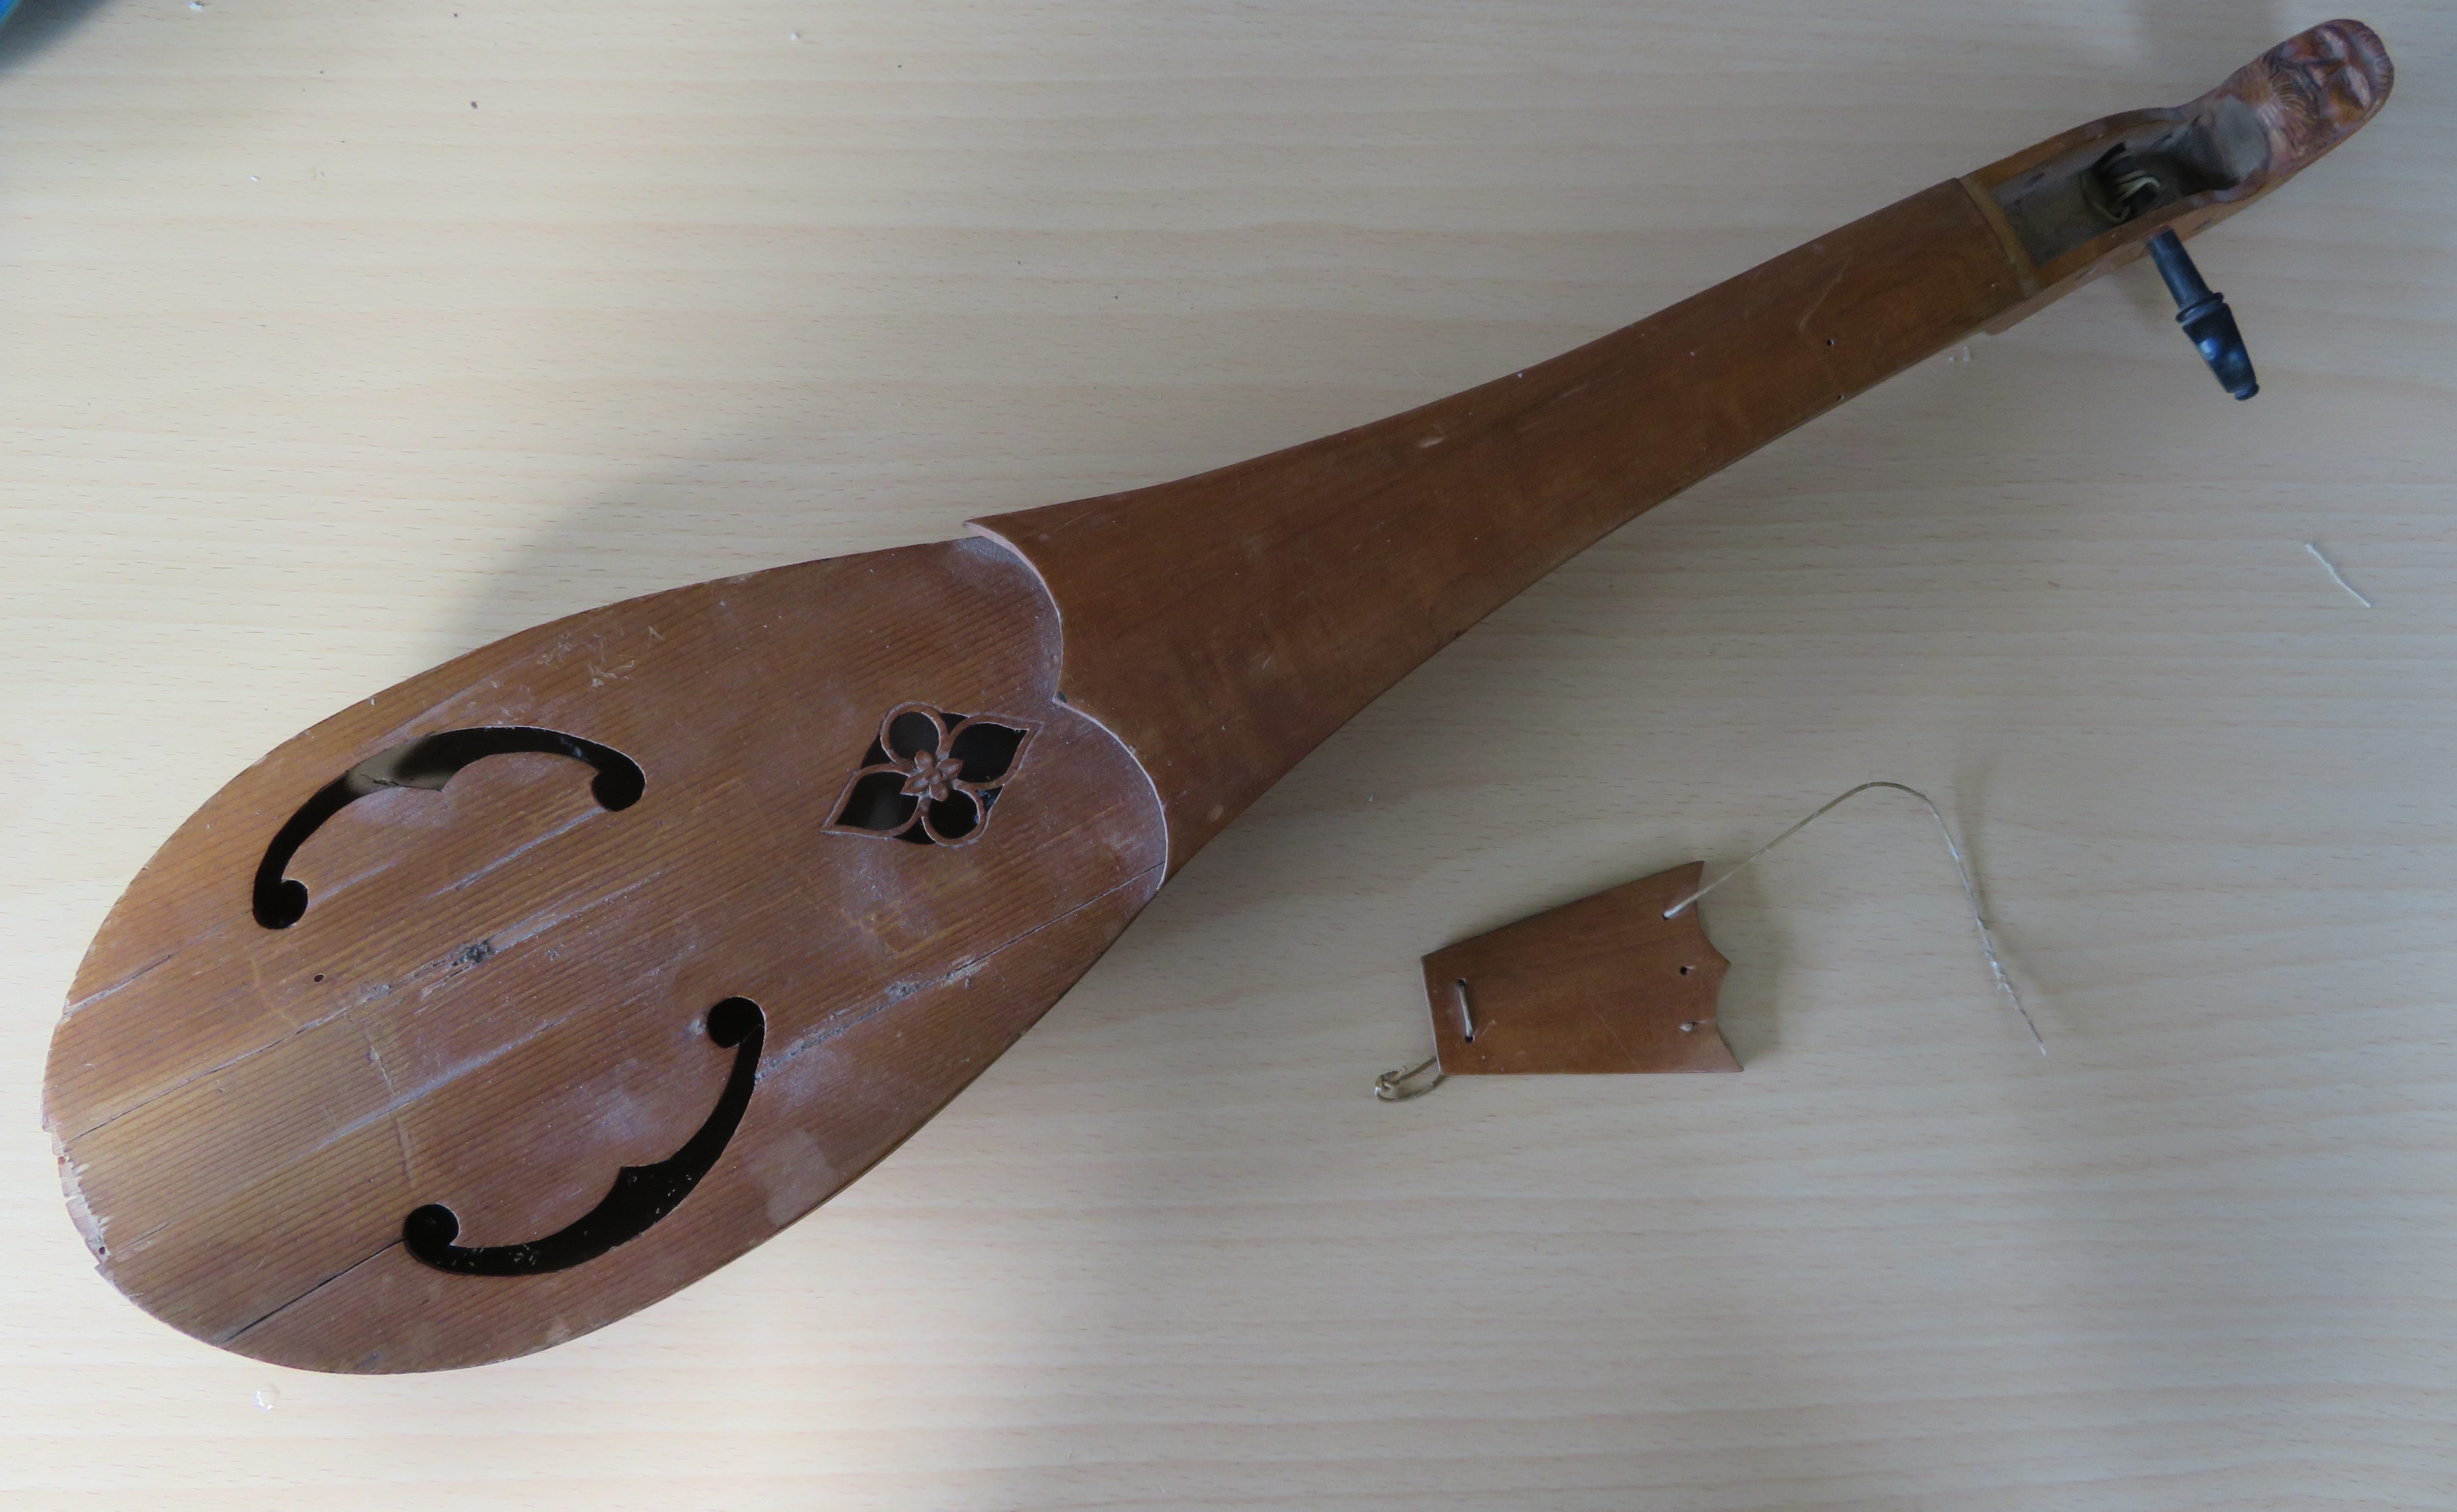
This instrument caught my eye in my granny’s house where the carved head was poking out from on top of a cupboard so I got it down and found something desperately in need of some attention. After consulting with her it was identified as a rebec, which is an old relative of a violin, with only 3 strings and half round body somewhat resembling that of a lute. This particular rebec had clearly taken a bit of a beating over the years and a number of parts where either missing or broken, so I thought I would take it upon myself to try and repair it and get it back to a playable state.
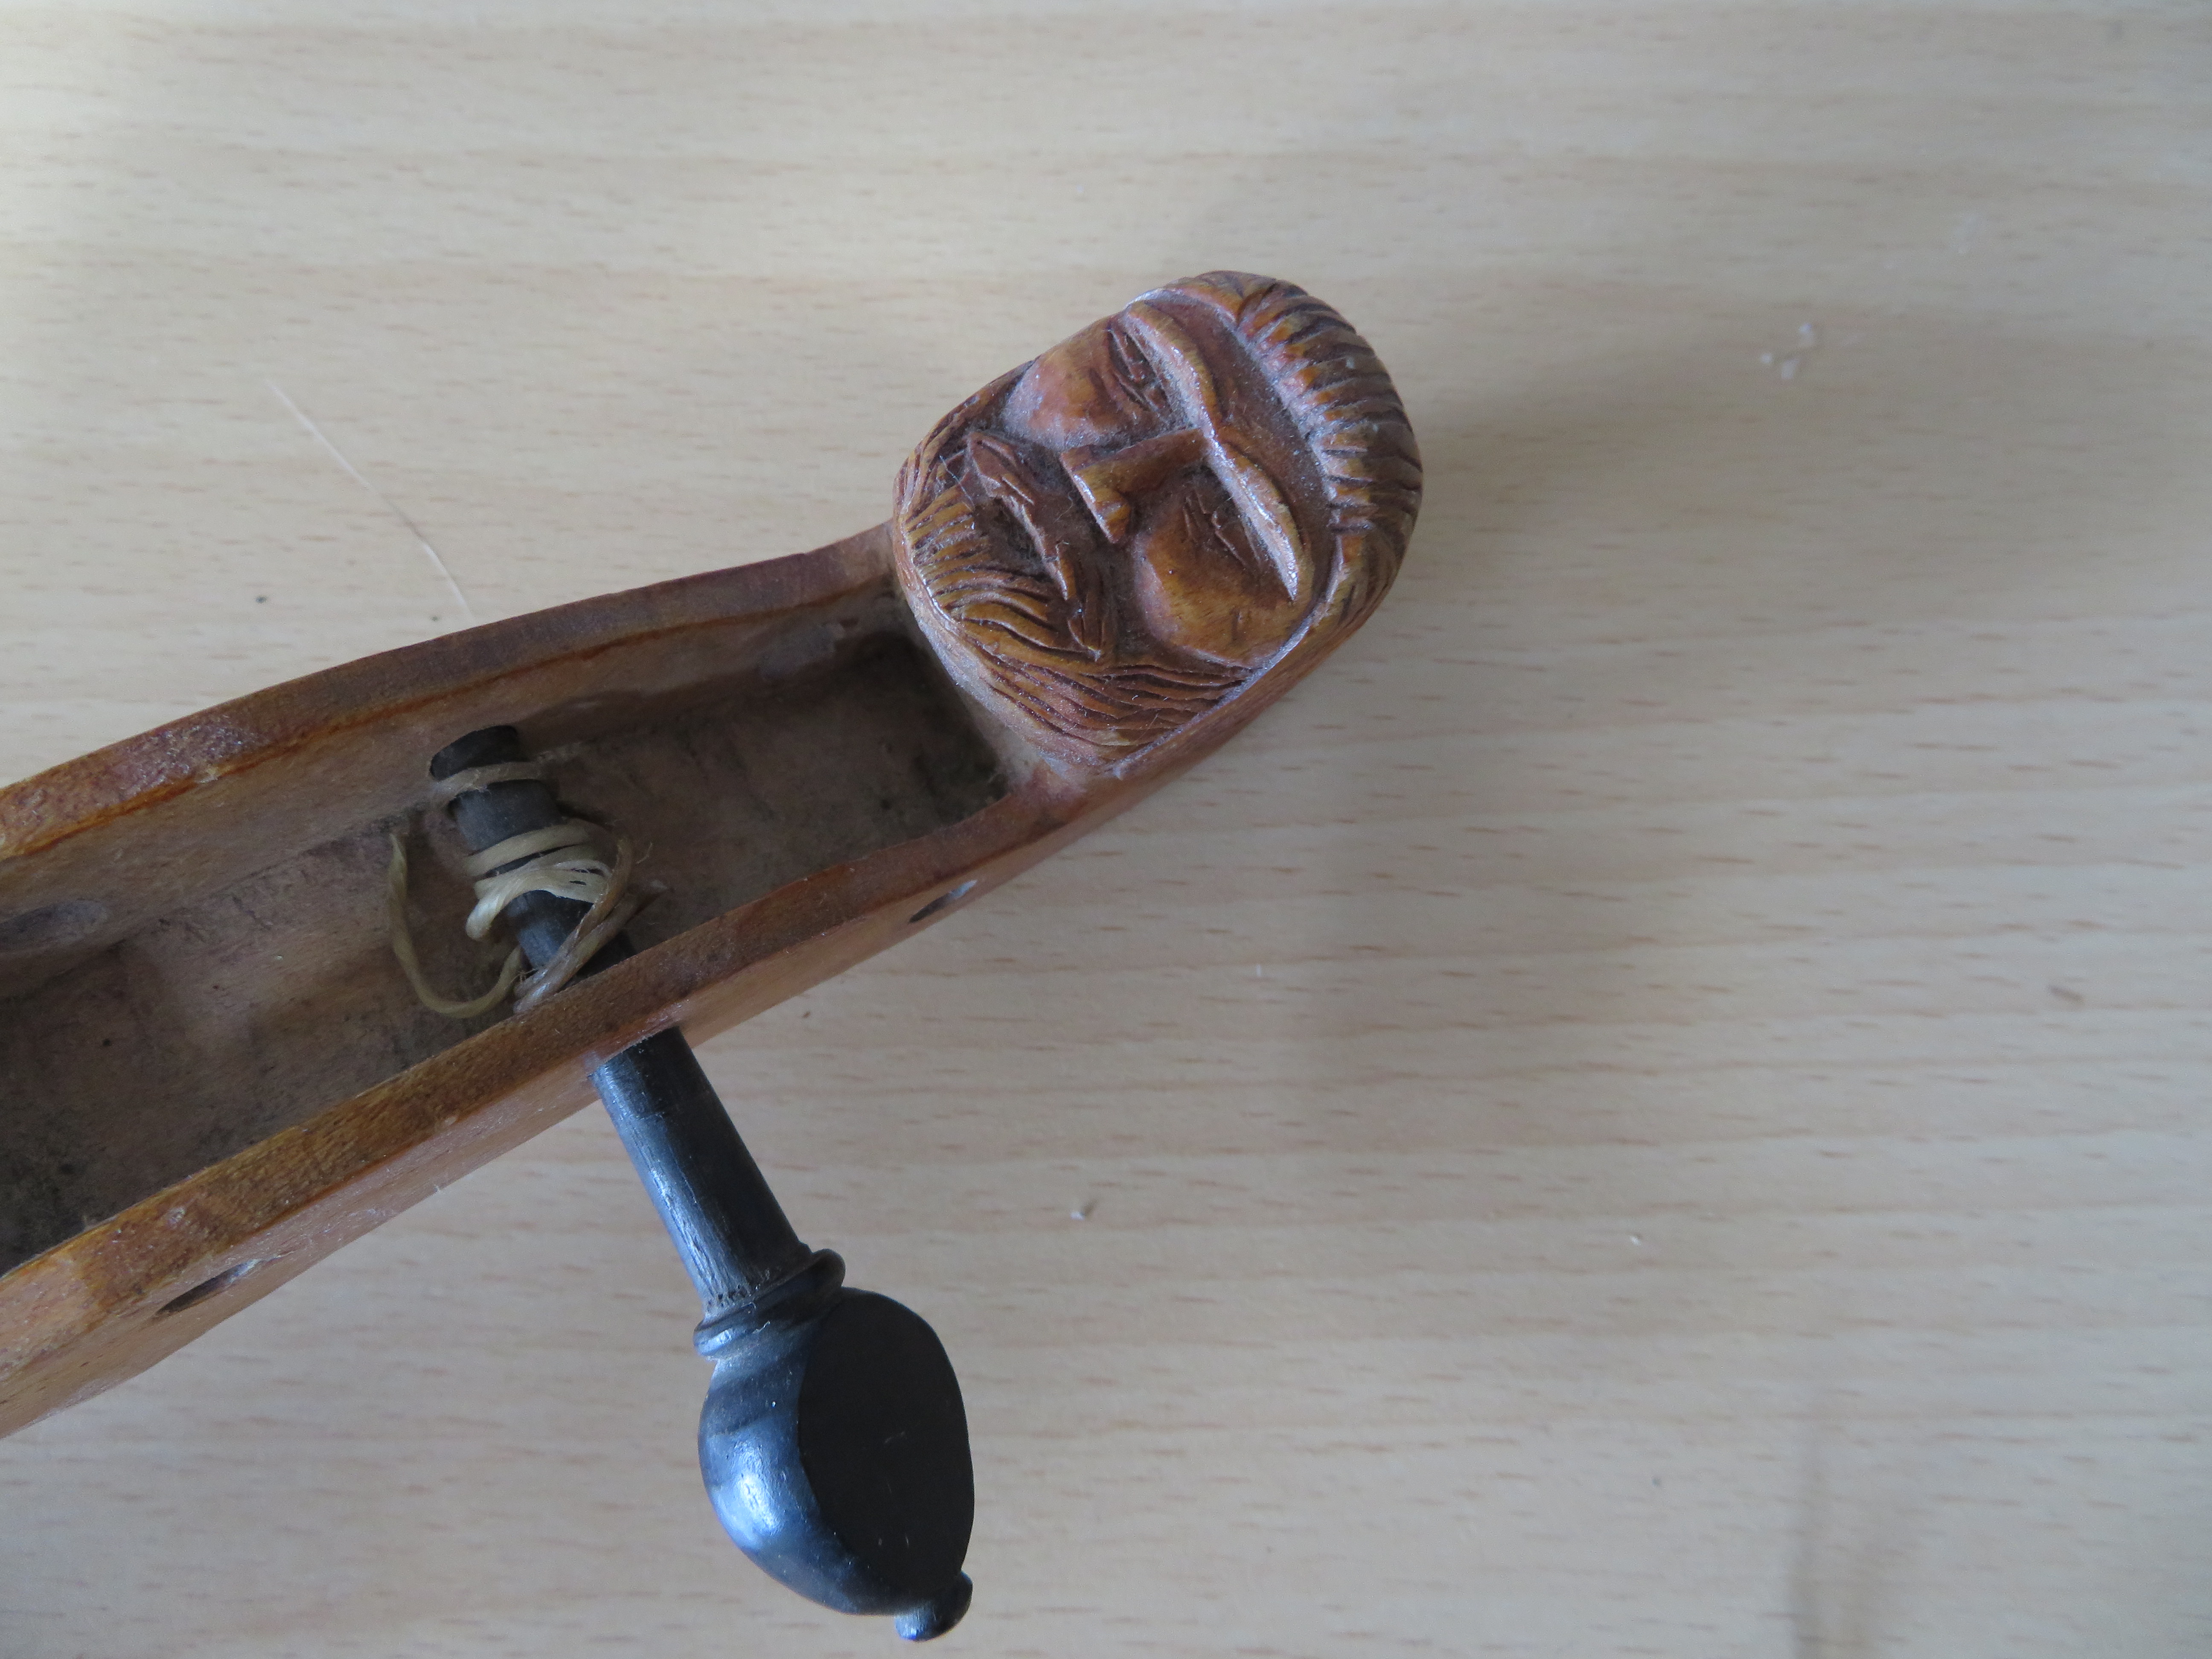
The keen eyed among you will have noticed that this is listed as part 1 and that is because at the time of writing I have only got so far with this project and will not be able to work any further on it for a while what with university and not having access to my woodworking tools. Therefore, this article will include a rundown of the state of the rebec and what things I need to do and how I am thinking I will do them and then also a more usual description of how I did what I have done so far.
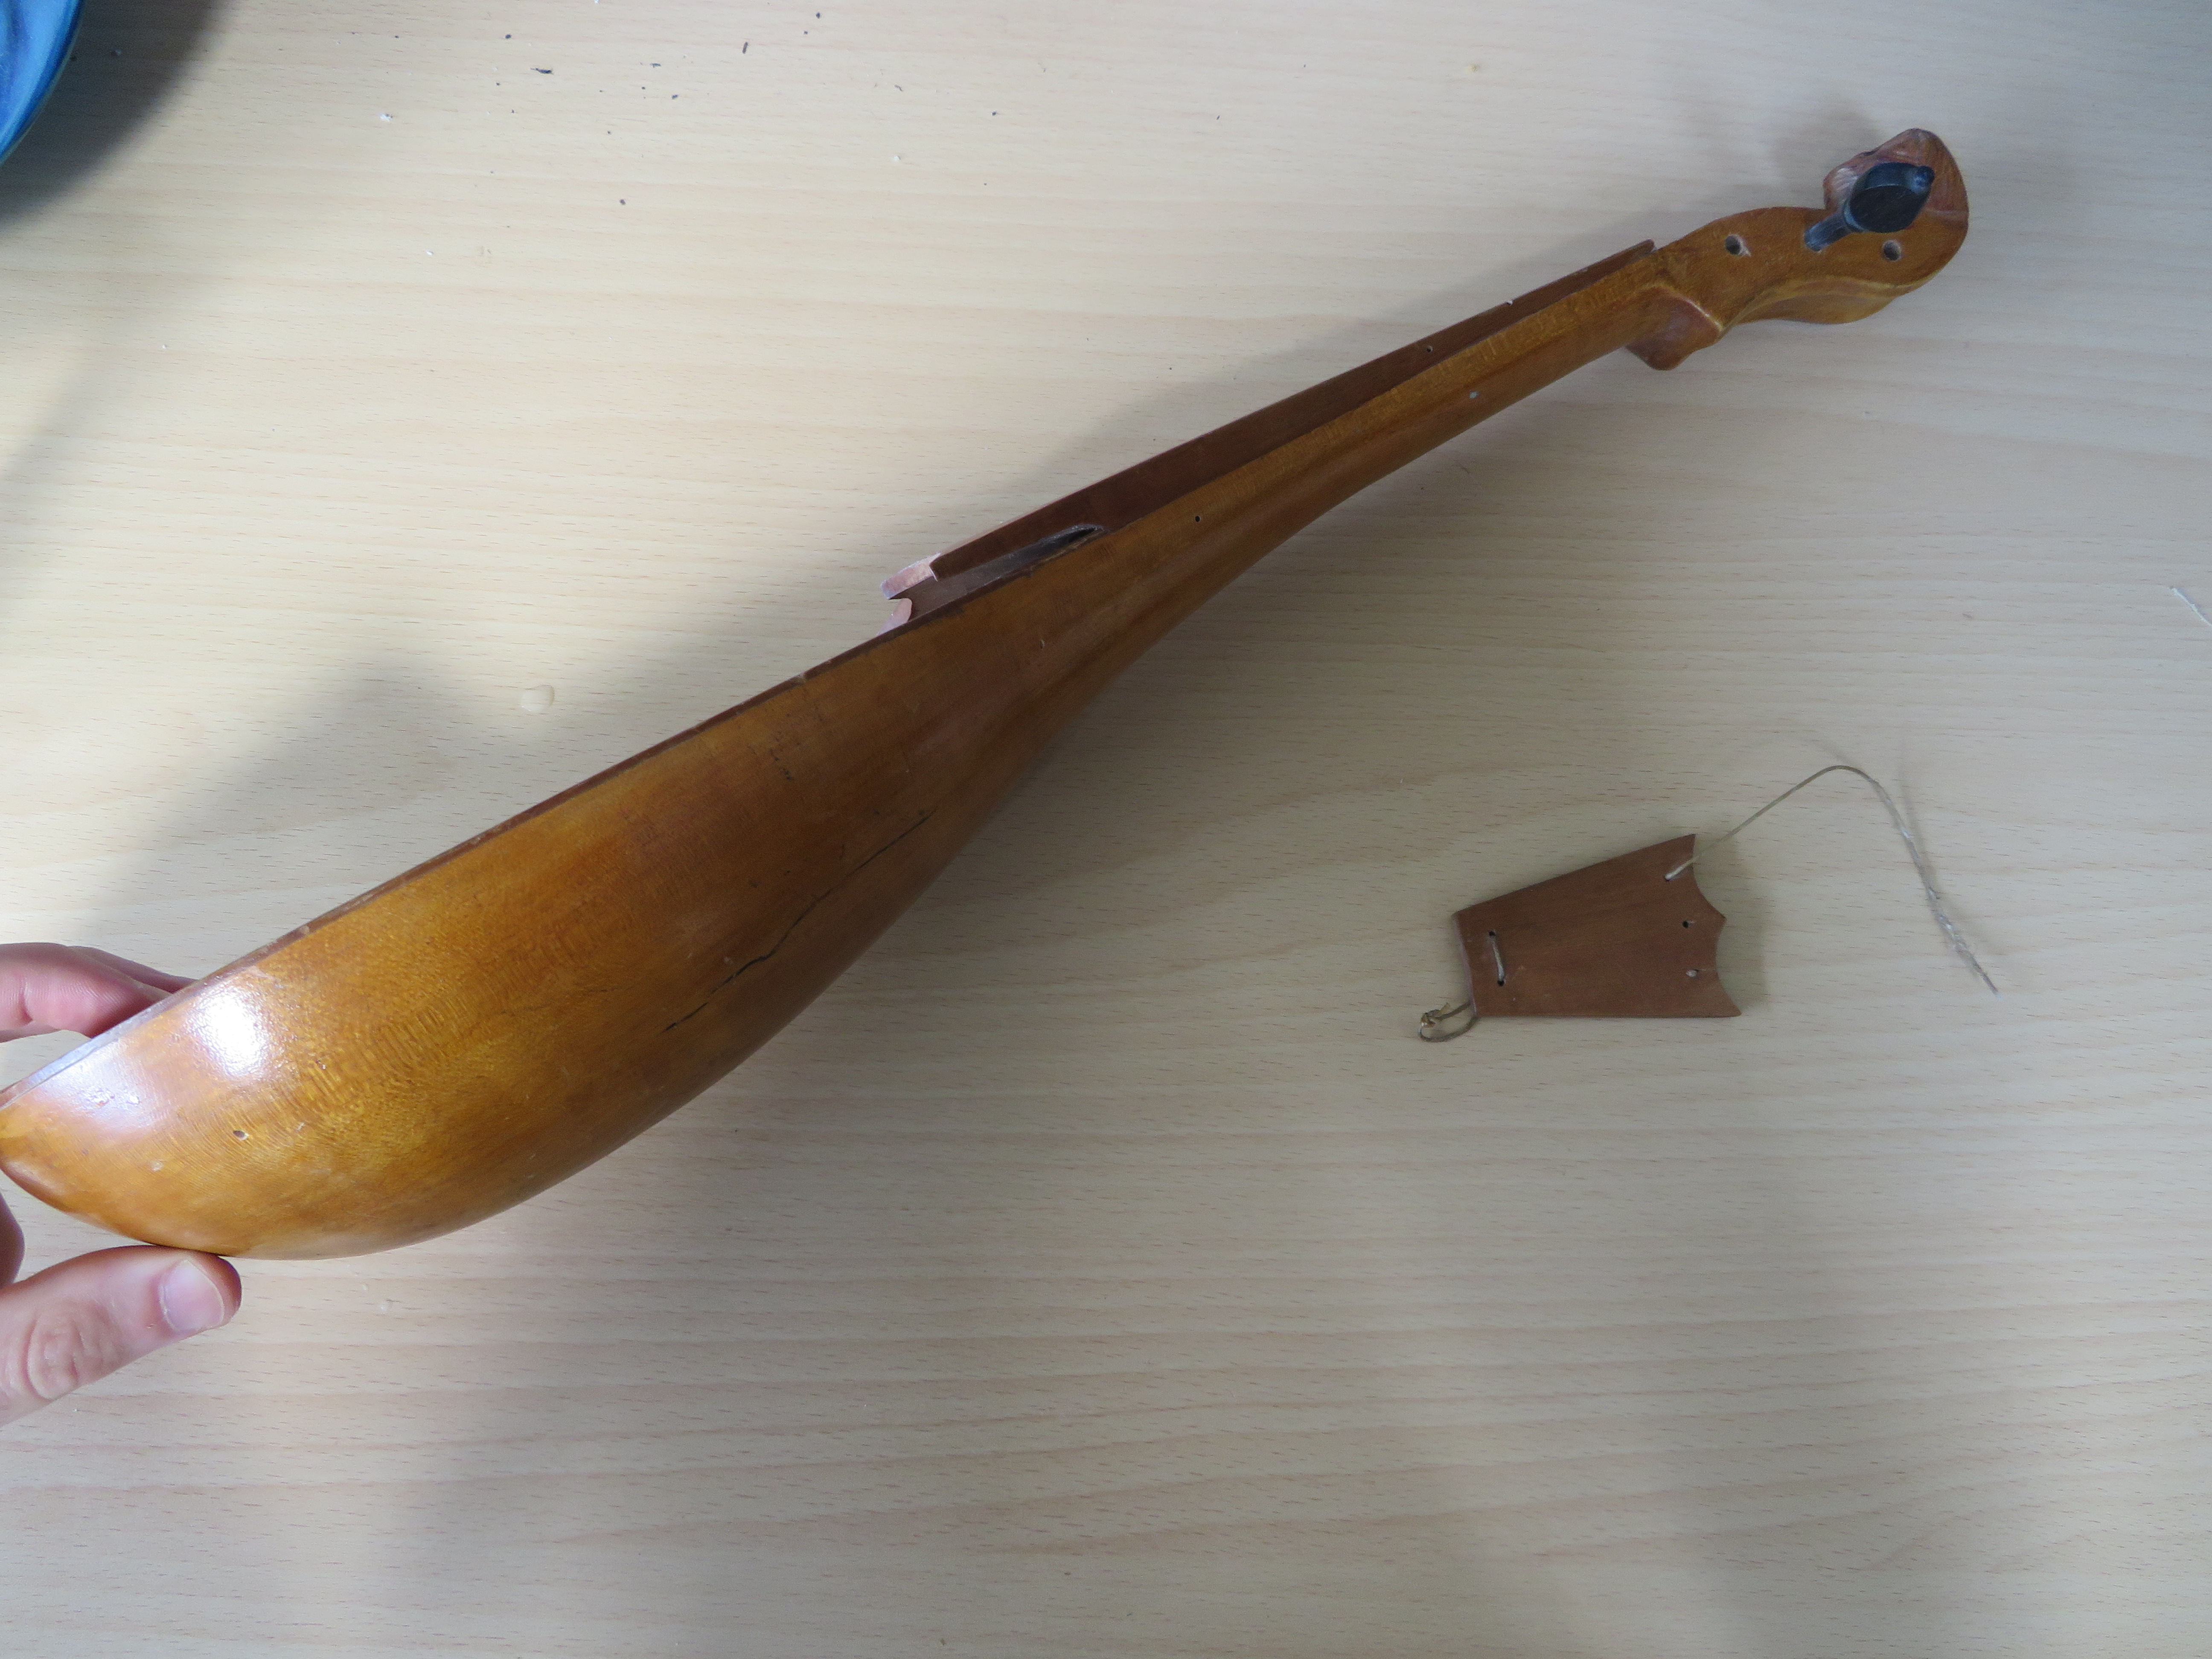
The first part that is broken is the soundboard, which is heavily cracked to the point of probably not being sturdy enough to support the bridge anymore. This is the part that I have already made a replacement for so more details on that will follow later in the article.
There is currently only one of the three tuning pegs remaining, but the one that if left is in good condition. These are going to be one of the trickier things to make as they really have to be turned and as I continue to not have a lathe that is rather difficult. What you can use to make the tapered section of the pegs, which is the only part where the shape is actually important (for the rest it is purely aesthetic), is something that is essentially an oversized pencil sharpener. So, an option would be to get one of them to form the tapered part and then to try and hand carve the heads on the pegs but that seems like it will be unlikely that I will be able to make them much of a match to the original one. A last resort would be to just try and either buy two that match the original or a completely new set of three but that seems to go rather against the spirit of the thing.
Another part that is missing is a peg that goes into the end of the body onto which the tail piece attaches, which is the part the strings are attached to. This is another part that would be quite a small and easy part to make on a lathe but trying to make it without is much more challenging.
The last part that is entirely missing is the bridge. I think this should be relatively easy to make and I should be able to follow a fairly similar process to what I used to make the body and I am also hoping that I should be able to use the same piece of wood.
The rebec came with a bow that is currently missing its hair but is otherwise in good condition. I can’t quite tell how the hair was originally attached and it may end up being rather tricky to replace so I will probably just use a regular violin bow on it initially.
Making the sound board


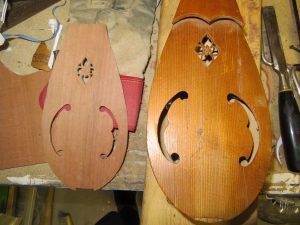
All that remains is to remove the original soundboard and glue this one in its place.
….and then do all the other things I talked about earlier, which will come in part two, eventually.
EDIT: part 2 is here!
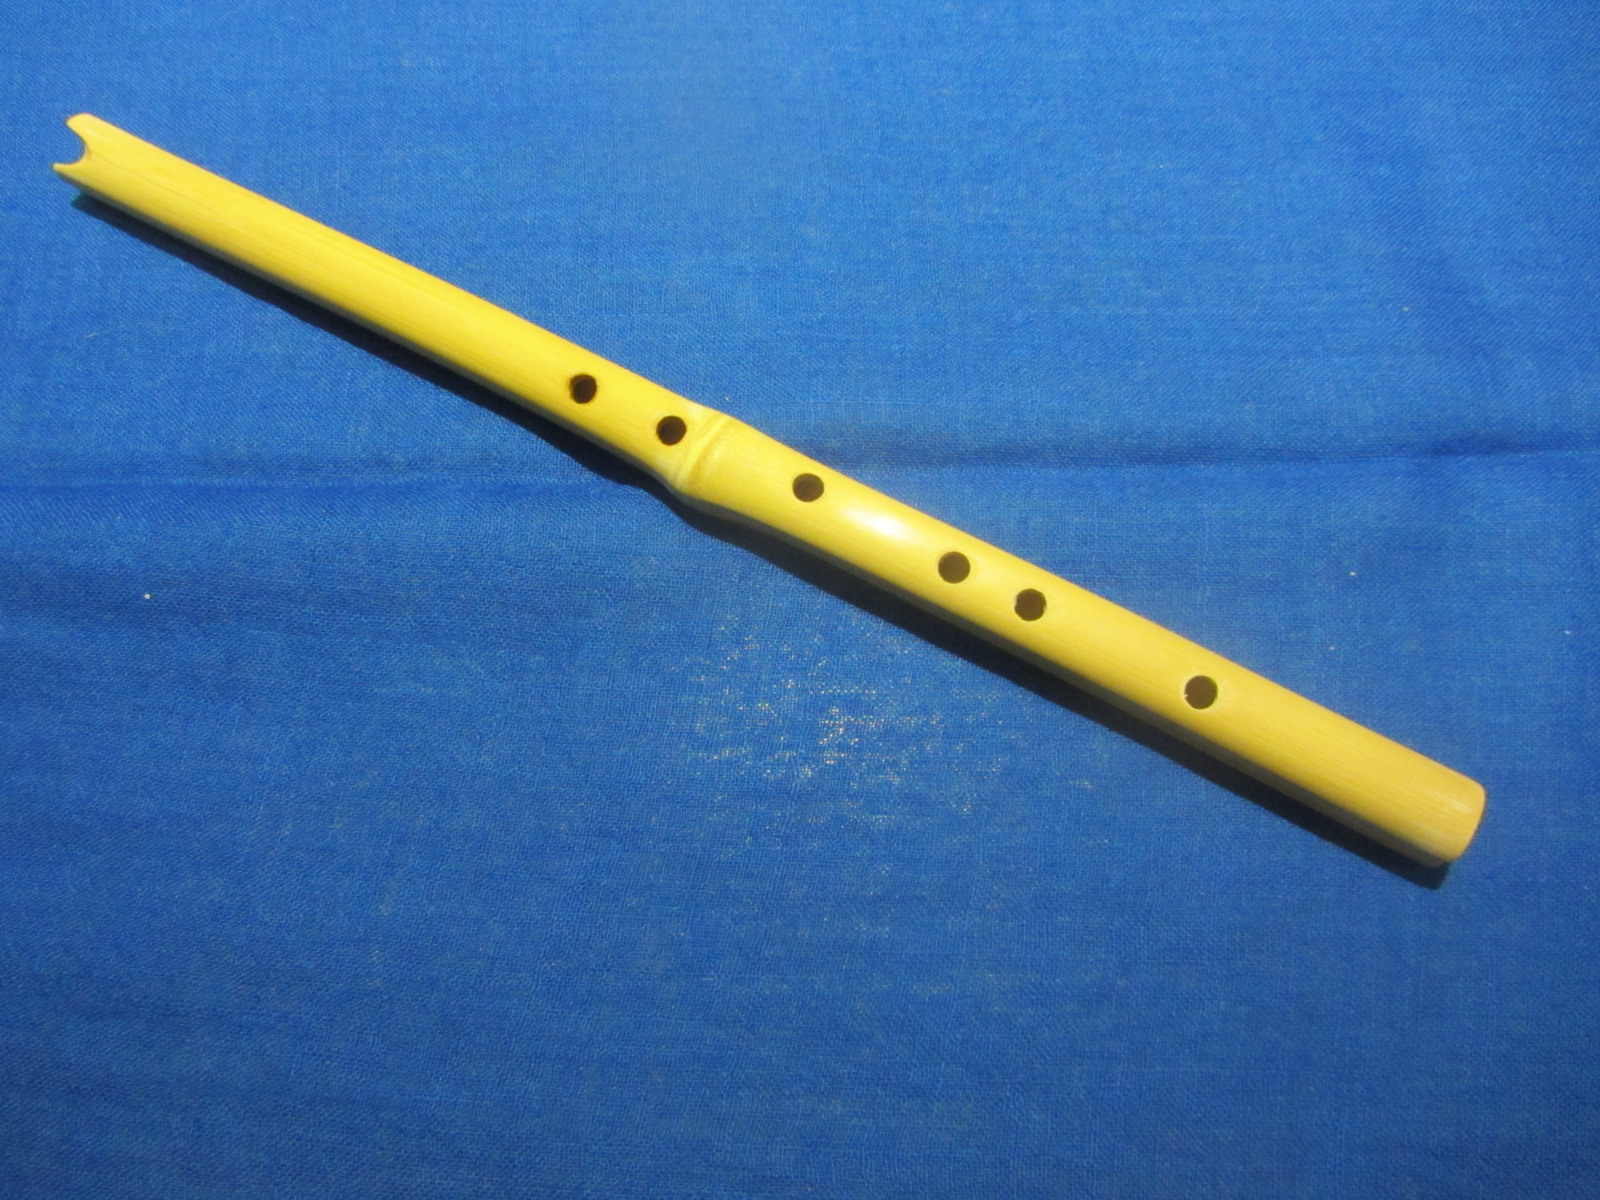
This style of flute is among the oldest and most straightforward to make instruments. Flutes of this style are quite widespread with examples being the Quena from the Andes and the shakuhachi from Japan. While it is fairly easy to make I found it rather difficult to play even compared to regular flutes which are already fairly tricky. The flute works by sealing the hole with the area bellow your bottom lip and then blowing down over the notch to create the vibrations in the instrument. Covering the finger holes then changes the note as with an ordinary flute or a recorder.
To start the project I selected an appropriate length of bamboo. Bamboo is ideal for this sort of instrument as it is already hollow most of the way down, with solid parts only at the divisions between the sections, called nodes. Luckily we have some fairly large bamboo in our garden, which made sourcing a piece very straight forward. Although this bamboo has somewhat thinker walls than would be ideal. When I found a part with fairly large diameter and two sections spanning roughly 30cm I sawed through it just inside of each of the nodes leaving a tube that was open at each end and had a solid node in the middle. The next stage was to open up the node in the middle, which proved to be a reasonable amount of work. The only thing I has that was both thin and long enough was a length of threaded rod, which I used to ram down the bamboo it try and knock out the middle of the node. Once a hole had opened up I used double sided tape to attach sandpaper to the rod and used that to widen the hole and clean up the inside.
The next stage is working out where to place place the finger holes, to do this I used the flutomat calculator. I entered dimensions and then tried different scales until I had a set of holes that would fit nicely on the flute. Where the calculator says embouchure it is referring to the hole that you would blow across on an ordinary flute, for this design this is effectively the end of the flute. Now the flute needs to be cut down so that its overall length is the length given for the embouchure.

I then drilled the holes. Bamboo has a sort of groove running down each segment, with each one being on the opposite side to on adjacent segments, when drilling the holes I oriented the bamboo such that the two grooves were on the right and left sides rather than top and bottom. It is important to realize that the holes do not need to be all in a straight line down the middle of the flute. Moving them slightly over to either side will make it much more natural to hold so, once you have marked up where each hole needs to be try holding the flute and see where your fingers naturally want to go (obviously only moving them side to side and not further up or down the flute). This is where you should place the holes. I first ran over where I was going to place each hole with a half round file so as to give a better surface to drill into. I then drilled a small pilot hole before expanding it to the full width. I then files over it again to give a slight dip around the hole for your fingers to fit in.
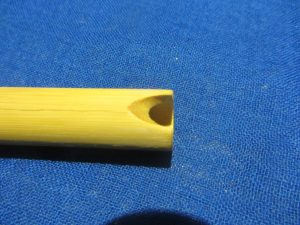
Then comes making the mouth piece. I shaped this using a round file. It needs to have a ‘U’ shape with a sharp edge at the bottom. There is quite a lot of variation of the exact shape with some being much shallower and others being deeper like the one I made. I would recommend searching about for different pictures and also experimenting a bit with how it sounds with different shapes. Although you will not be able to add material back once you have taken it off so if you have a shape that sounds good probably don’t take it any further.
After this all that remains is to give it a nice surface finish, which I did by going over it with sandpaper, working up the grits until it has a shiny surface, which is relatively easy to achieve with bamboo. If you wan’t to go on to paint it you will probably have some difficulty as bamboo does not seem to take well to any paints that I tried, the surface being much too shiny and not absorbent at all.
Now that you have your flute all that follows is trying to learn to play it, which may prove to be a bit of a struggle.