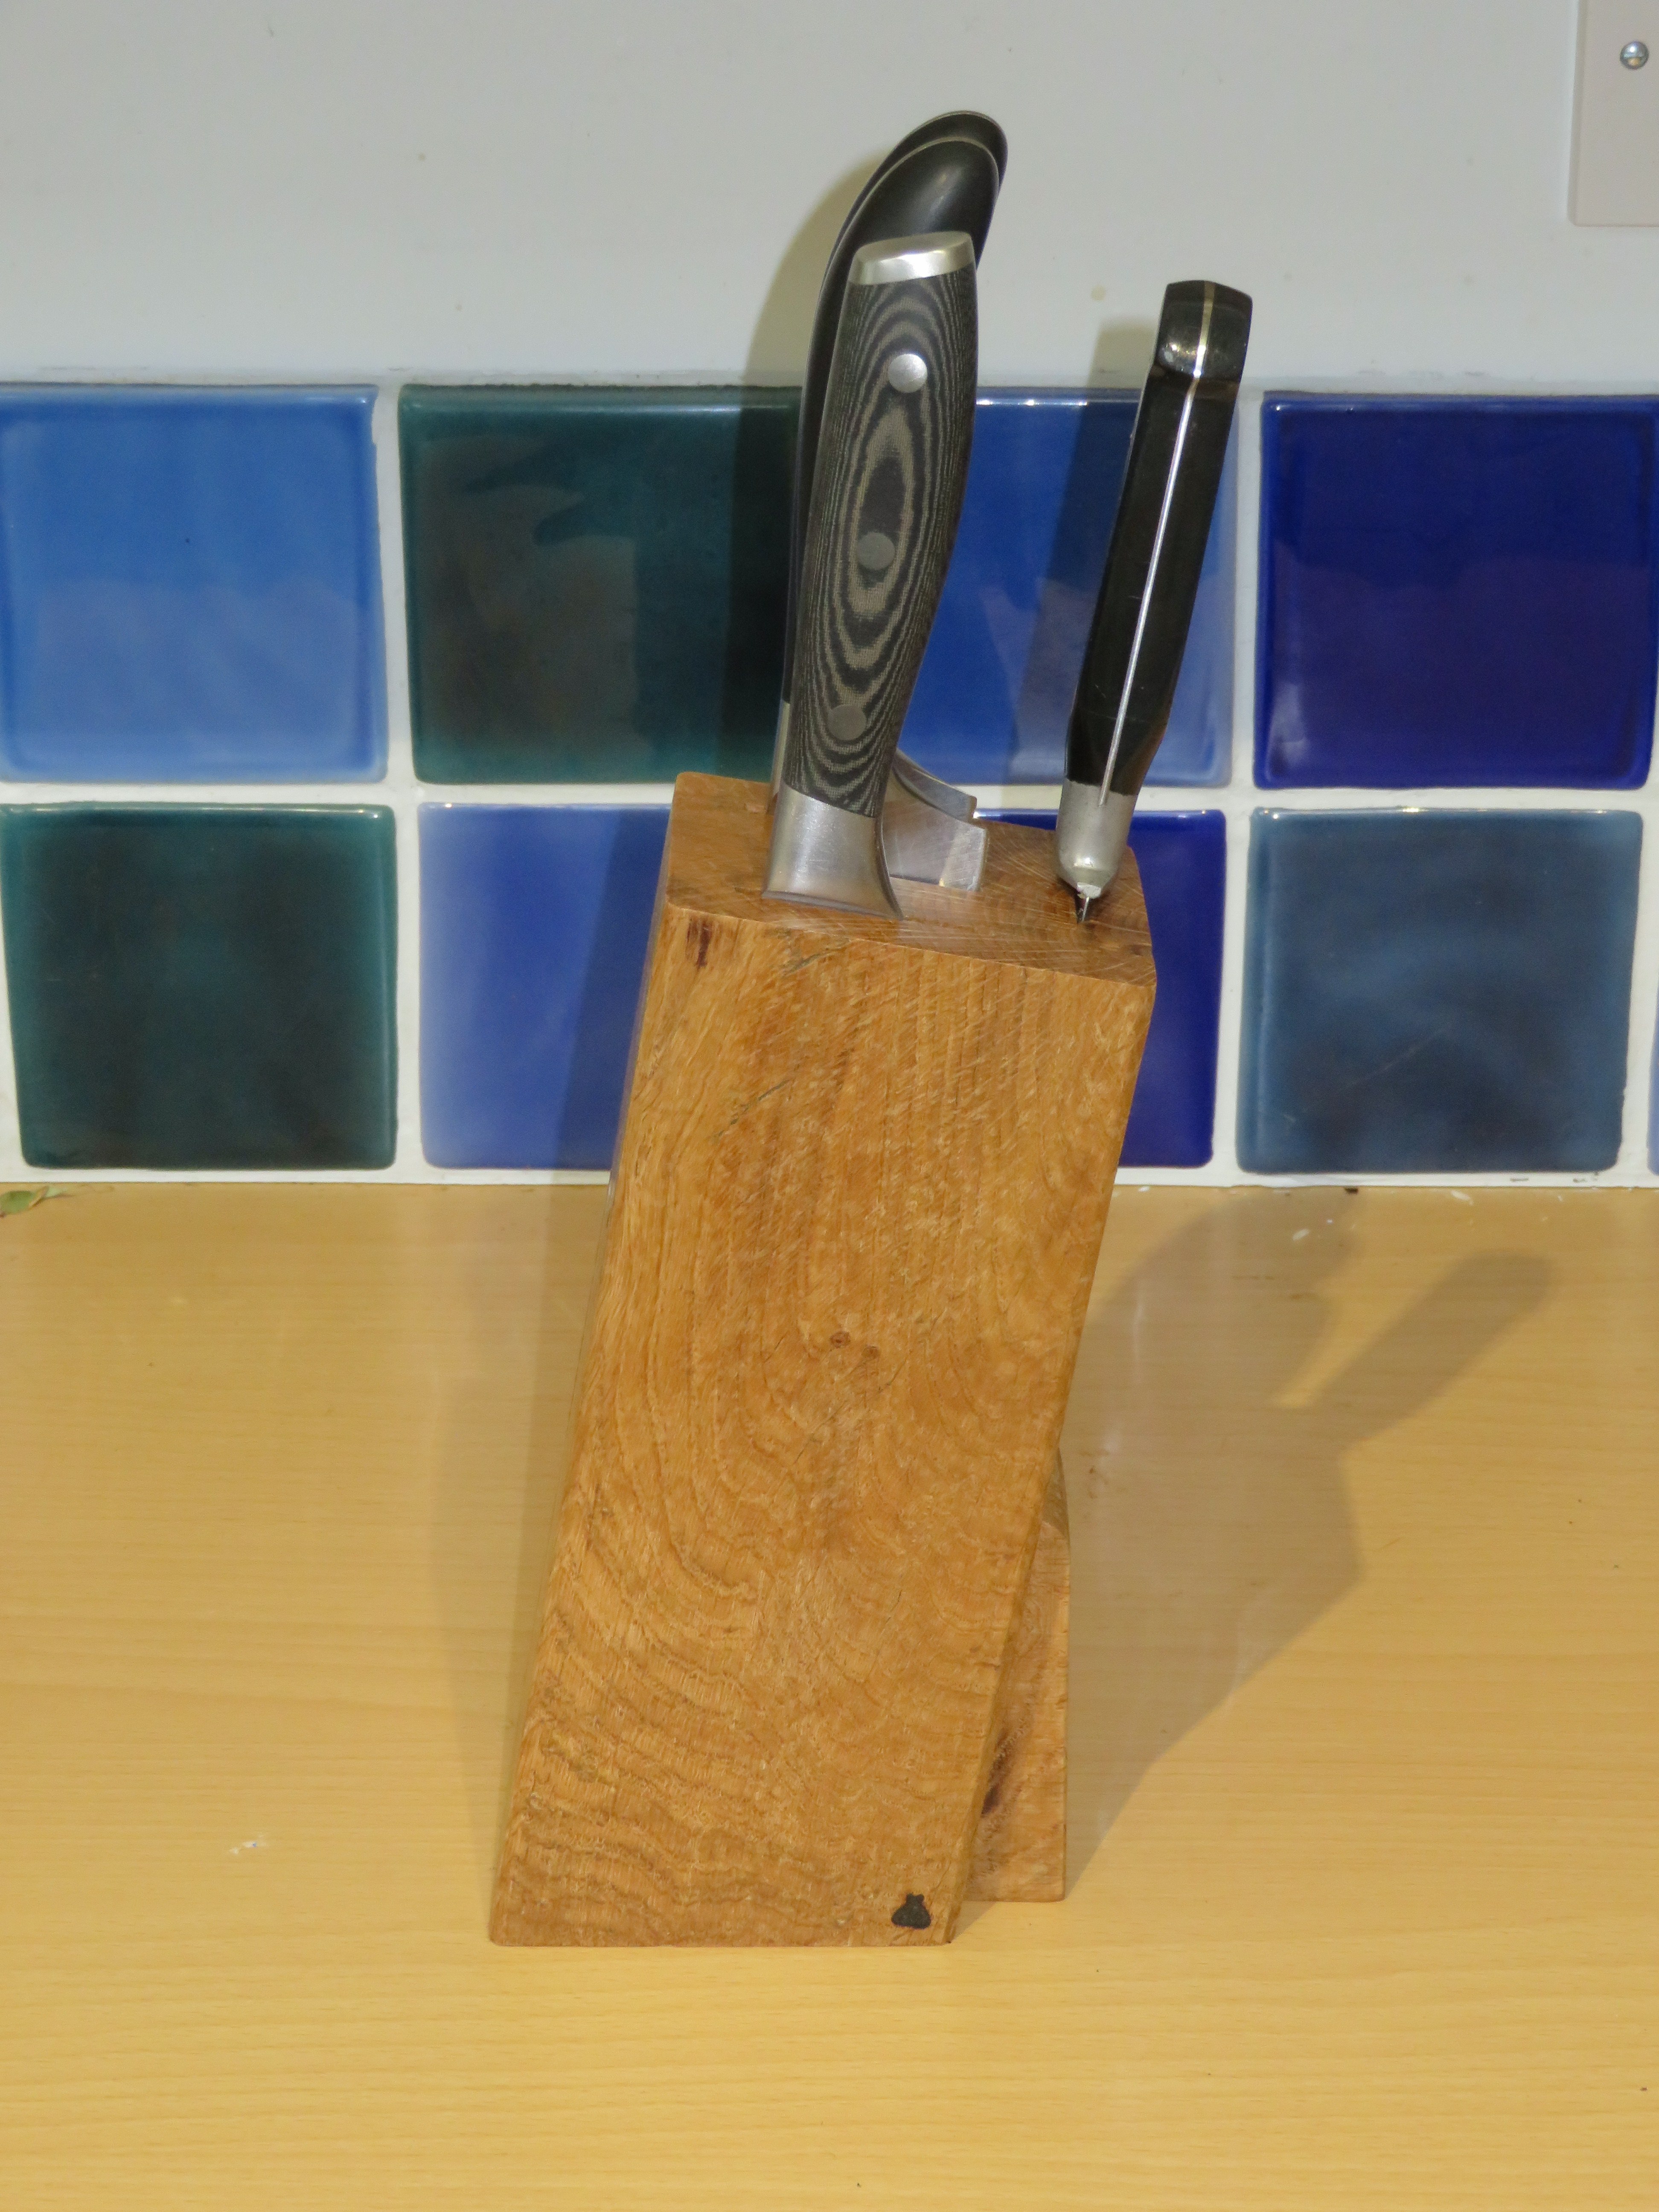
Following a few birthdays a Christmases of giving my dad kitchen knives I have now created a demand for a knife block which I can fulfill as another birthday present. I was fortunate to be able to get a rather nice piece of oak from a generous man in the village, which served this project rather nicely.
This project is the first time I have properly used my table saw, so there was a bit of a learning curve to that.
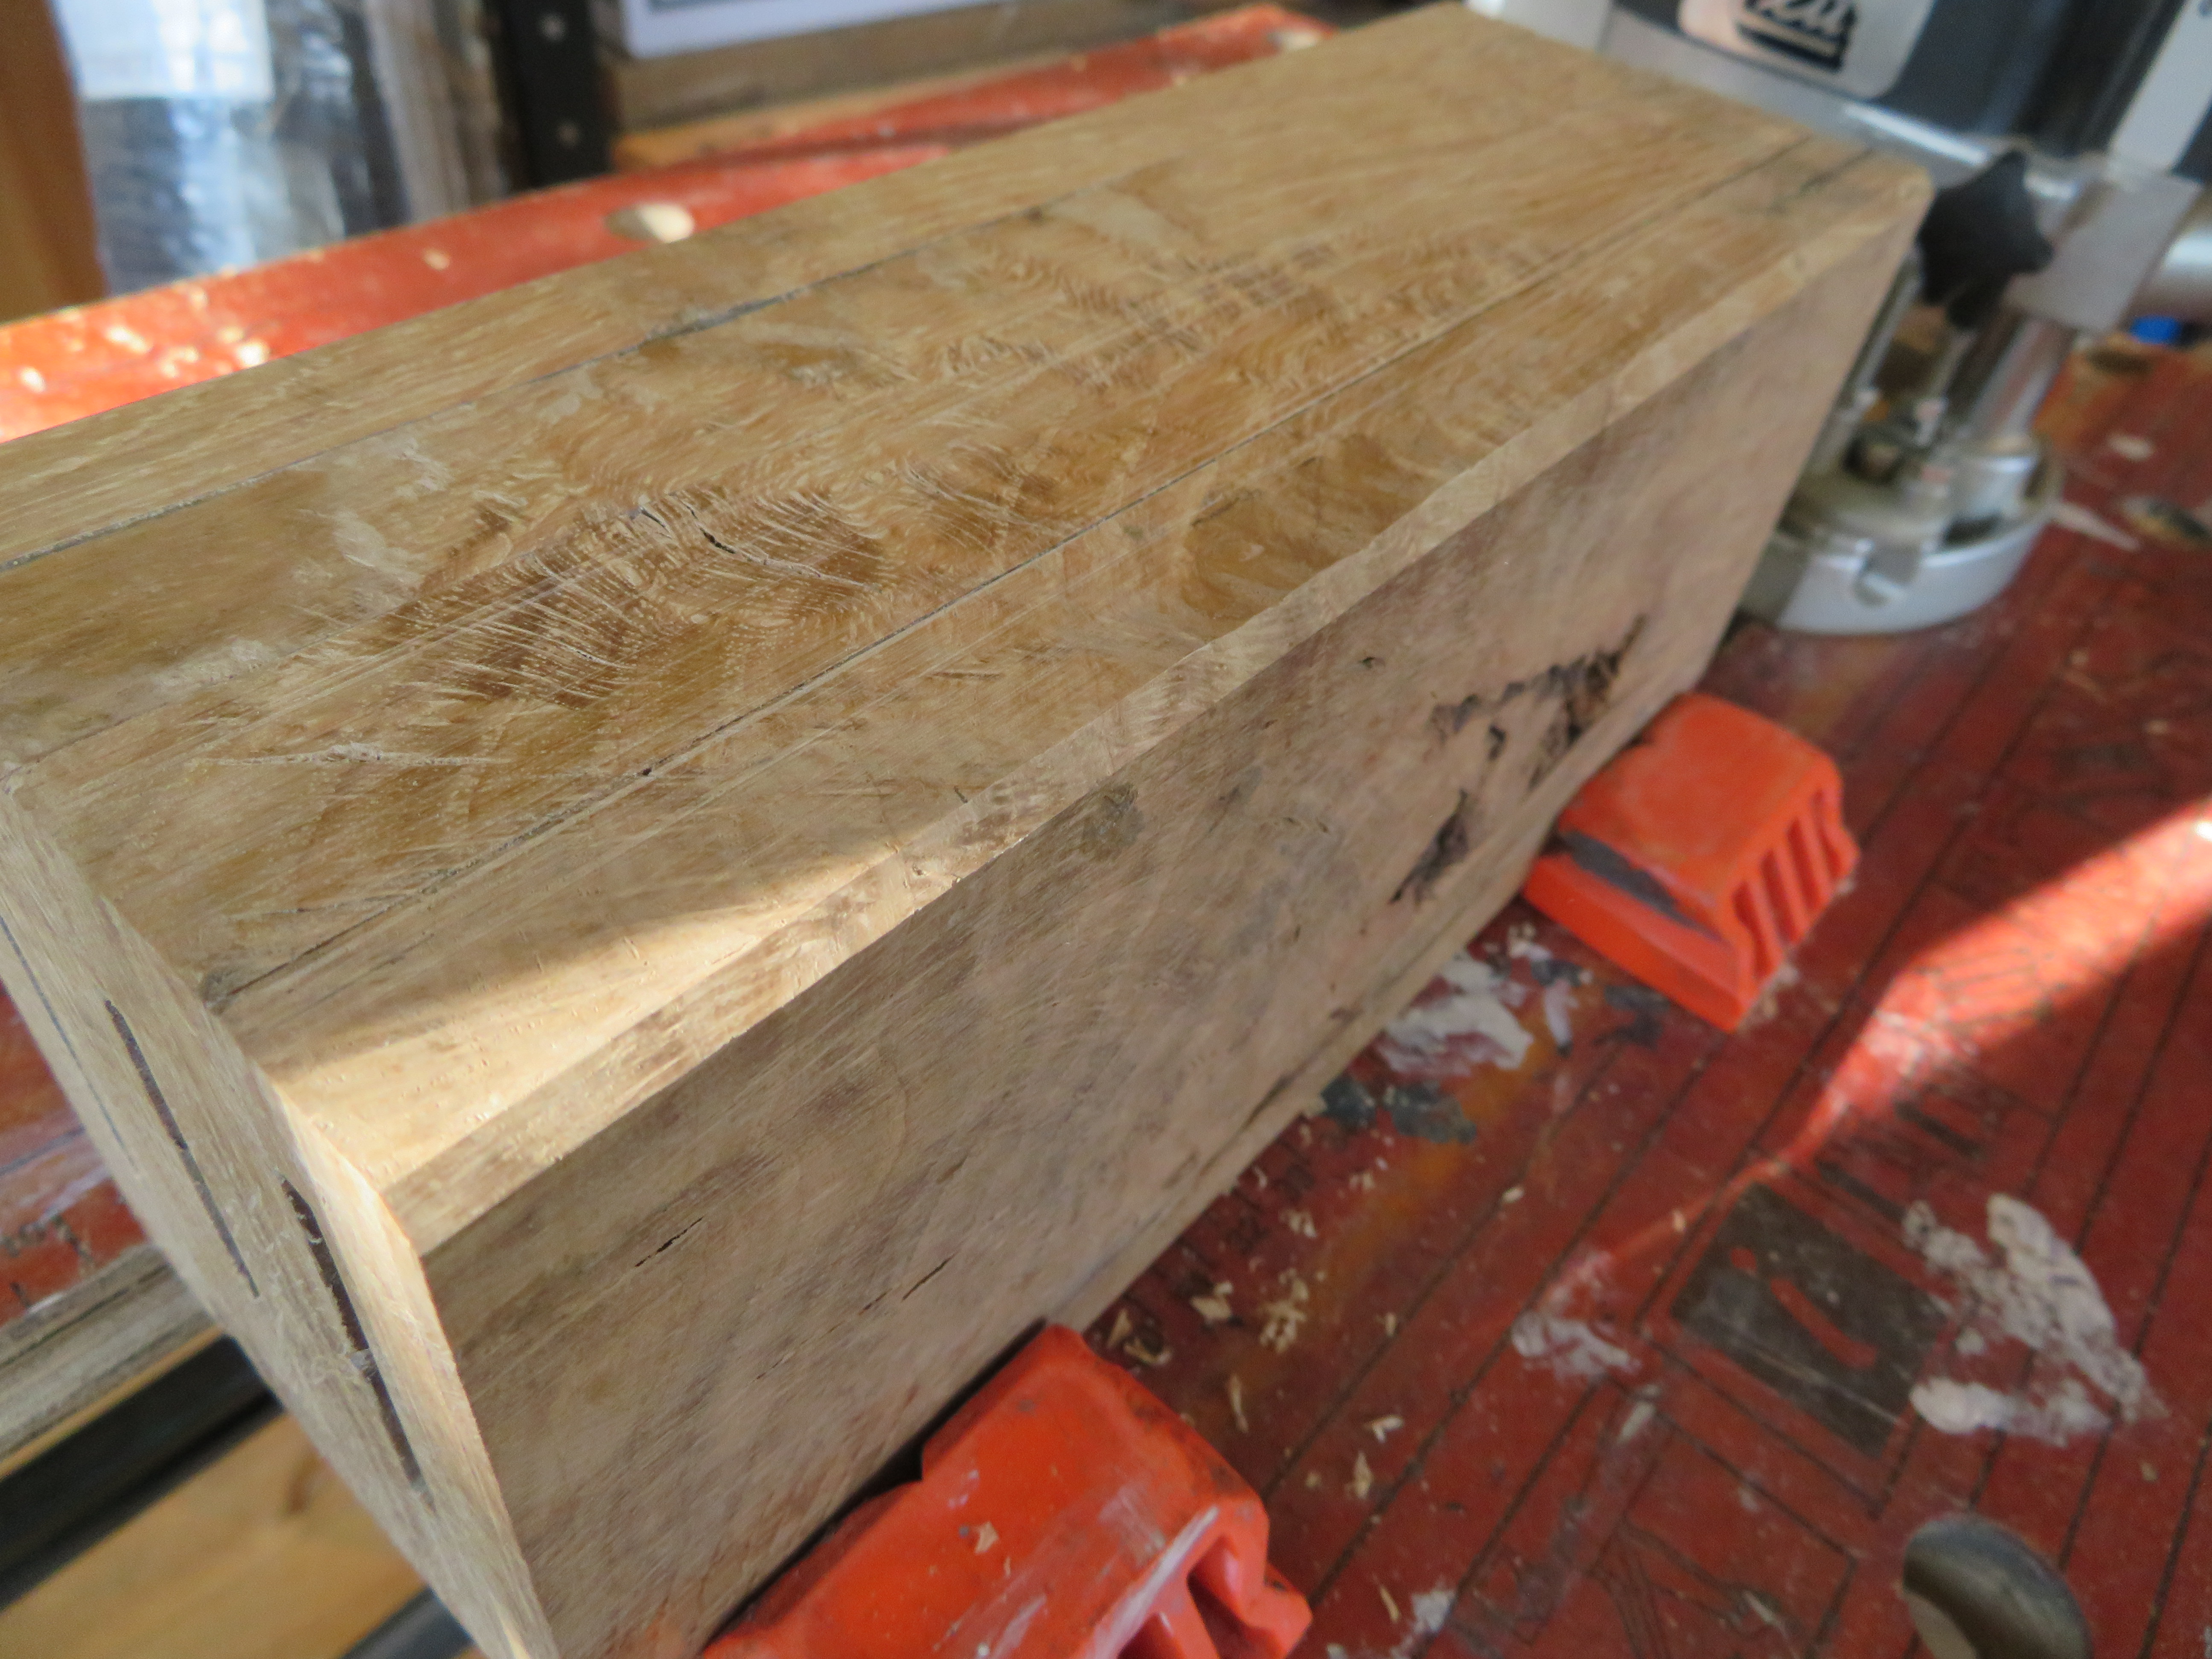
Milling the Wood
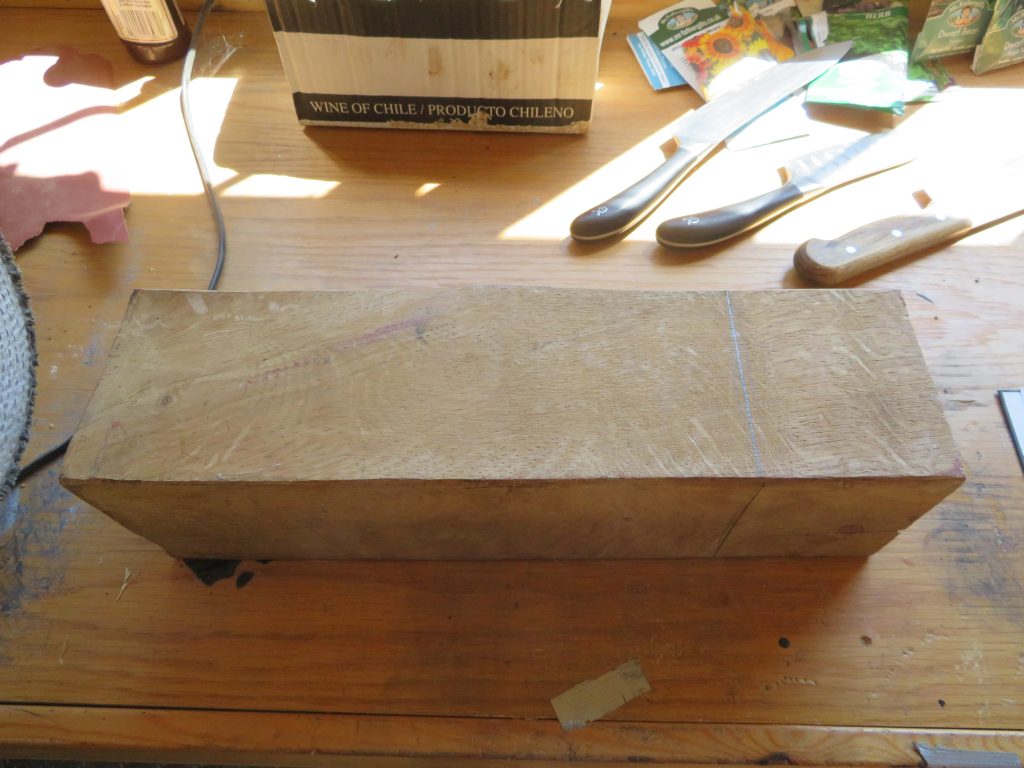
The first step was to square up the block. I very quickly discovered two things: 1) oak is very hard (this really shouldn’t have been a surprise) and 2) the blade on my table saw was very blunt. So I ordered a new table saw blade and set about on the block with hand tools as I waited for that to arrive. I spent a long time and burnt quite a few calories with a plane trying to flatten out the sides and with a hand saw cutting the excess length away.
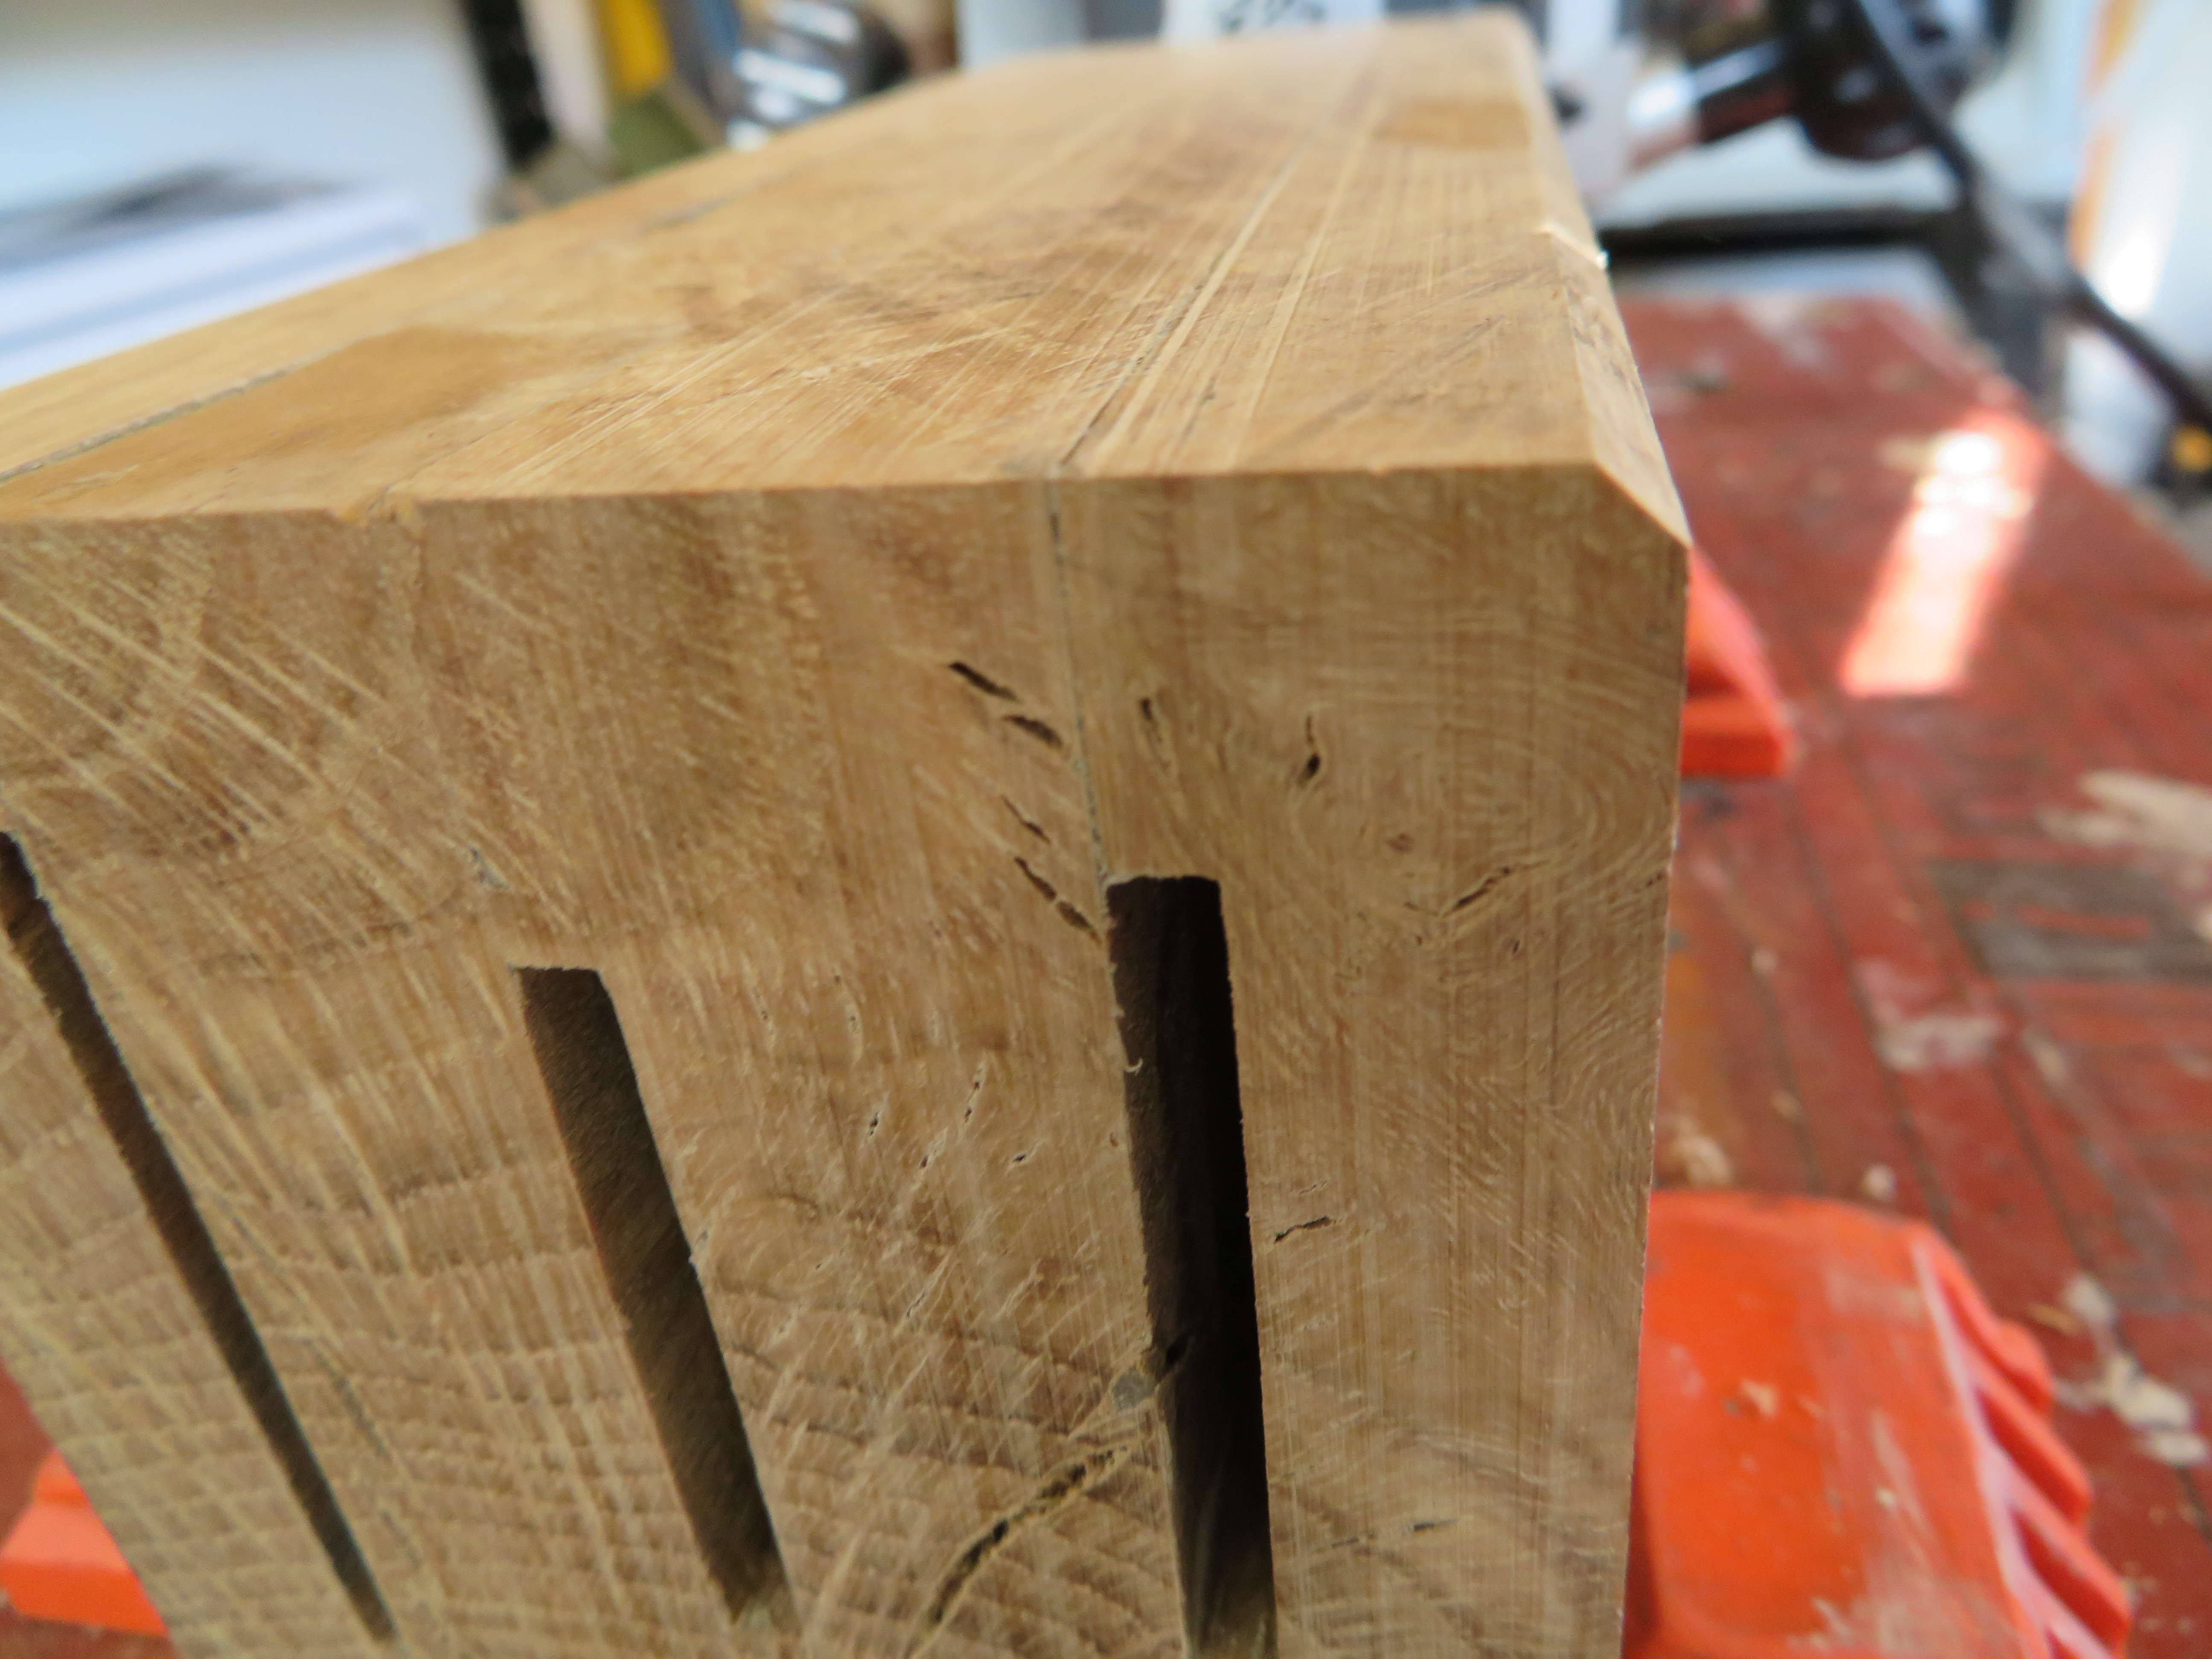
Cutting the Slots
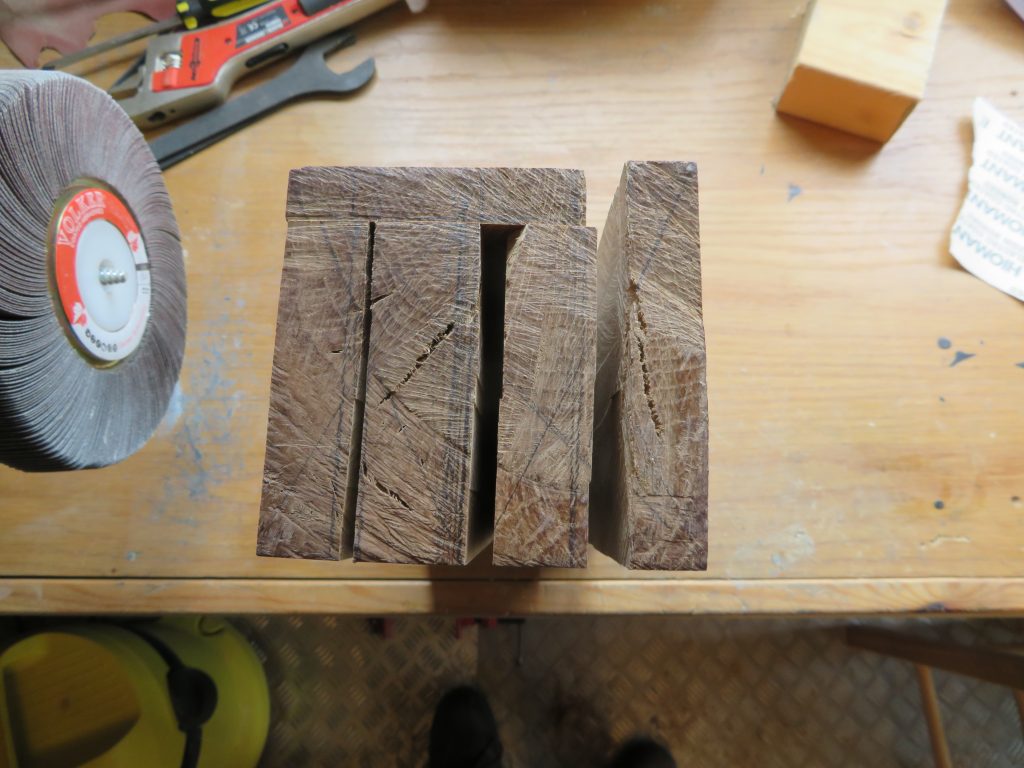
To cut the slots for the knives I first cut along the length of the block with the table saw in the places I wanted the slots to be, splitting it into a number of planks. My table saw blade was not large enough to cut through the whole block so I had to do multiple cuts of increasing depth from both sides. This ended up giving a rather uneven stepped cut, which I then had to clean up by hand.
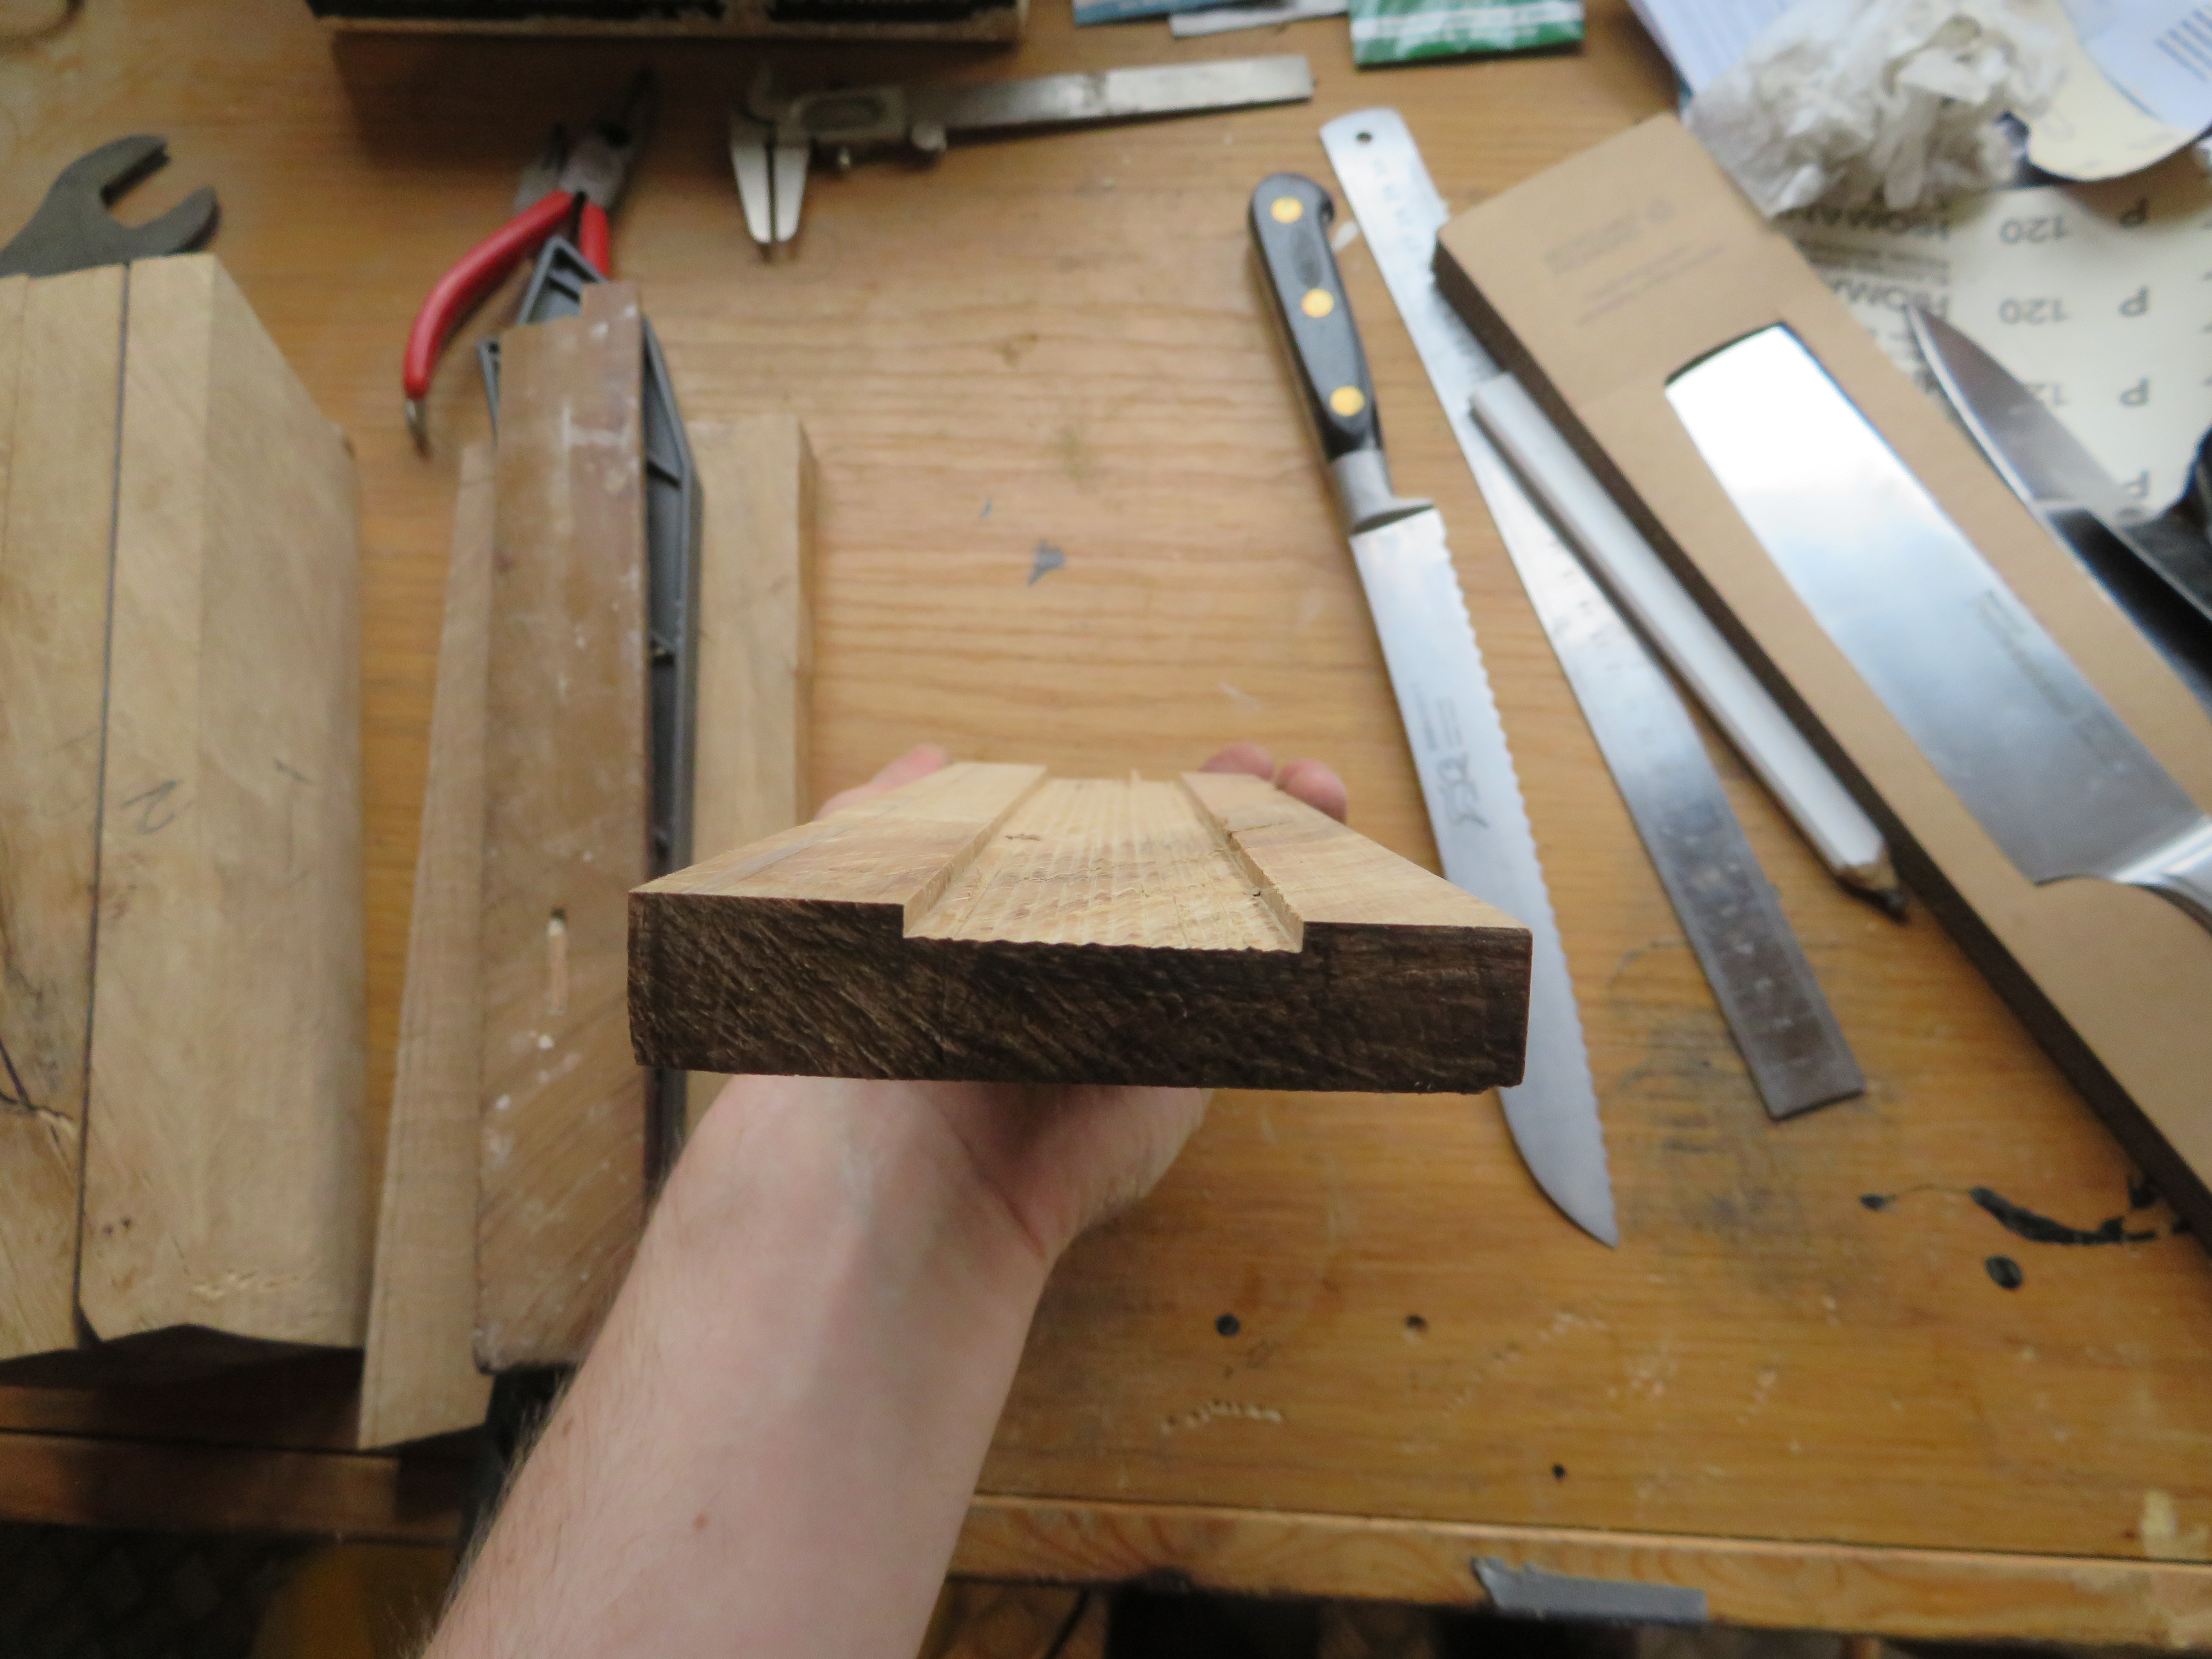
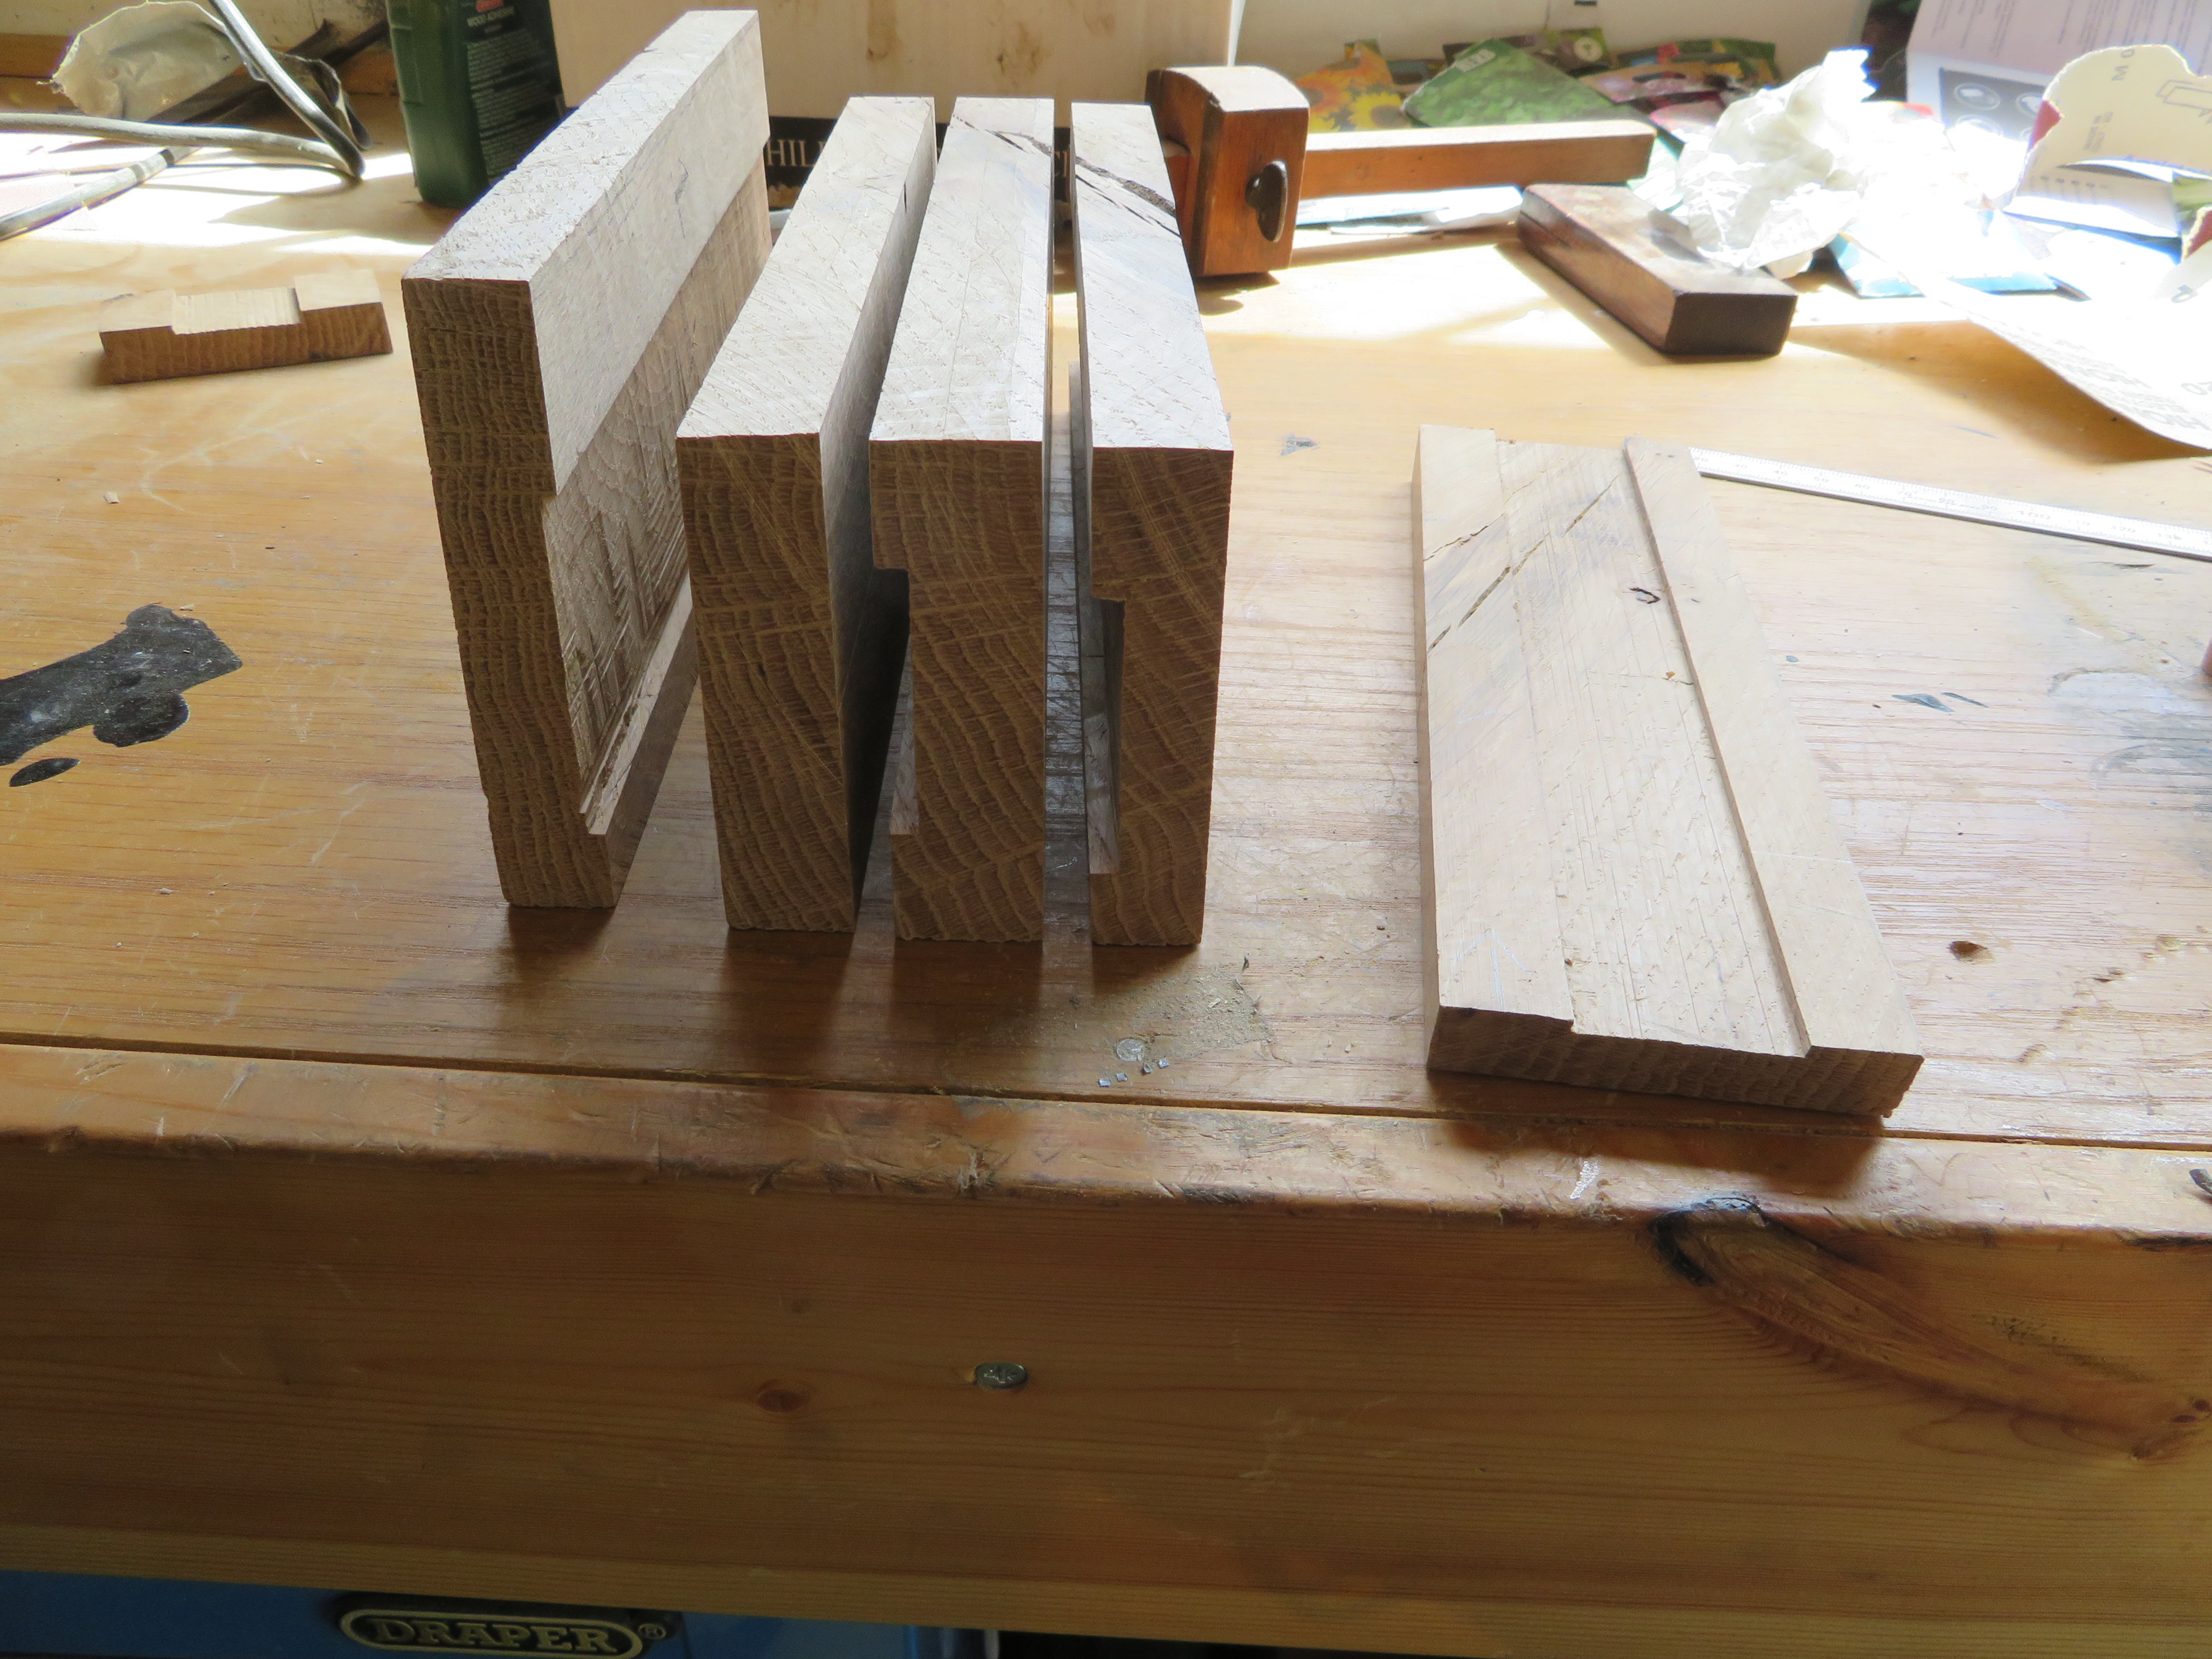
Once I had my planks I then cut the slots by making many shallow depth cuts with the table saw. The slots then needed some cleaning up with chisels and sandpaper.
Assembly

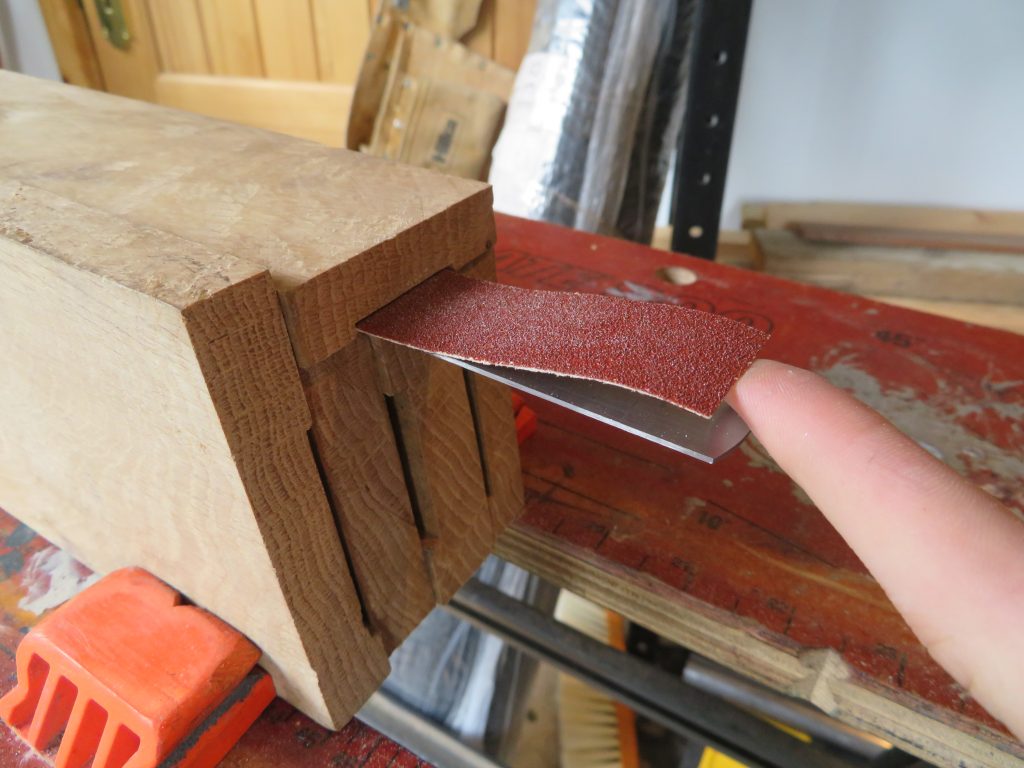
I then glued all the planks back together into a single block. I also applied glue to the insides of the slots to seal them. However, this meant that some of the slots became too tight for the knives to fit in so I sanded out the slots with some sandpaper attached to a steel rule with double sided tape.
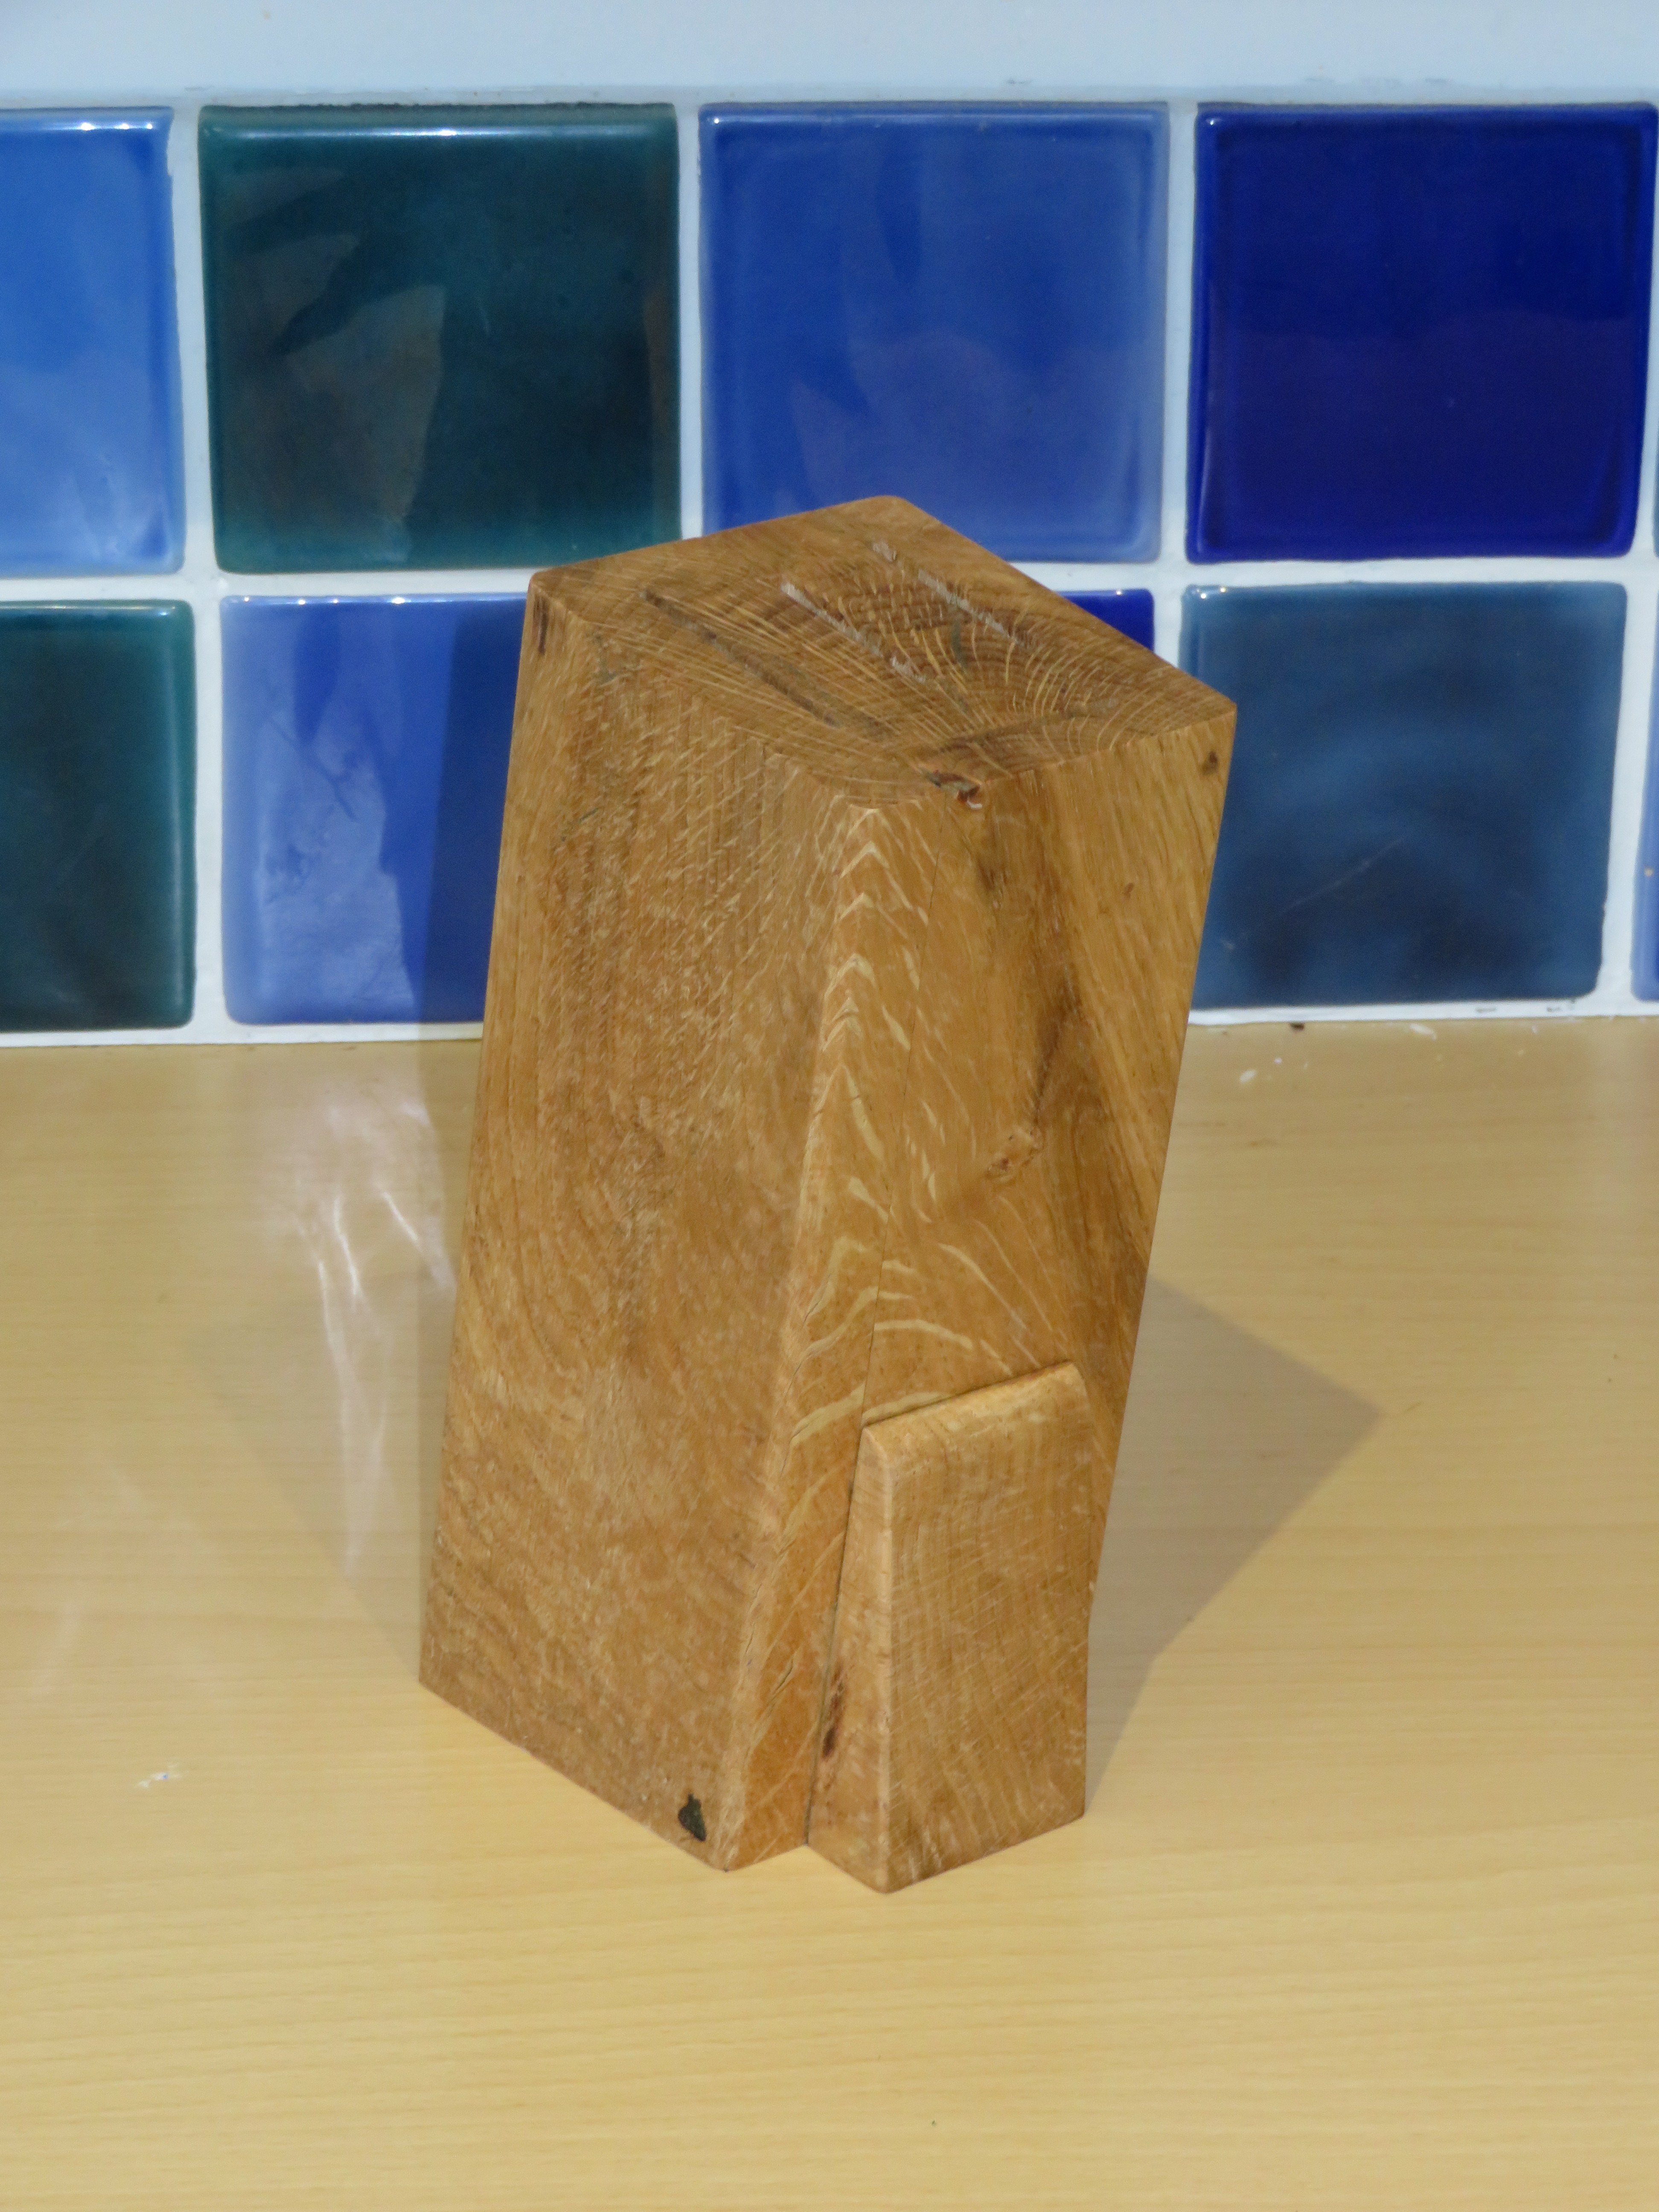
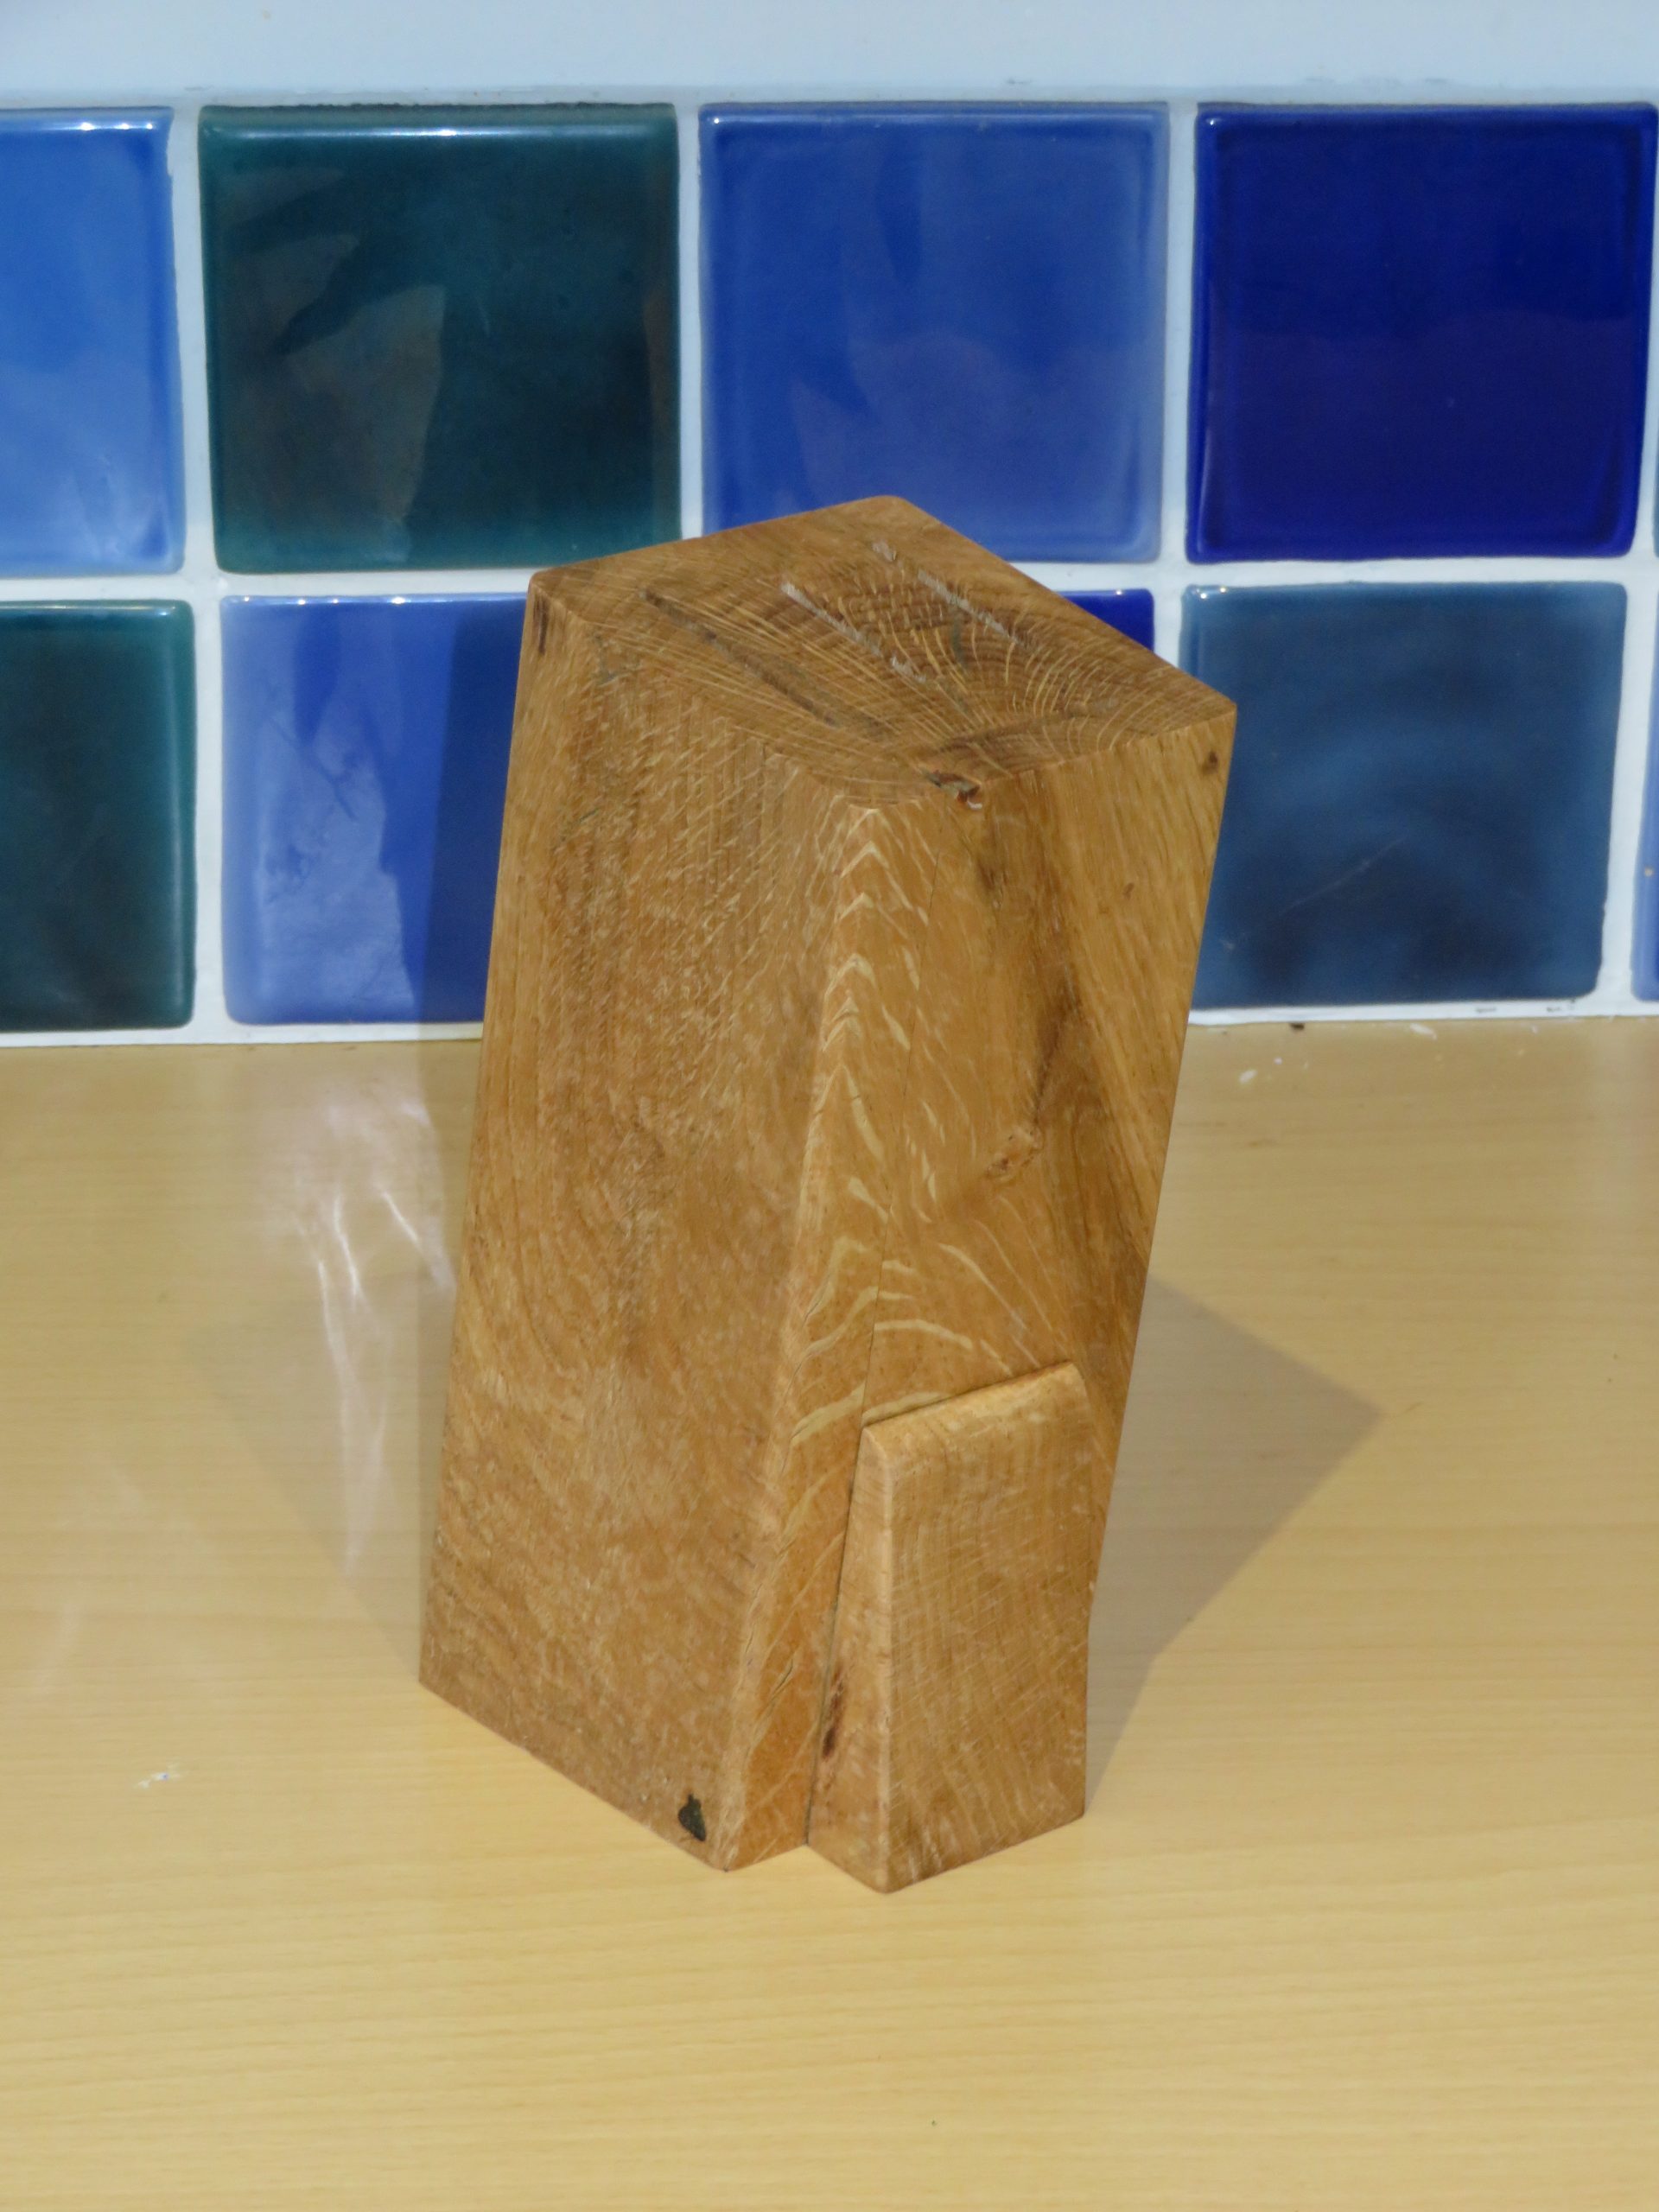
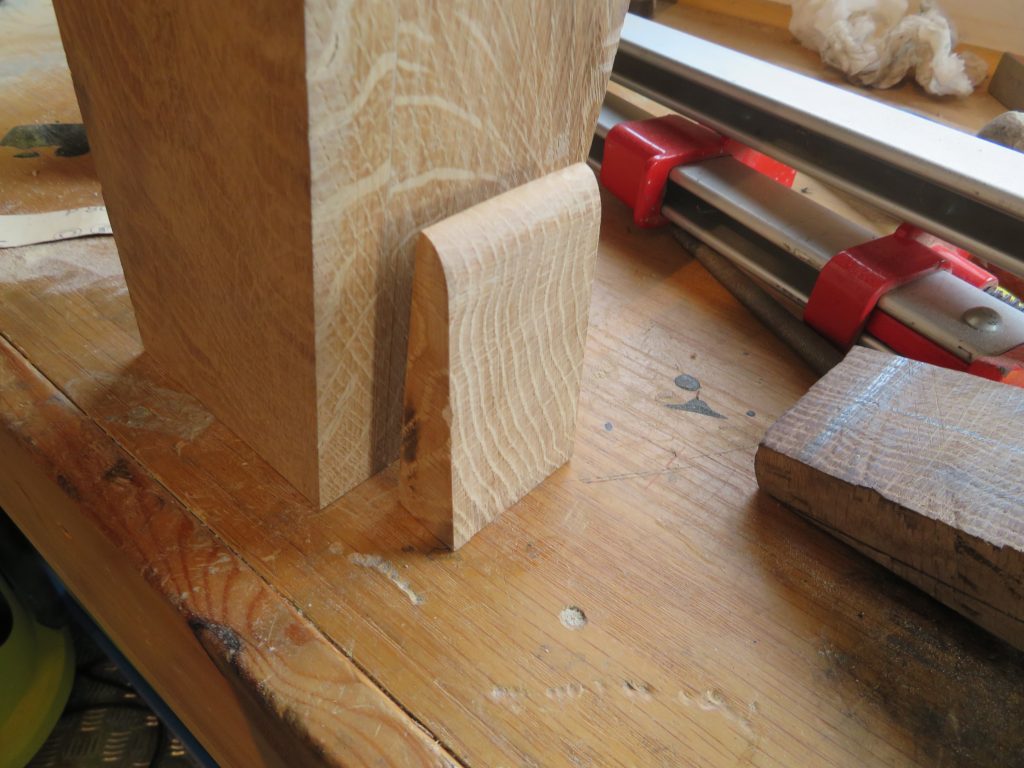
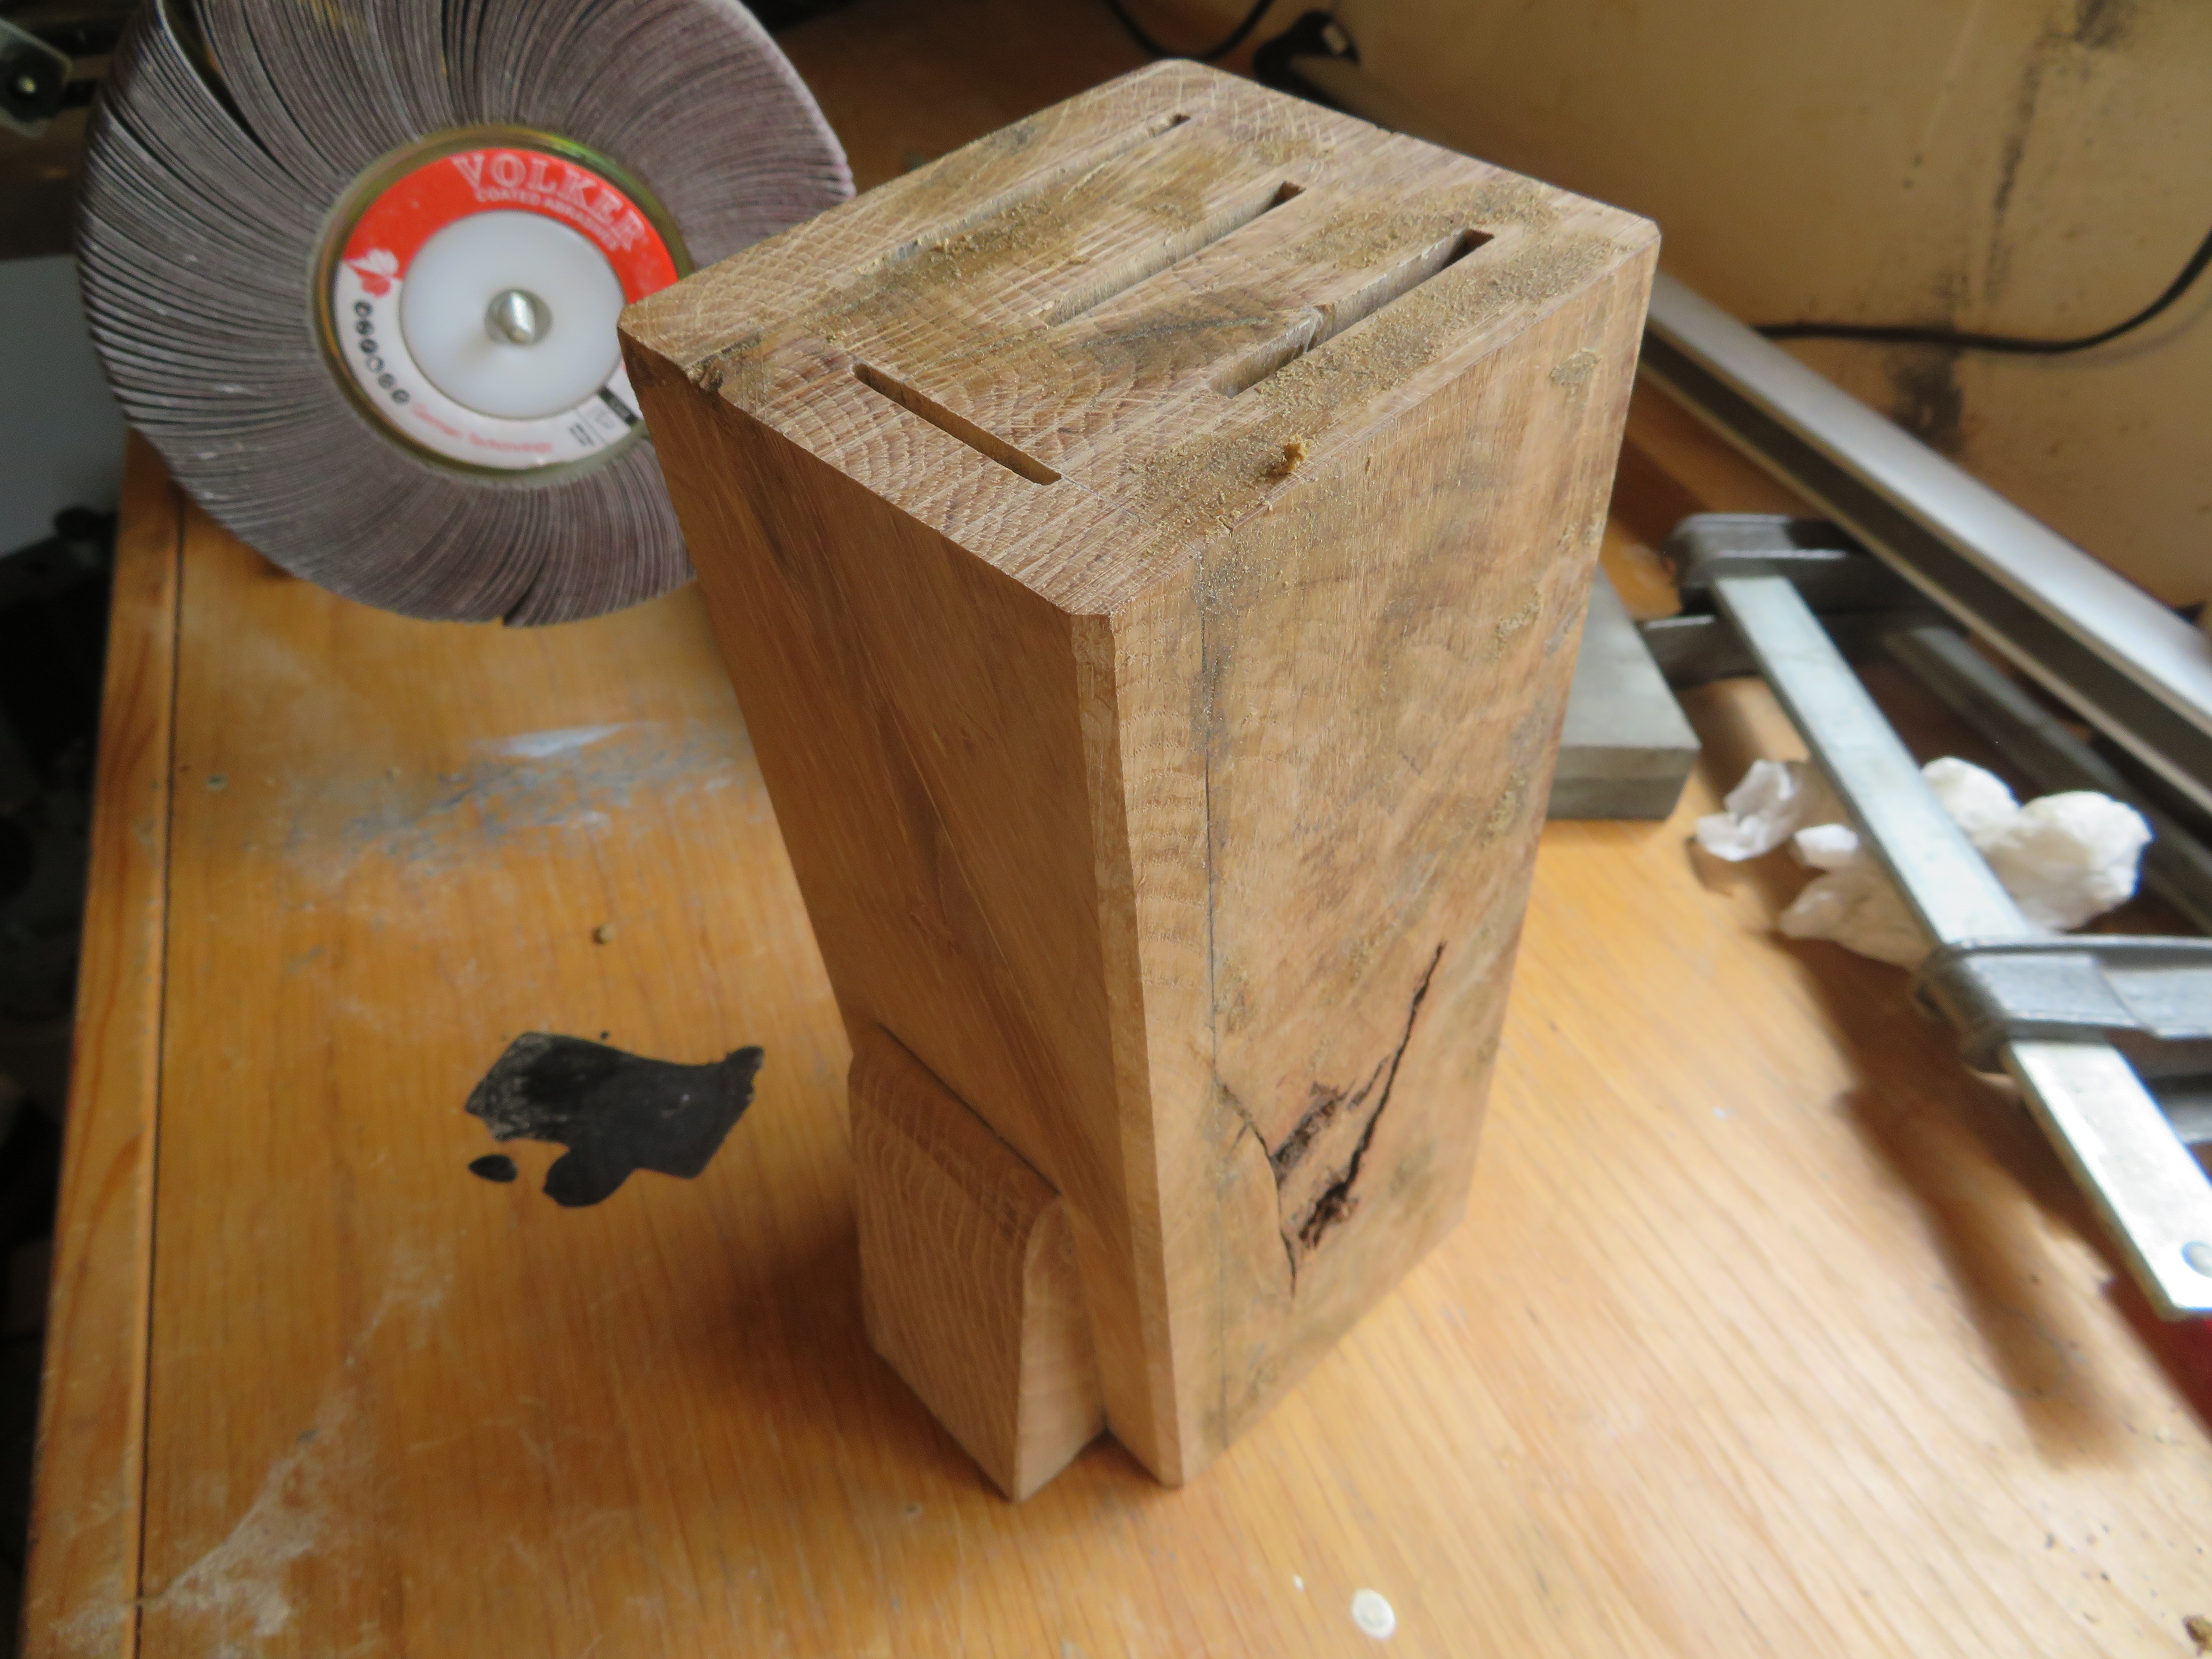
I then cut down the excess on each side and planed and sanded so it was flush.
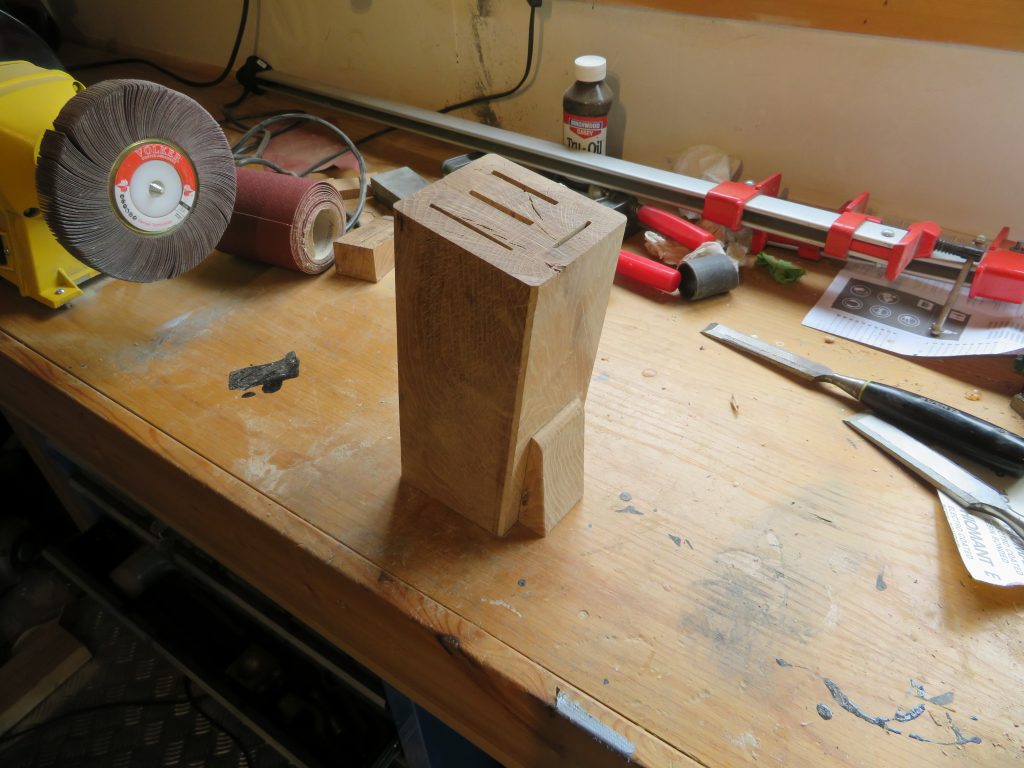
I then put a chamfer on the four upright edges with a router.
To make the block slightly more stable I added a wedge at the, which I made from the off cut from cutting the angle into the base. When gluing this piece on I had to weigh down the block otherwise the clamping force would drive it out.

Finishing
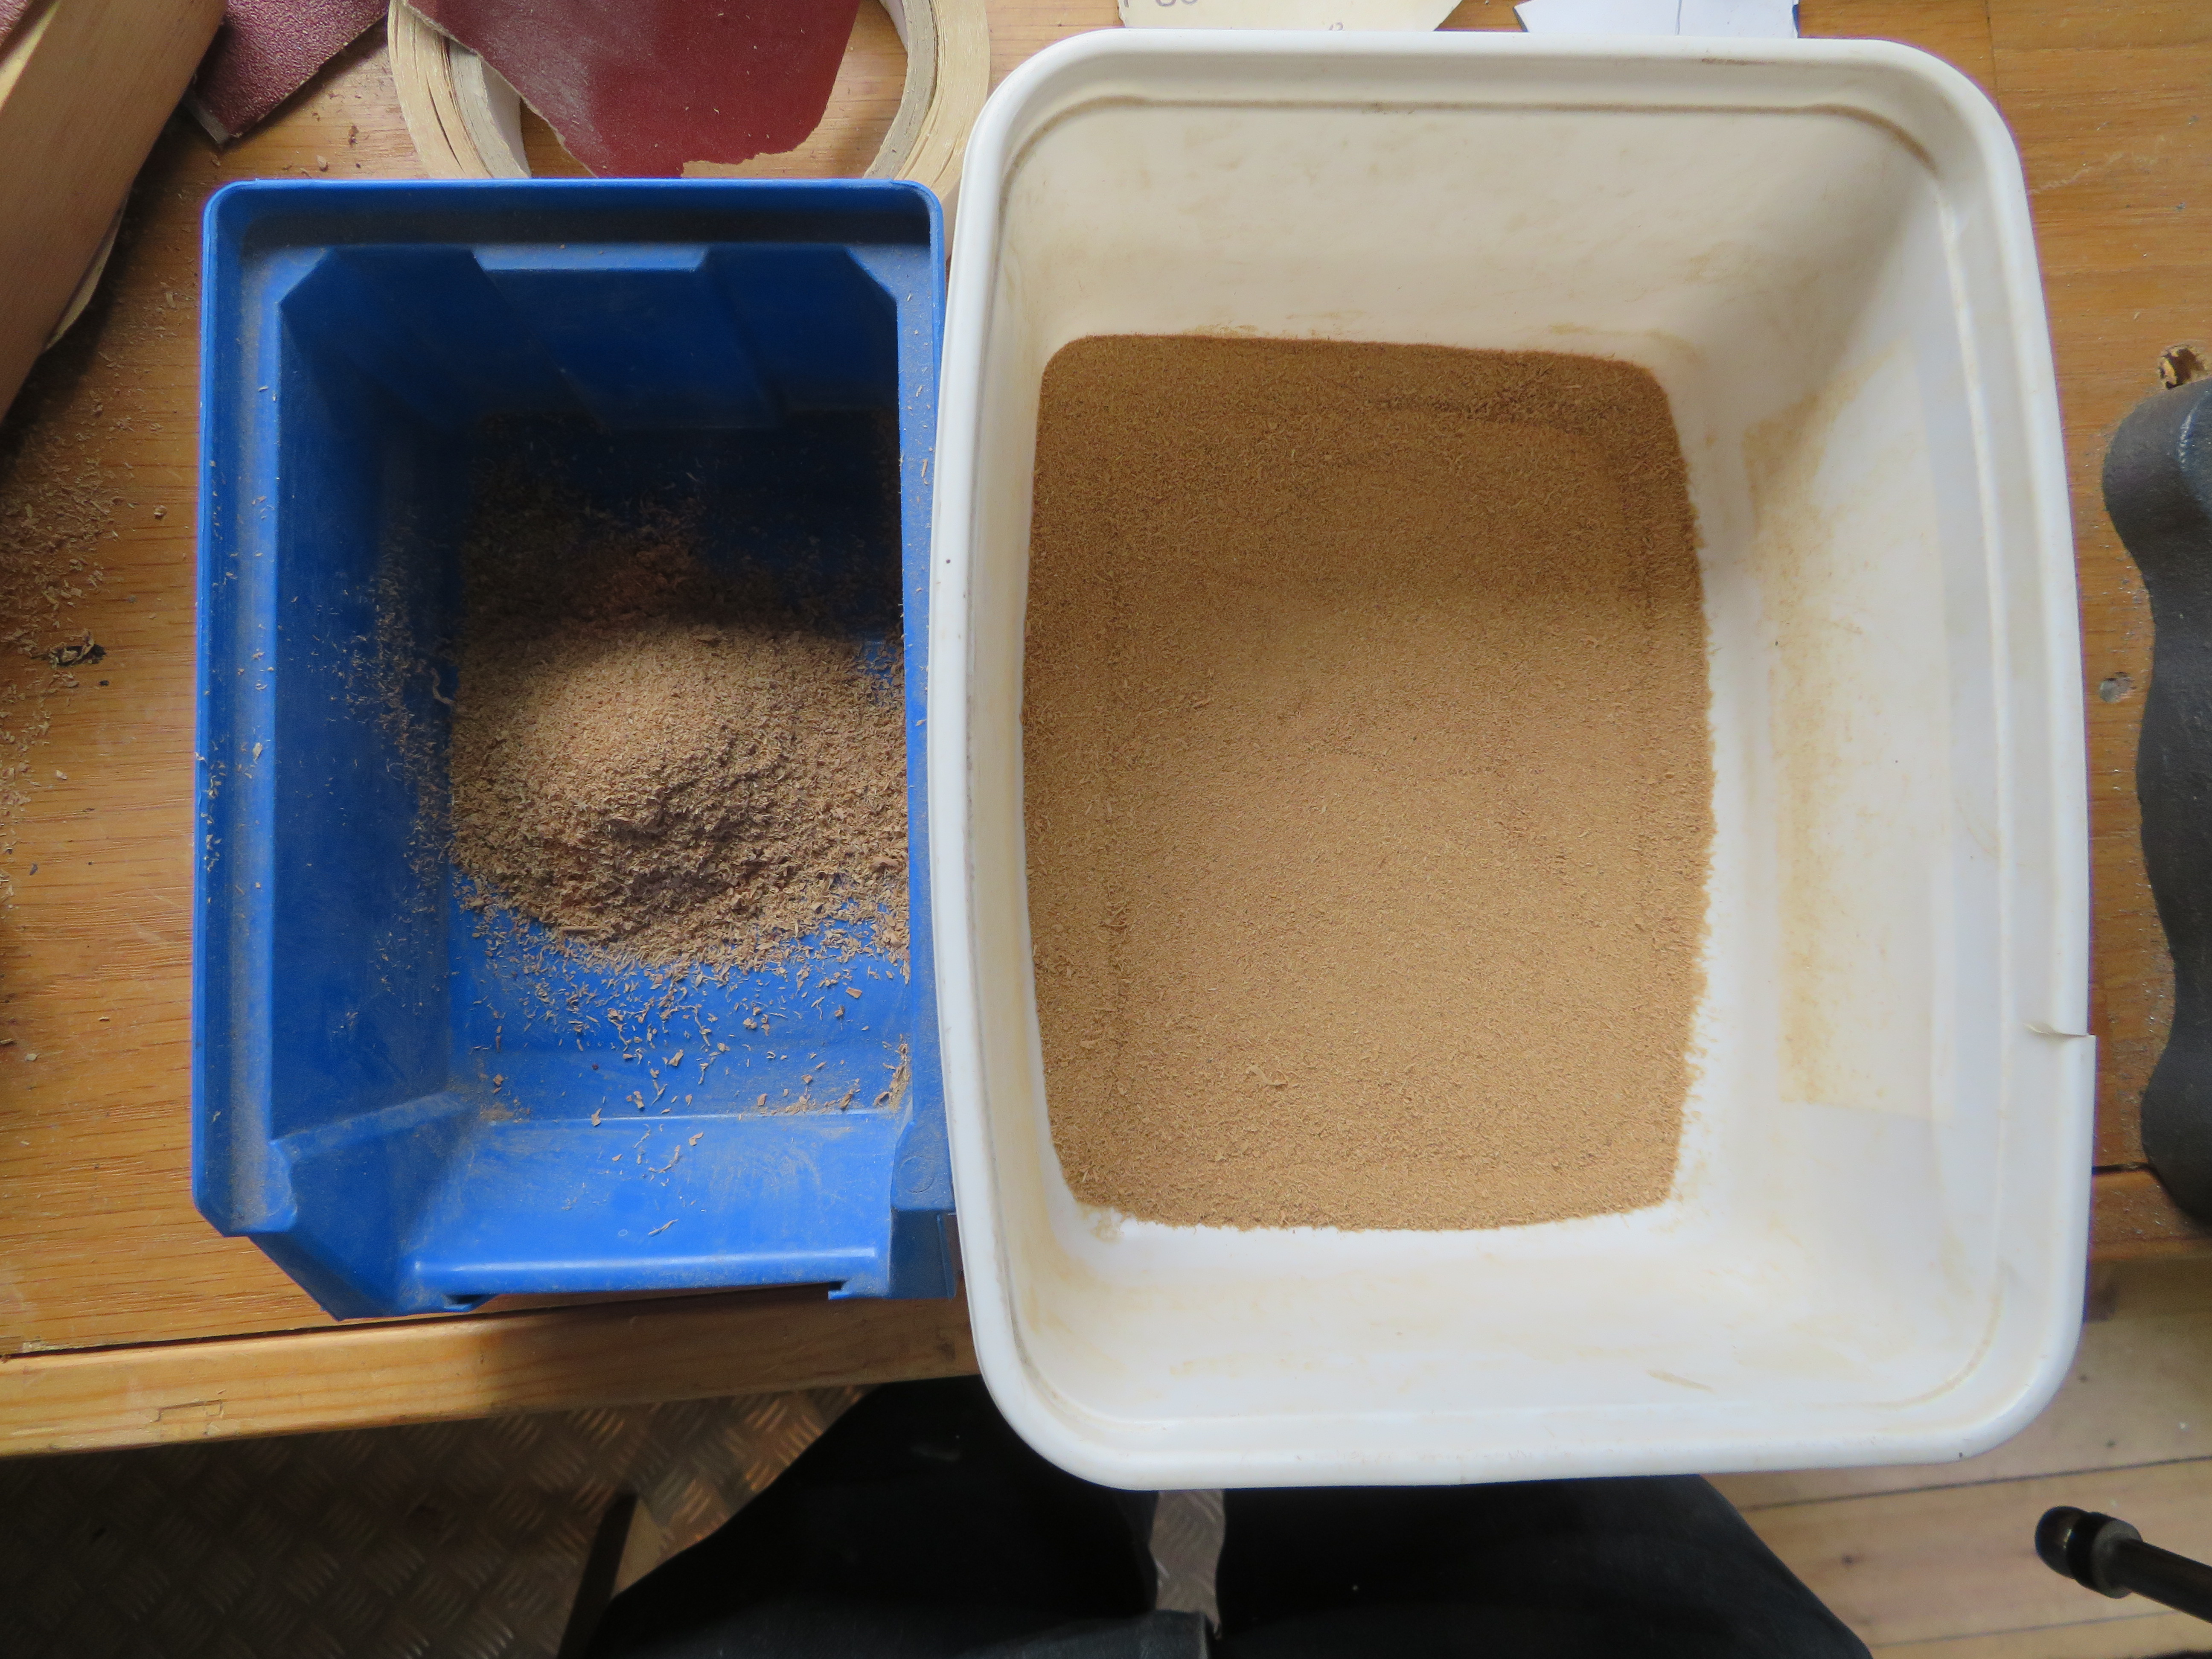
There were a number of small internal splits in the wood and gaps from the glue up that needed to be filled in. I had been collecting saw dust and shavings from throughout the make which I could use to fill these gaps. You might have also noticed a very large split in one side. I was not going to fill this in and was instead referring to it as “the feature”.
I ground up the saw dust into a good fine powder by rubbing it between two sanding blocks (rather like a flour mill) and then mixed this with wood glue to make a putty to fill the caps.

Branding
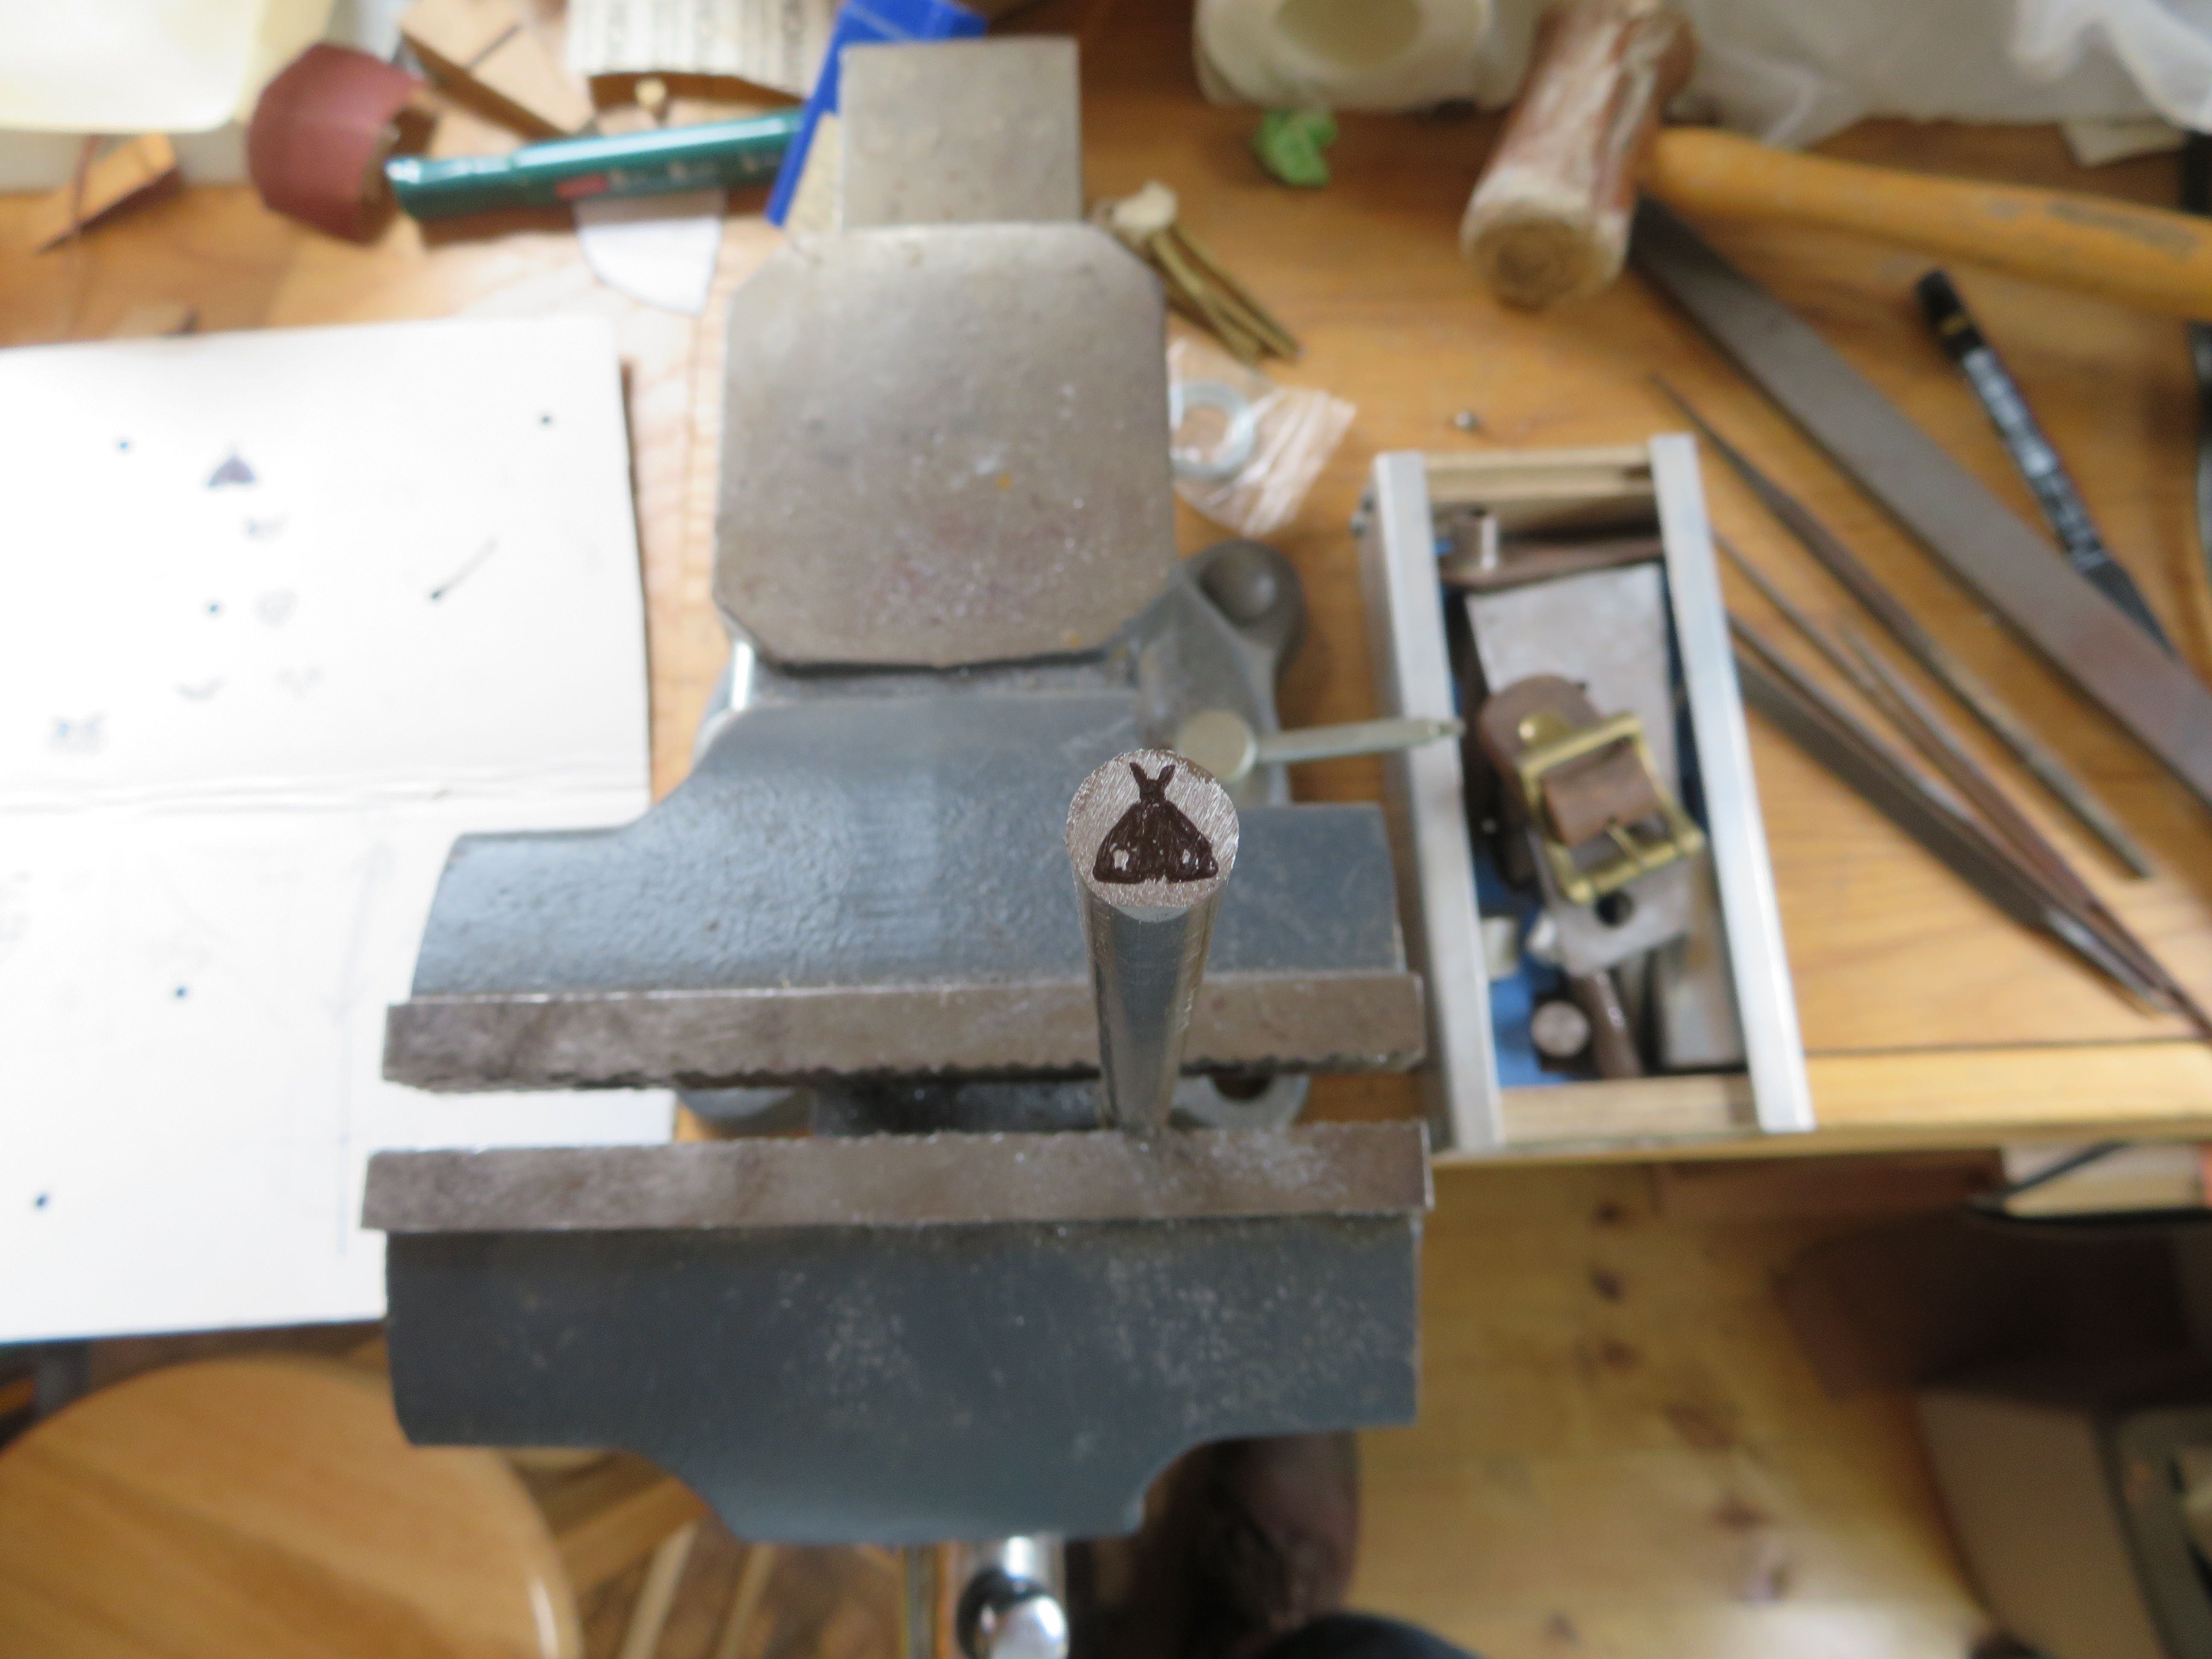
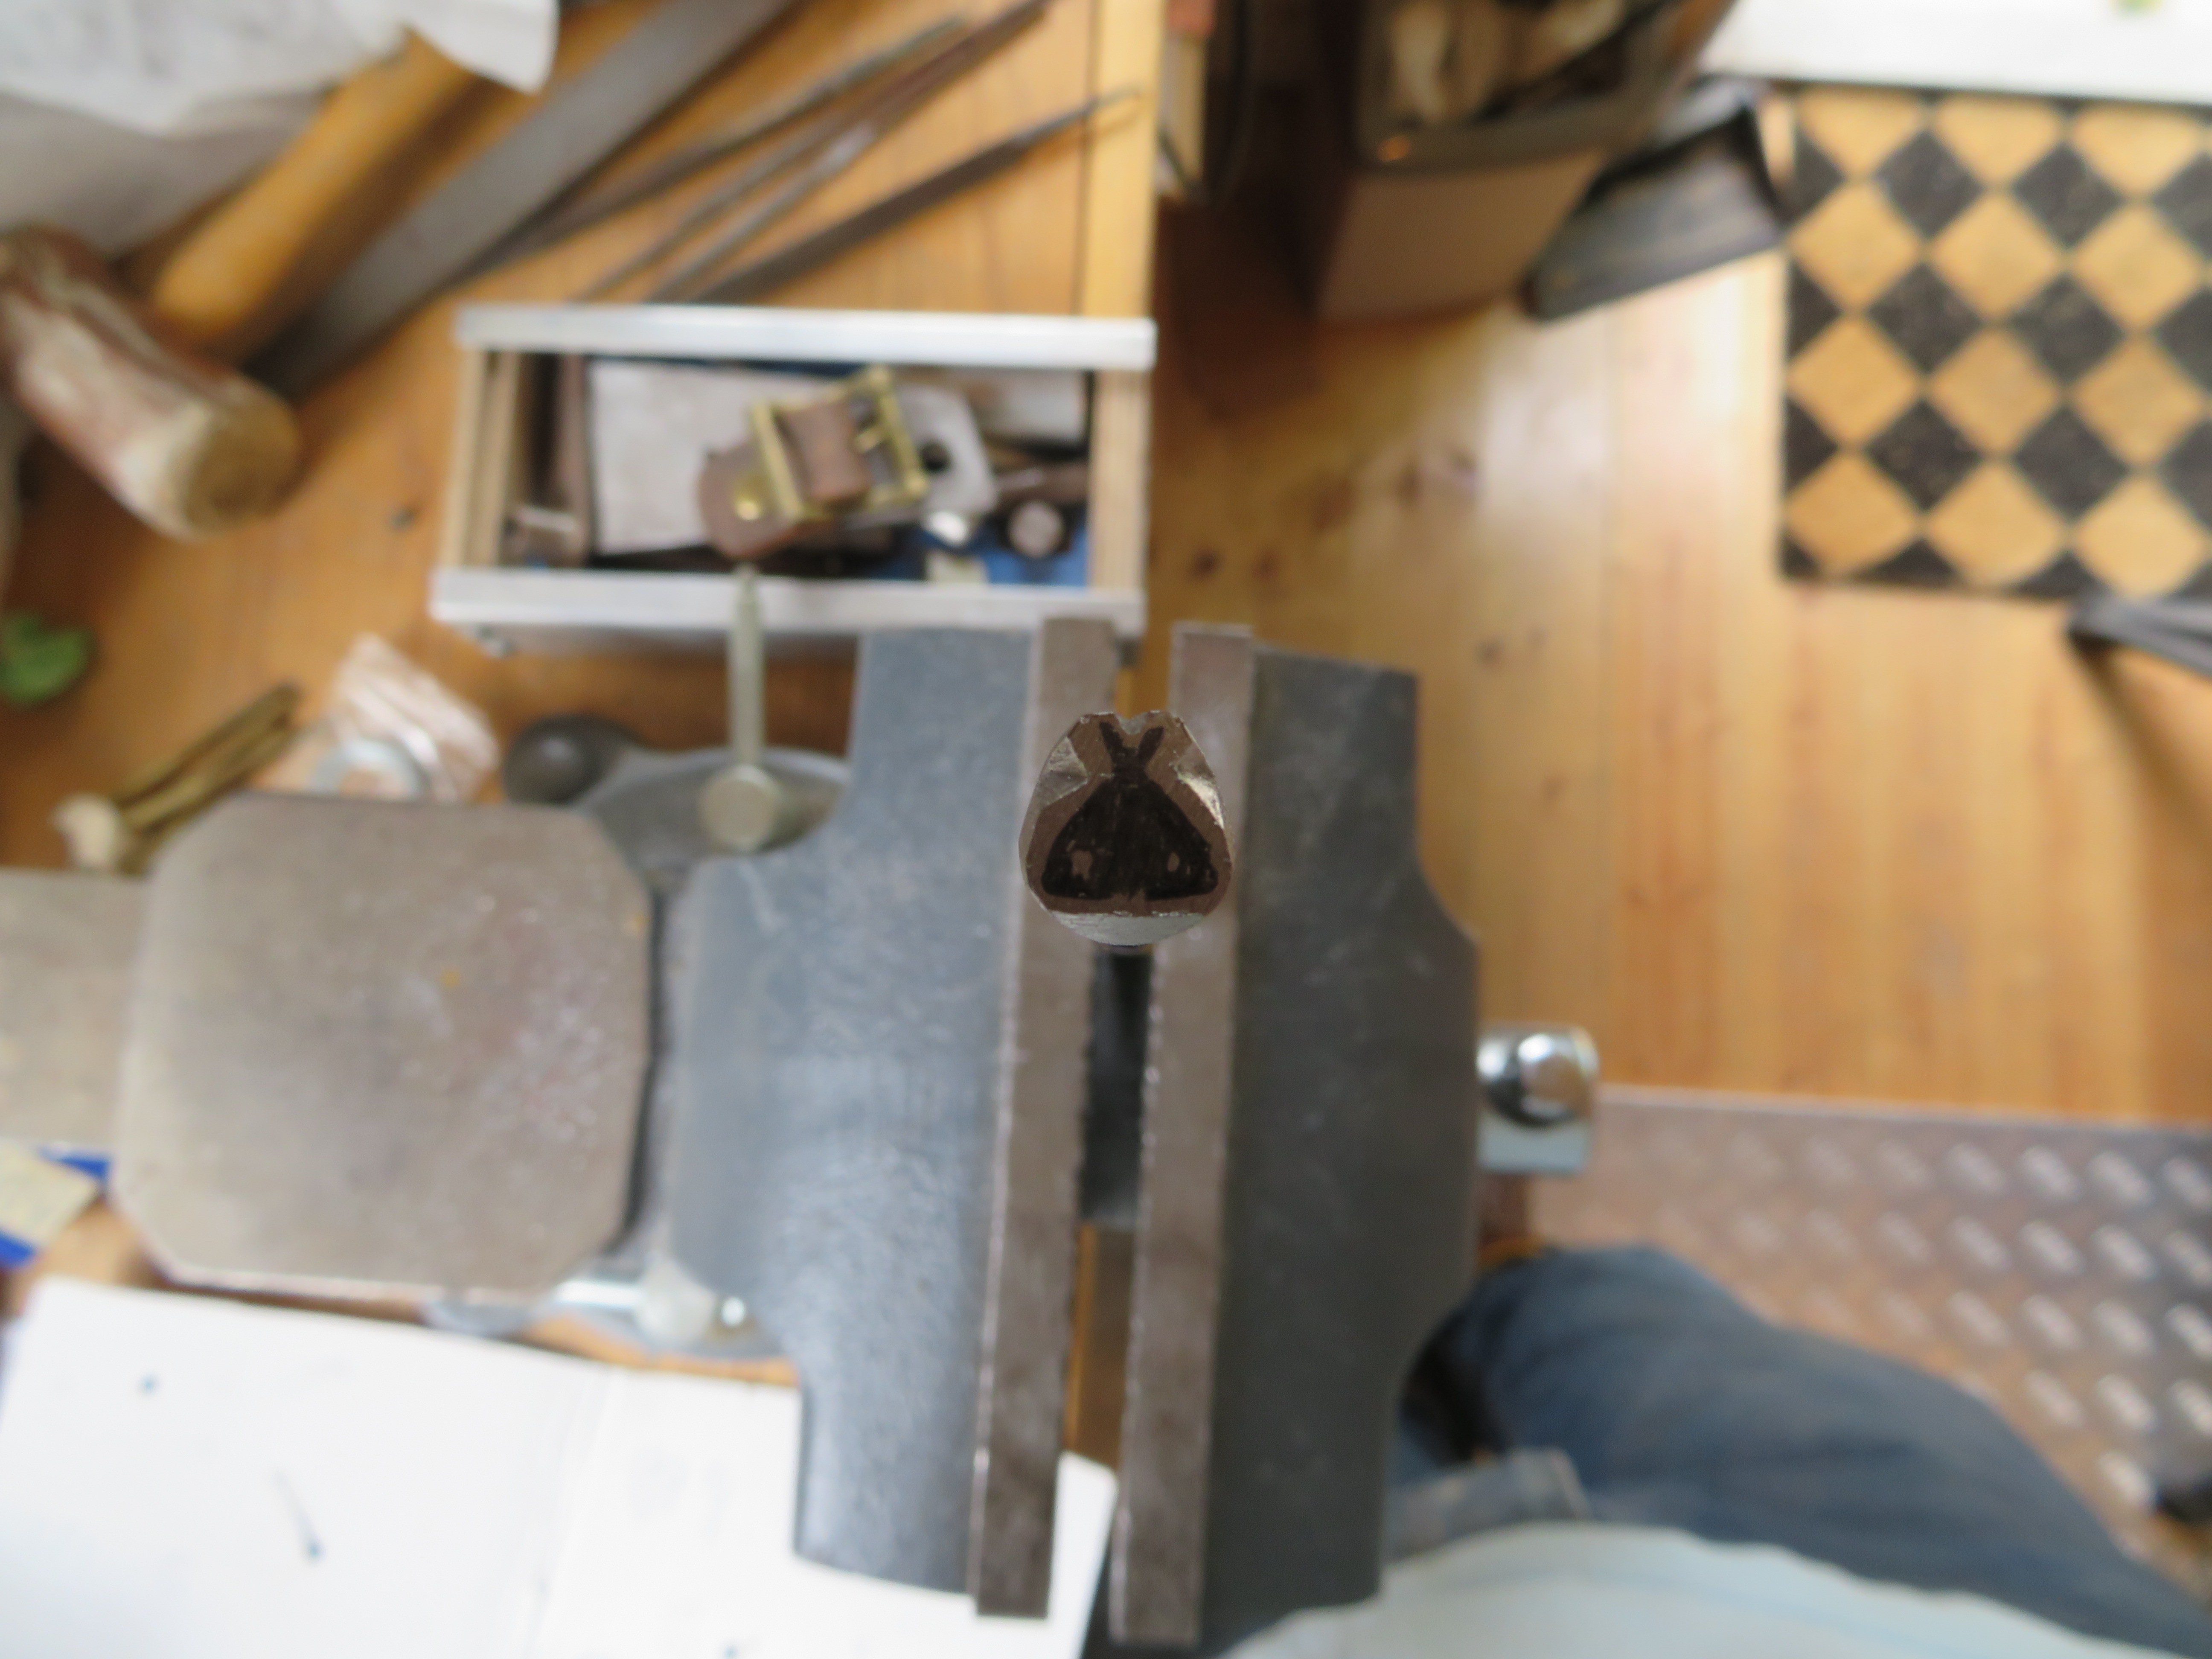
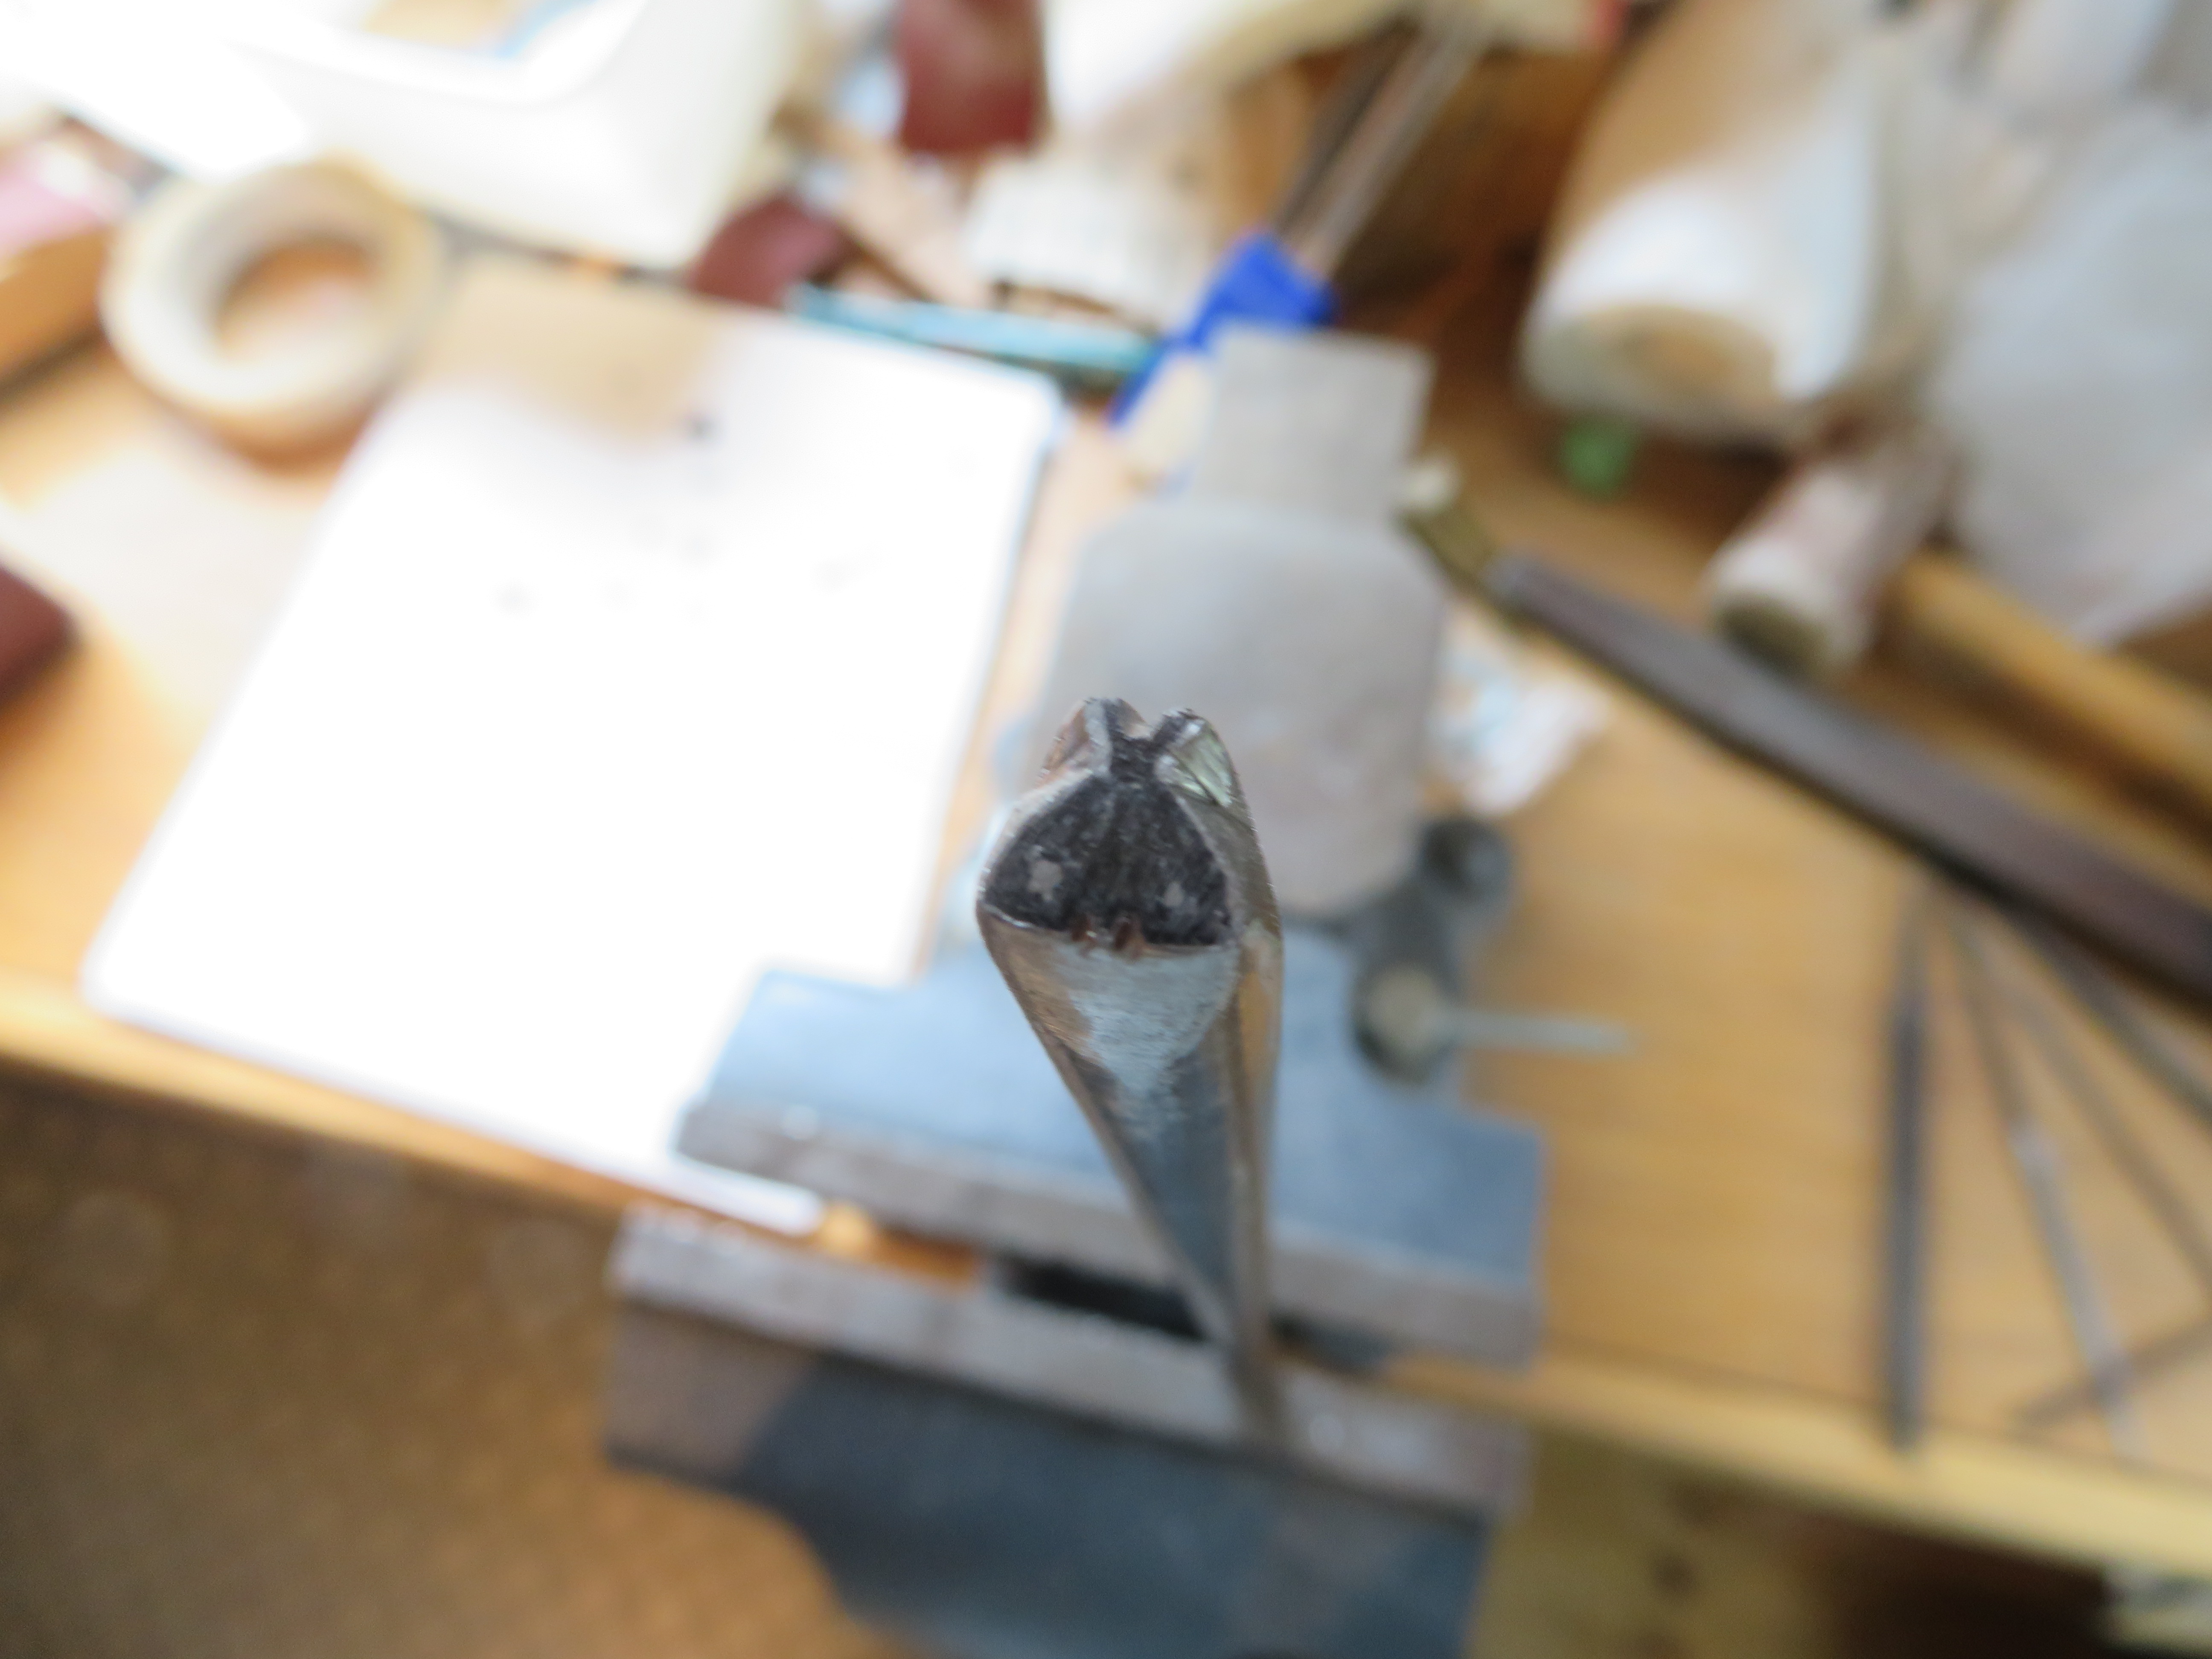
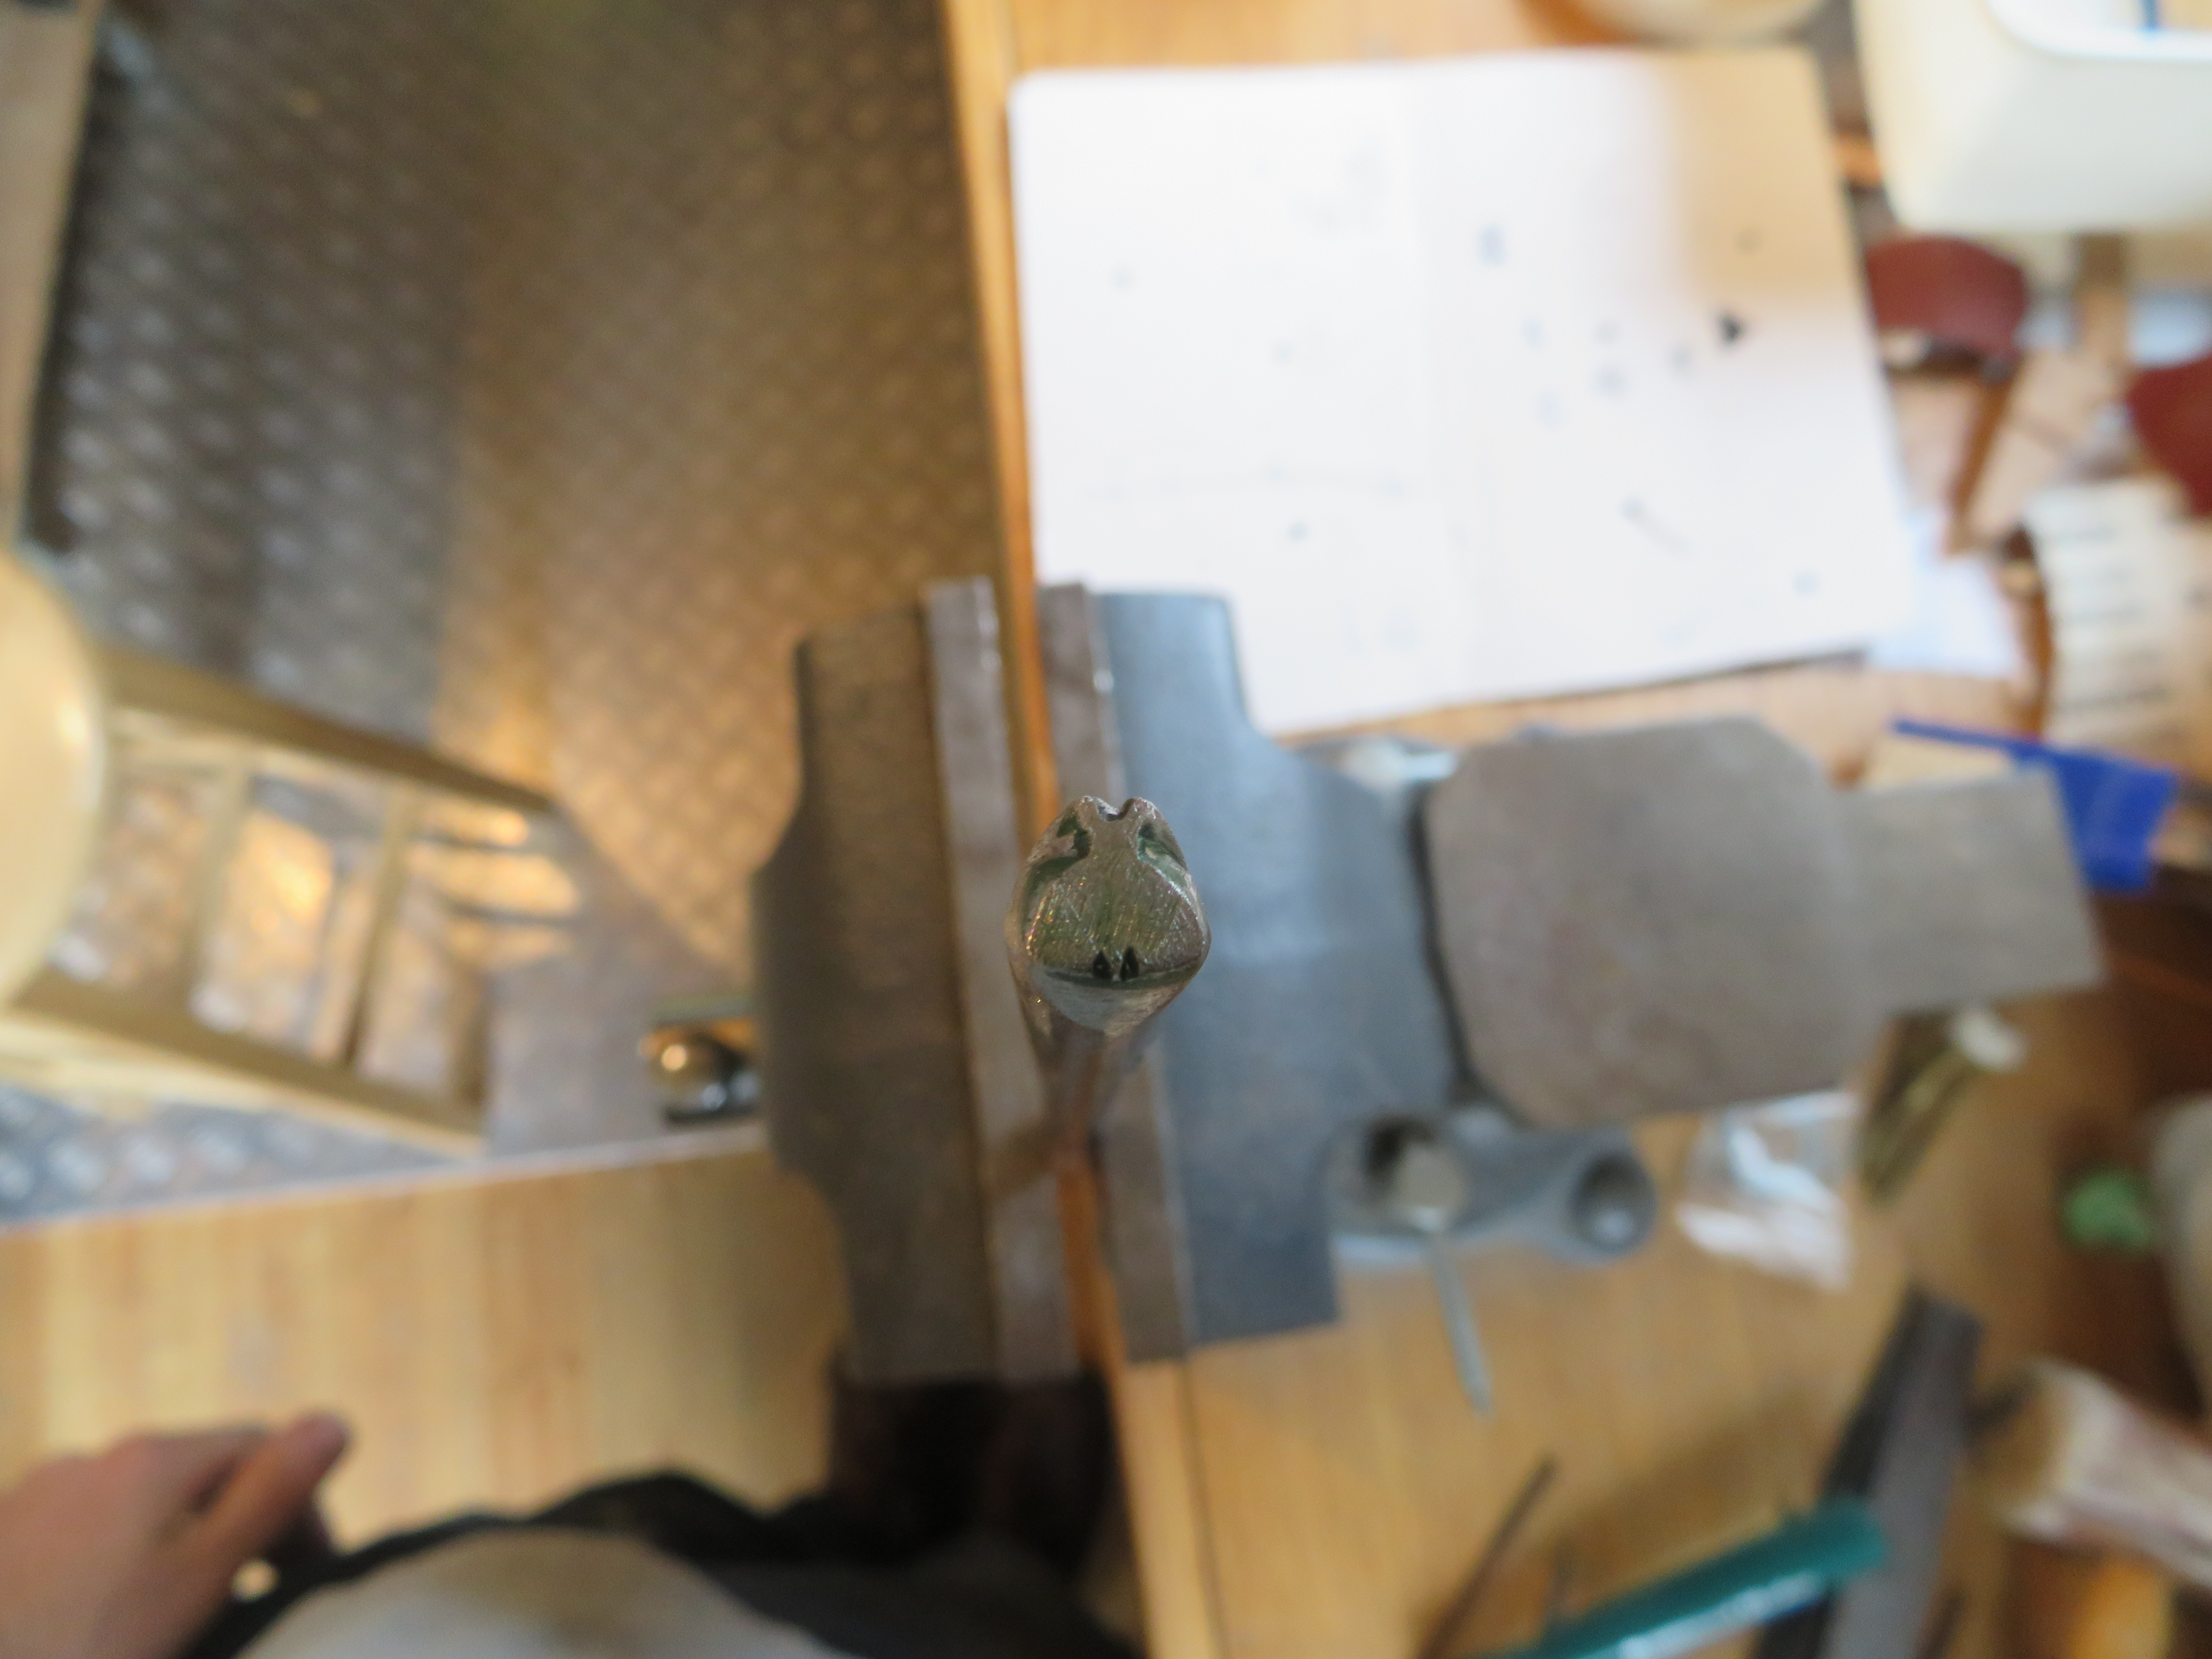
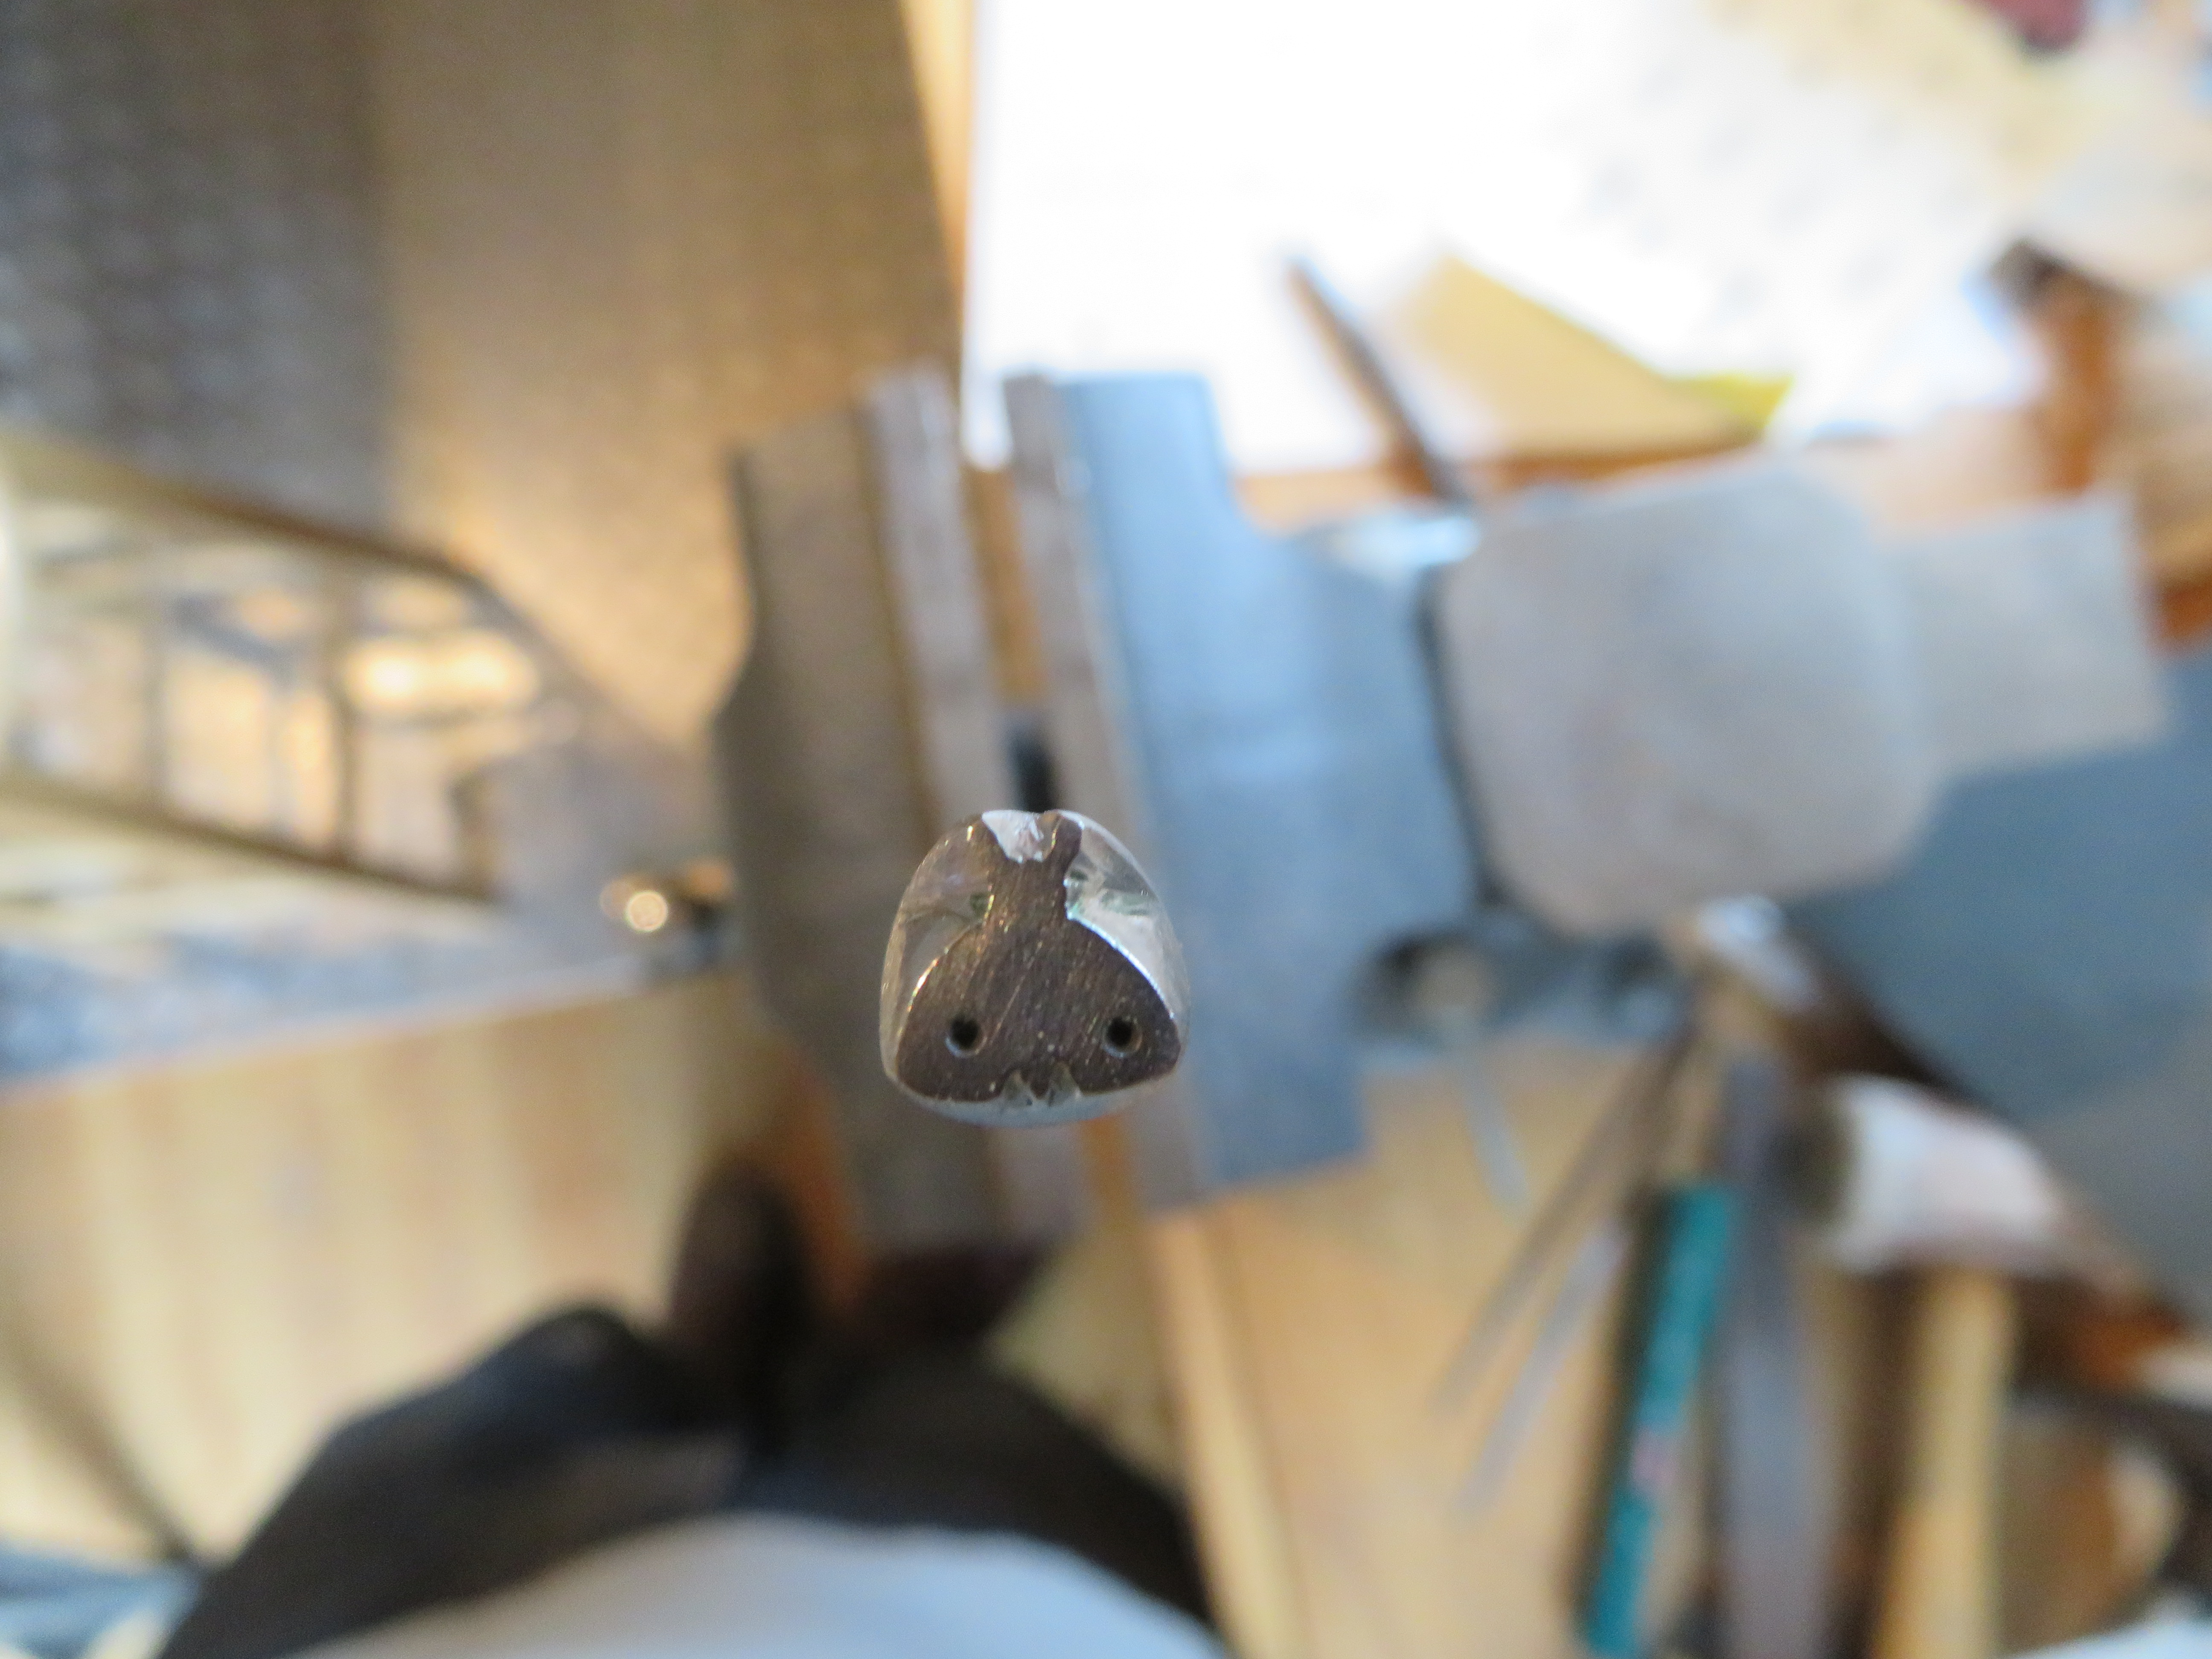
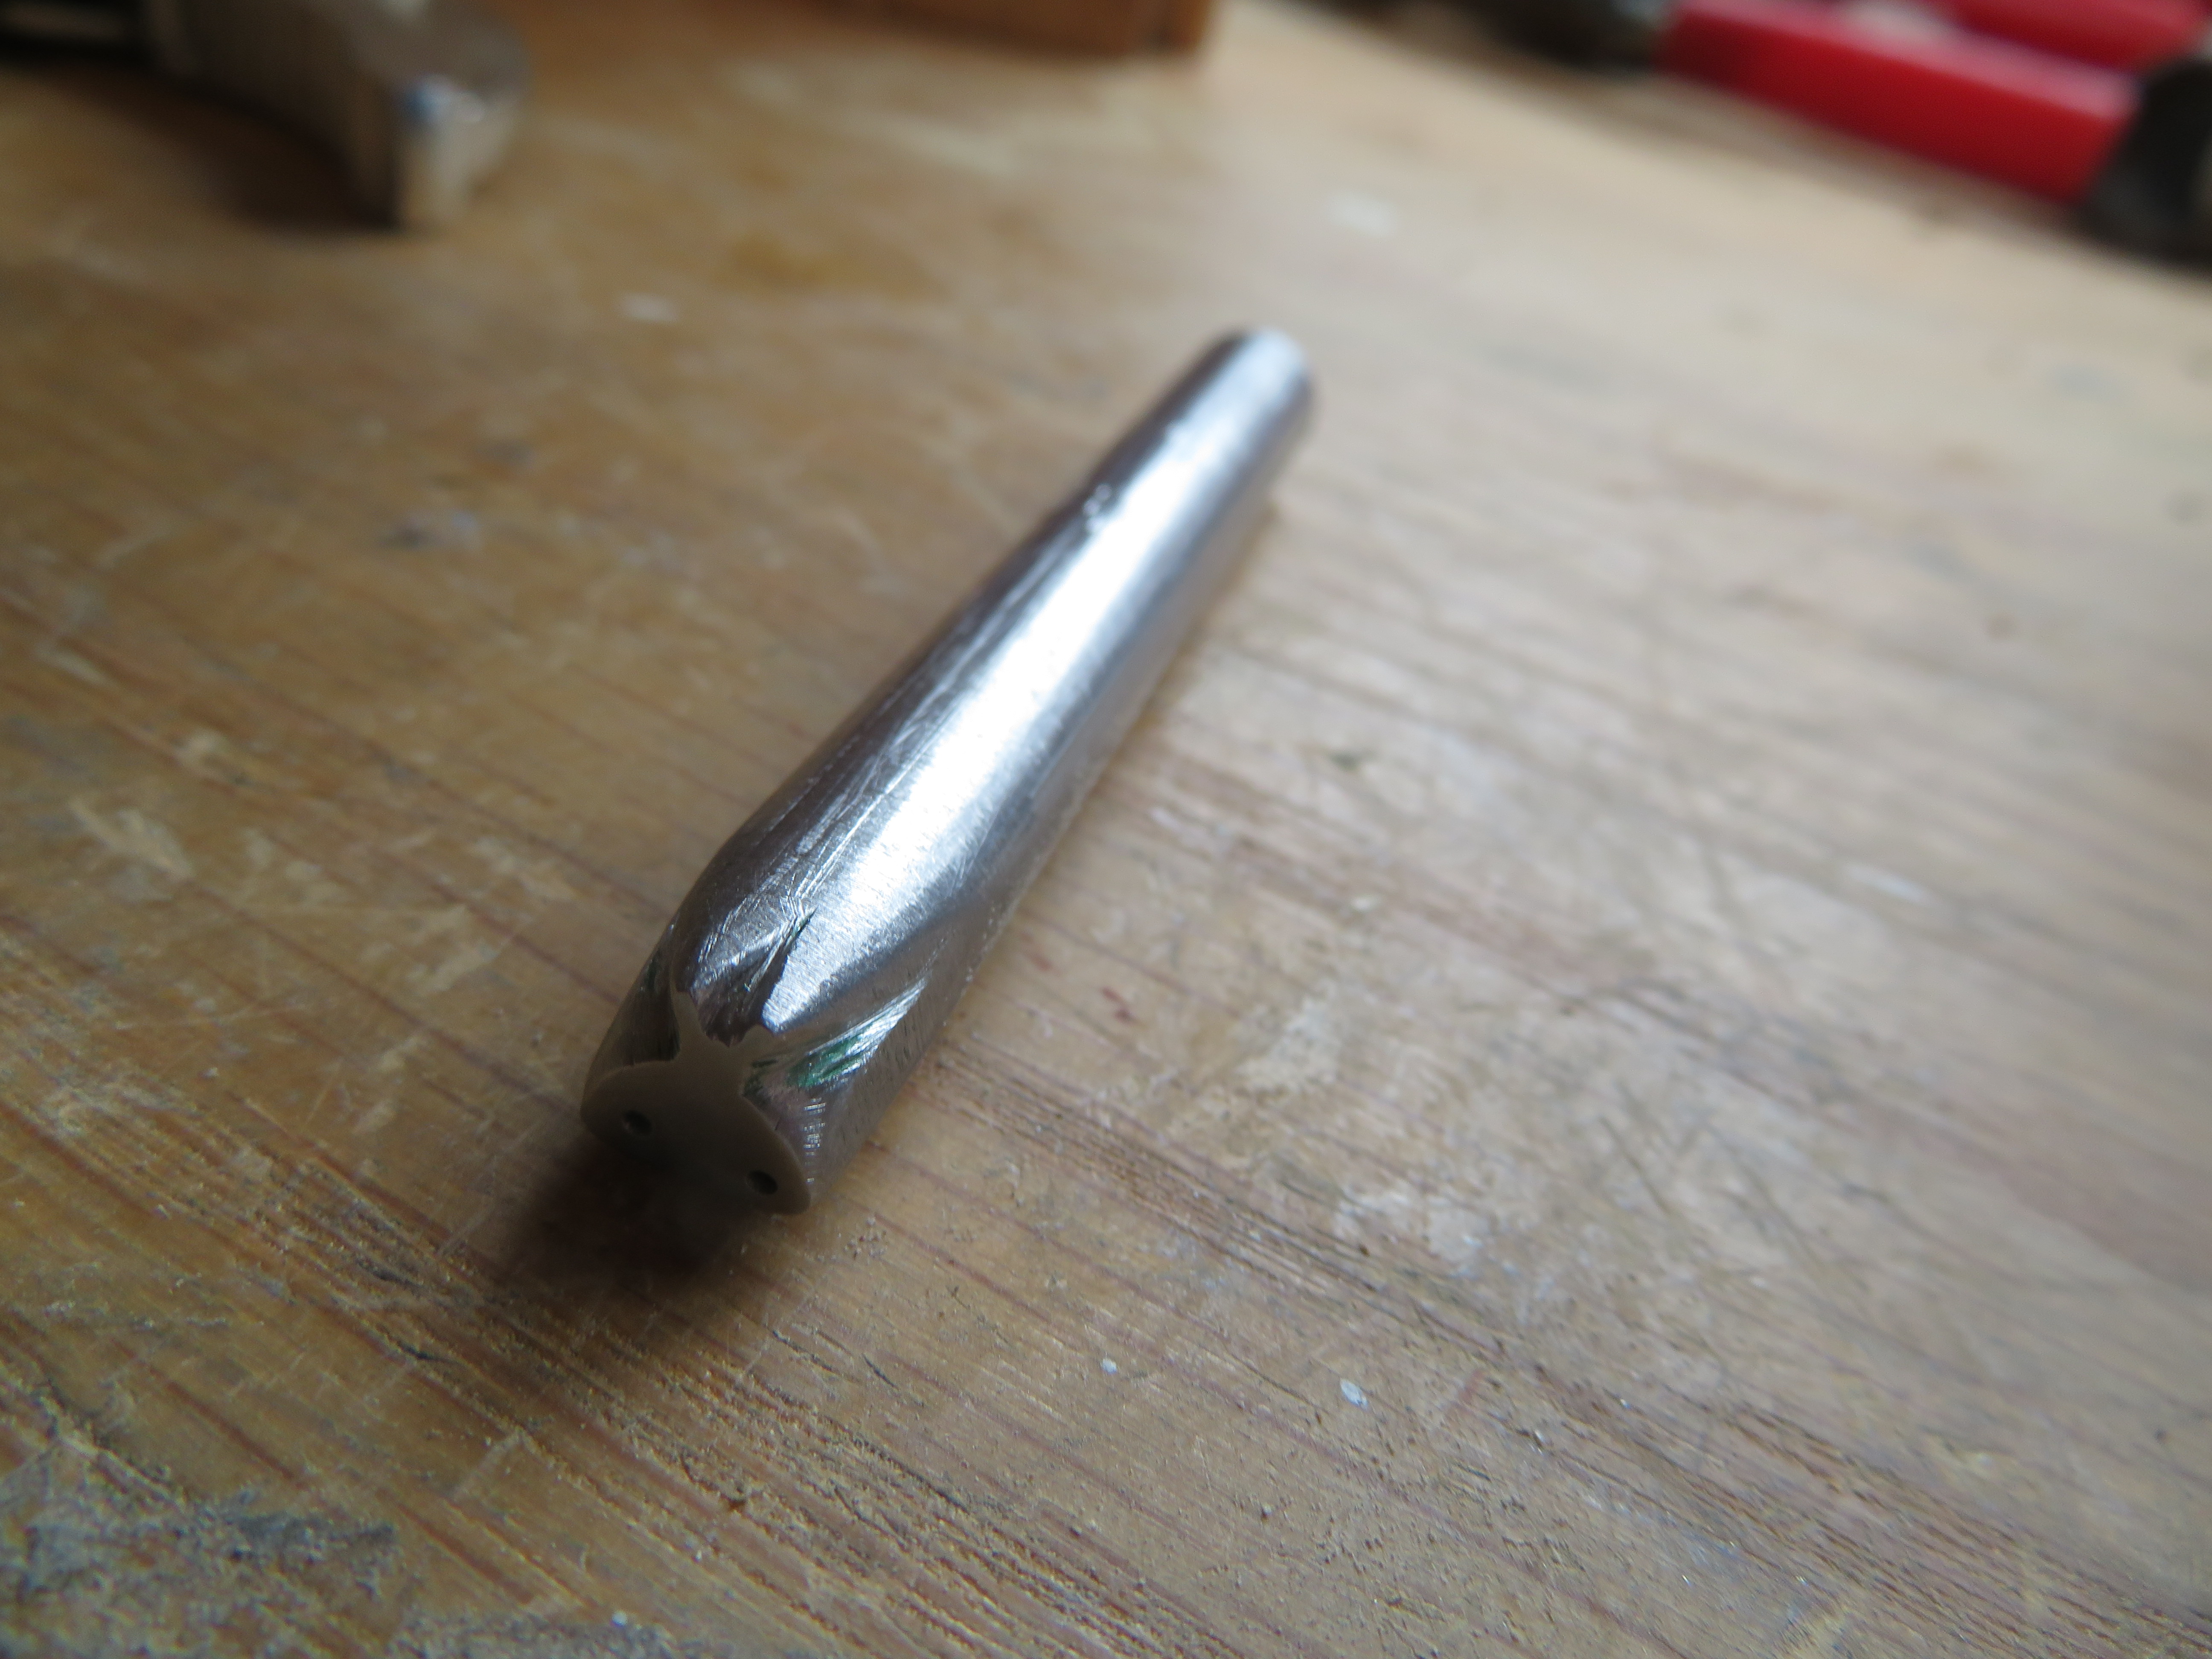
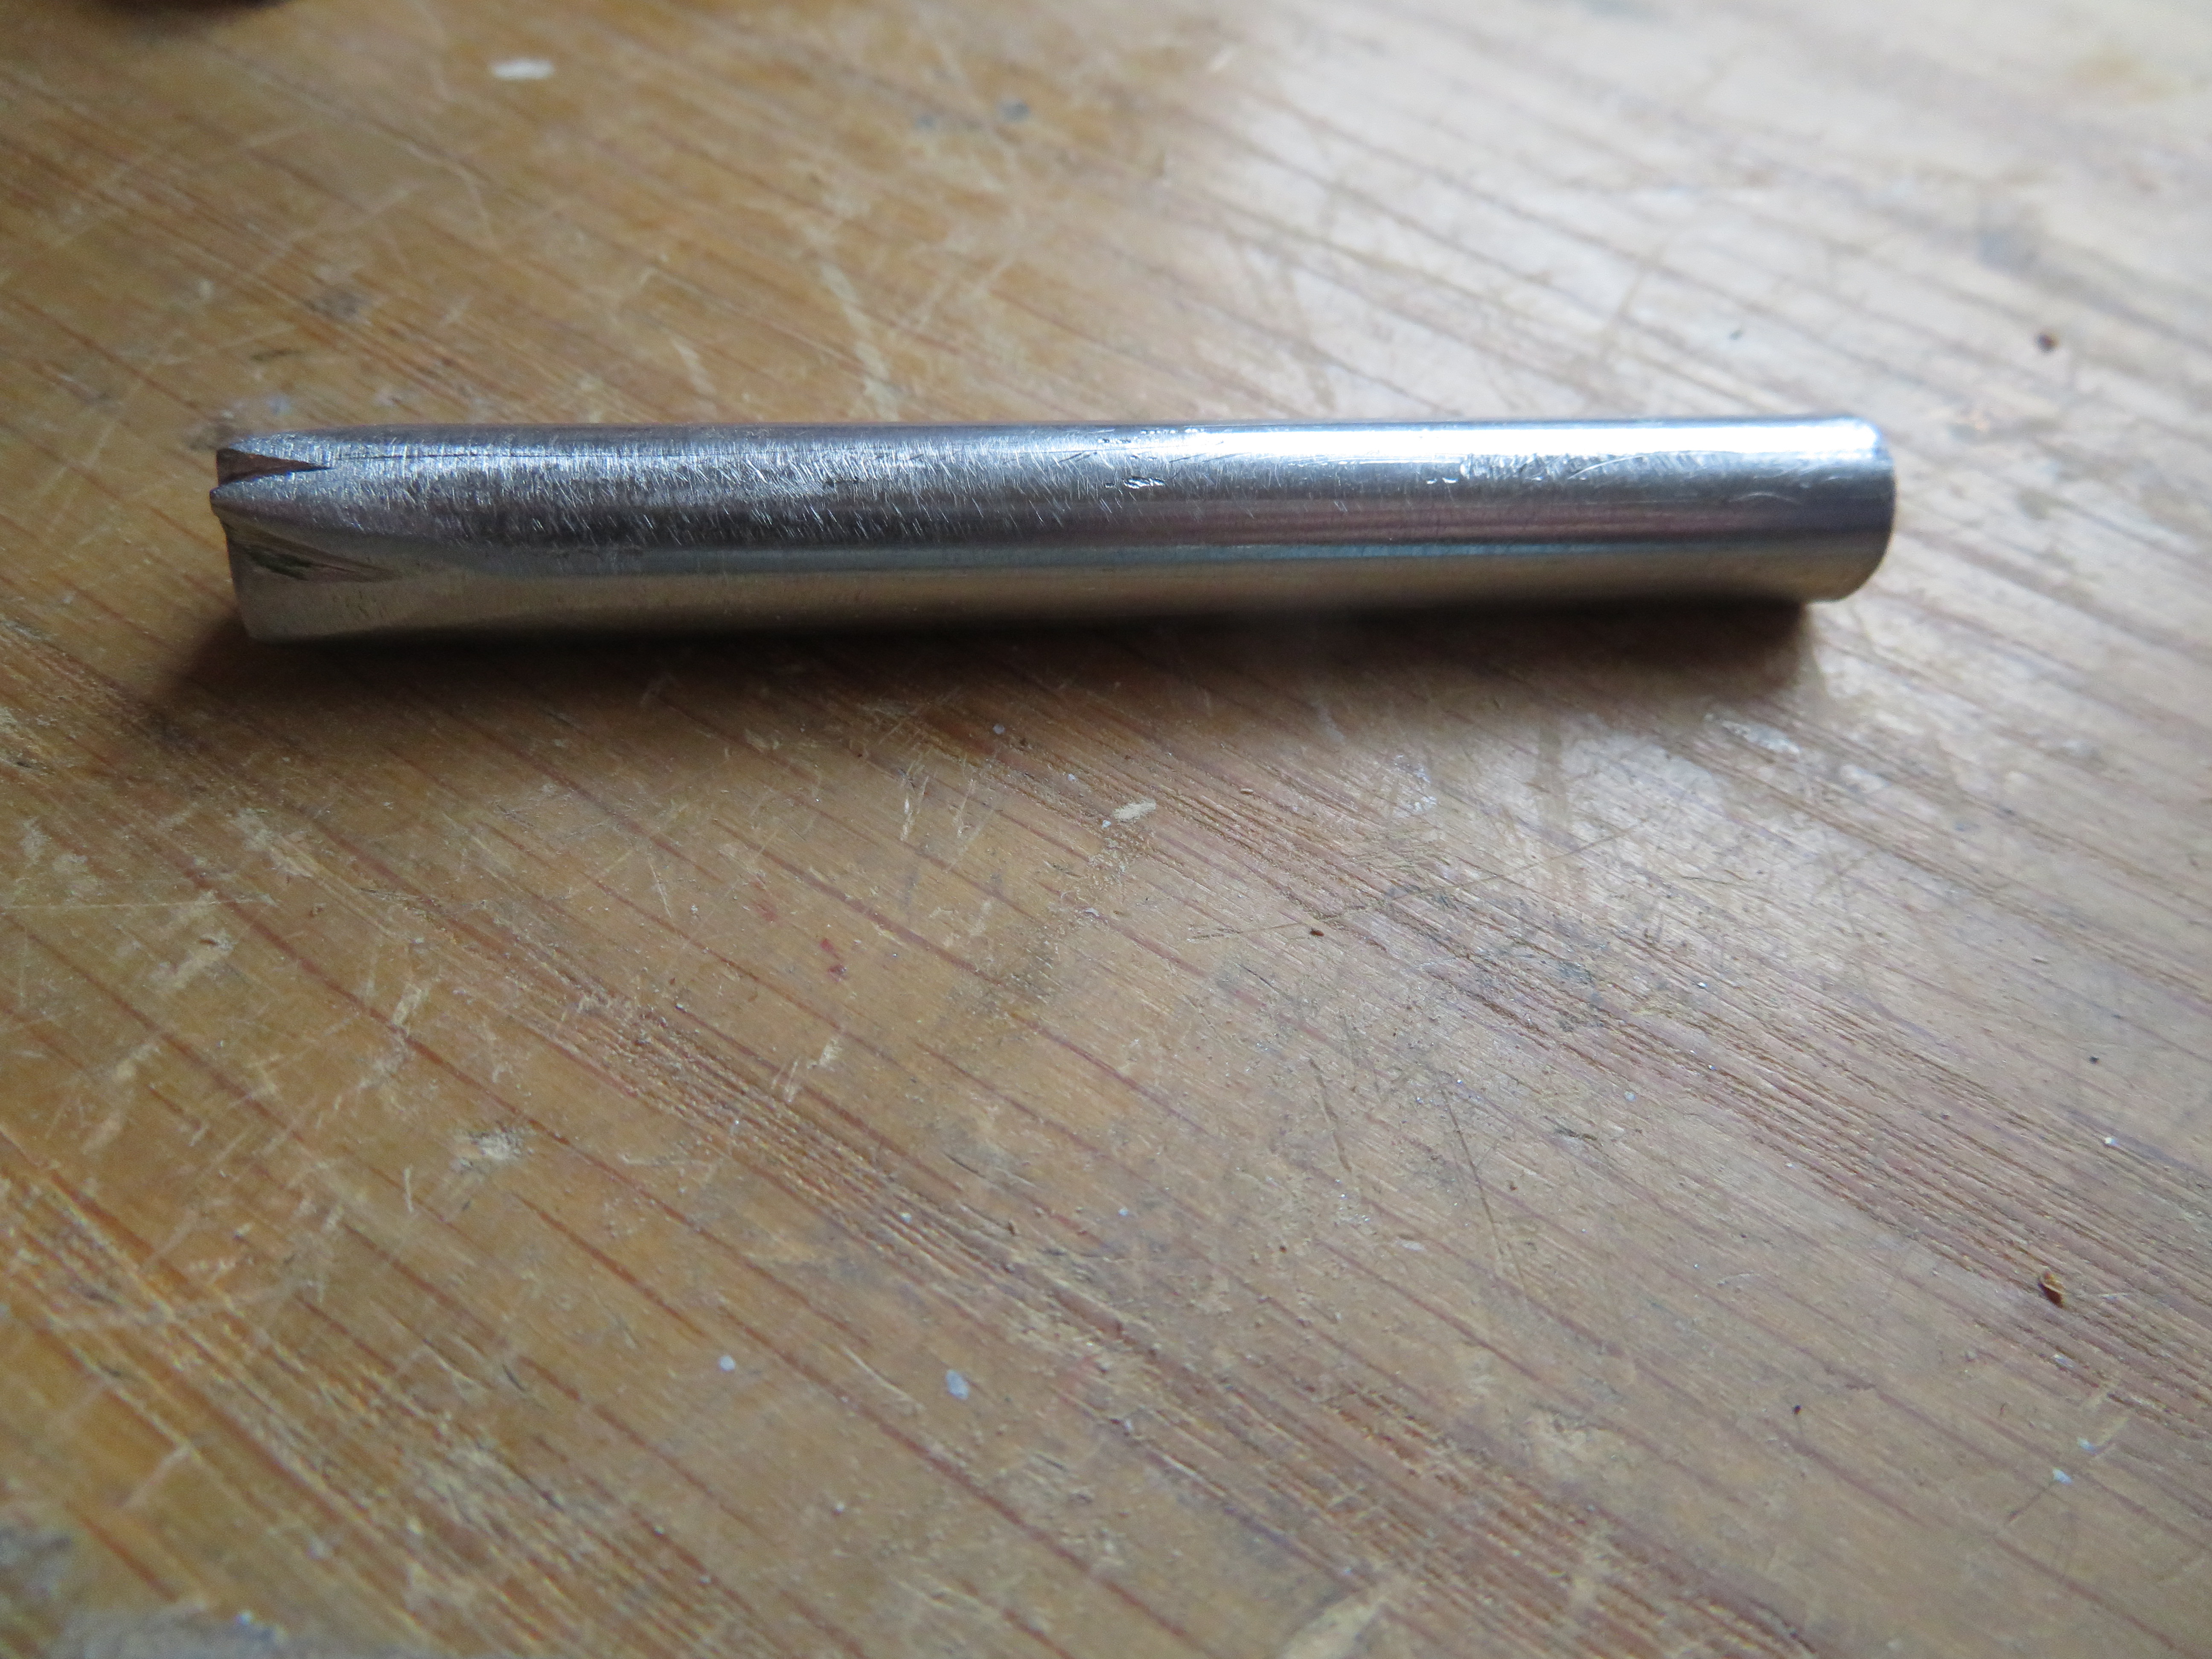
I had some iron bar in an appropriate size so decided to try making a branding iron to put a mark on it. I tried a few designs but decided to do a moth to match a set of rubber moth stamps I have made. I cut a length from the stock, marked the design on one end and went at it with files to cut down to that shape.
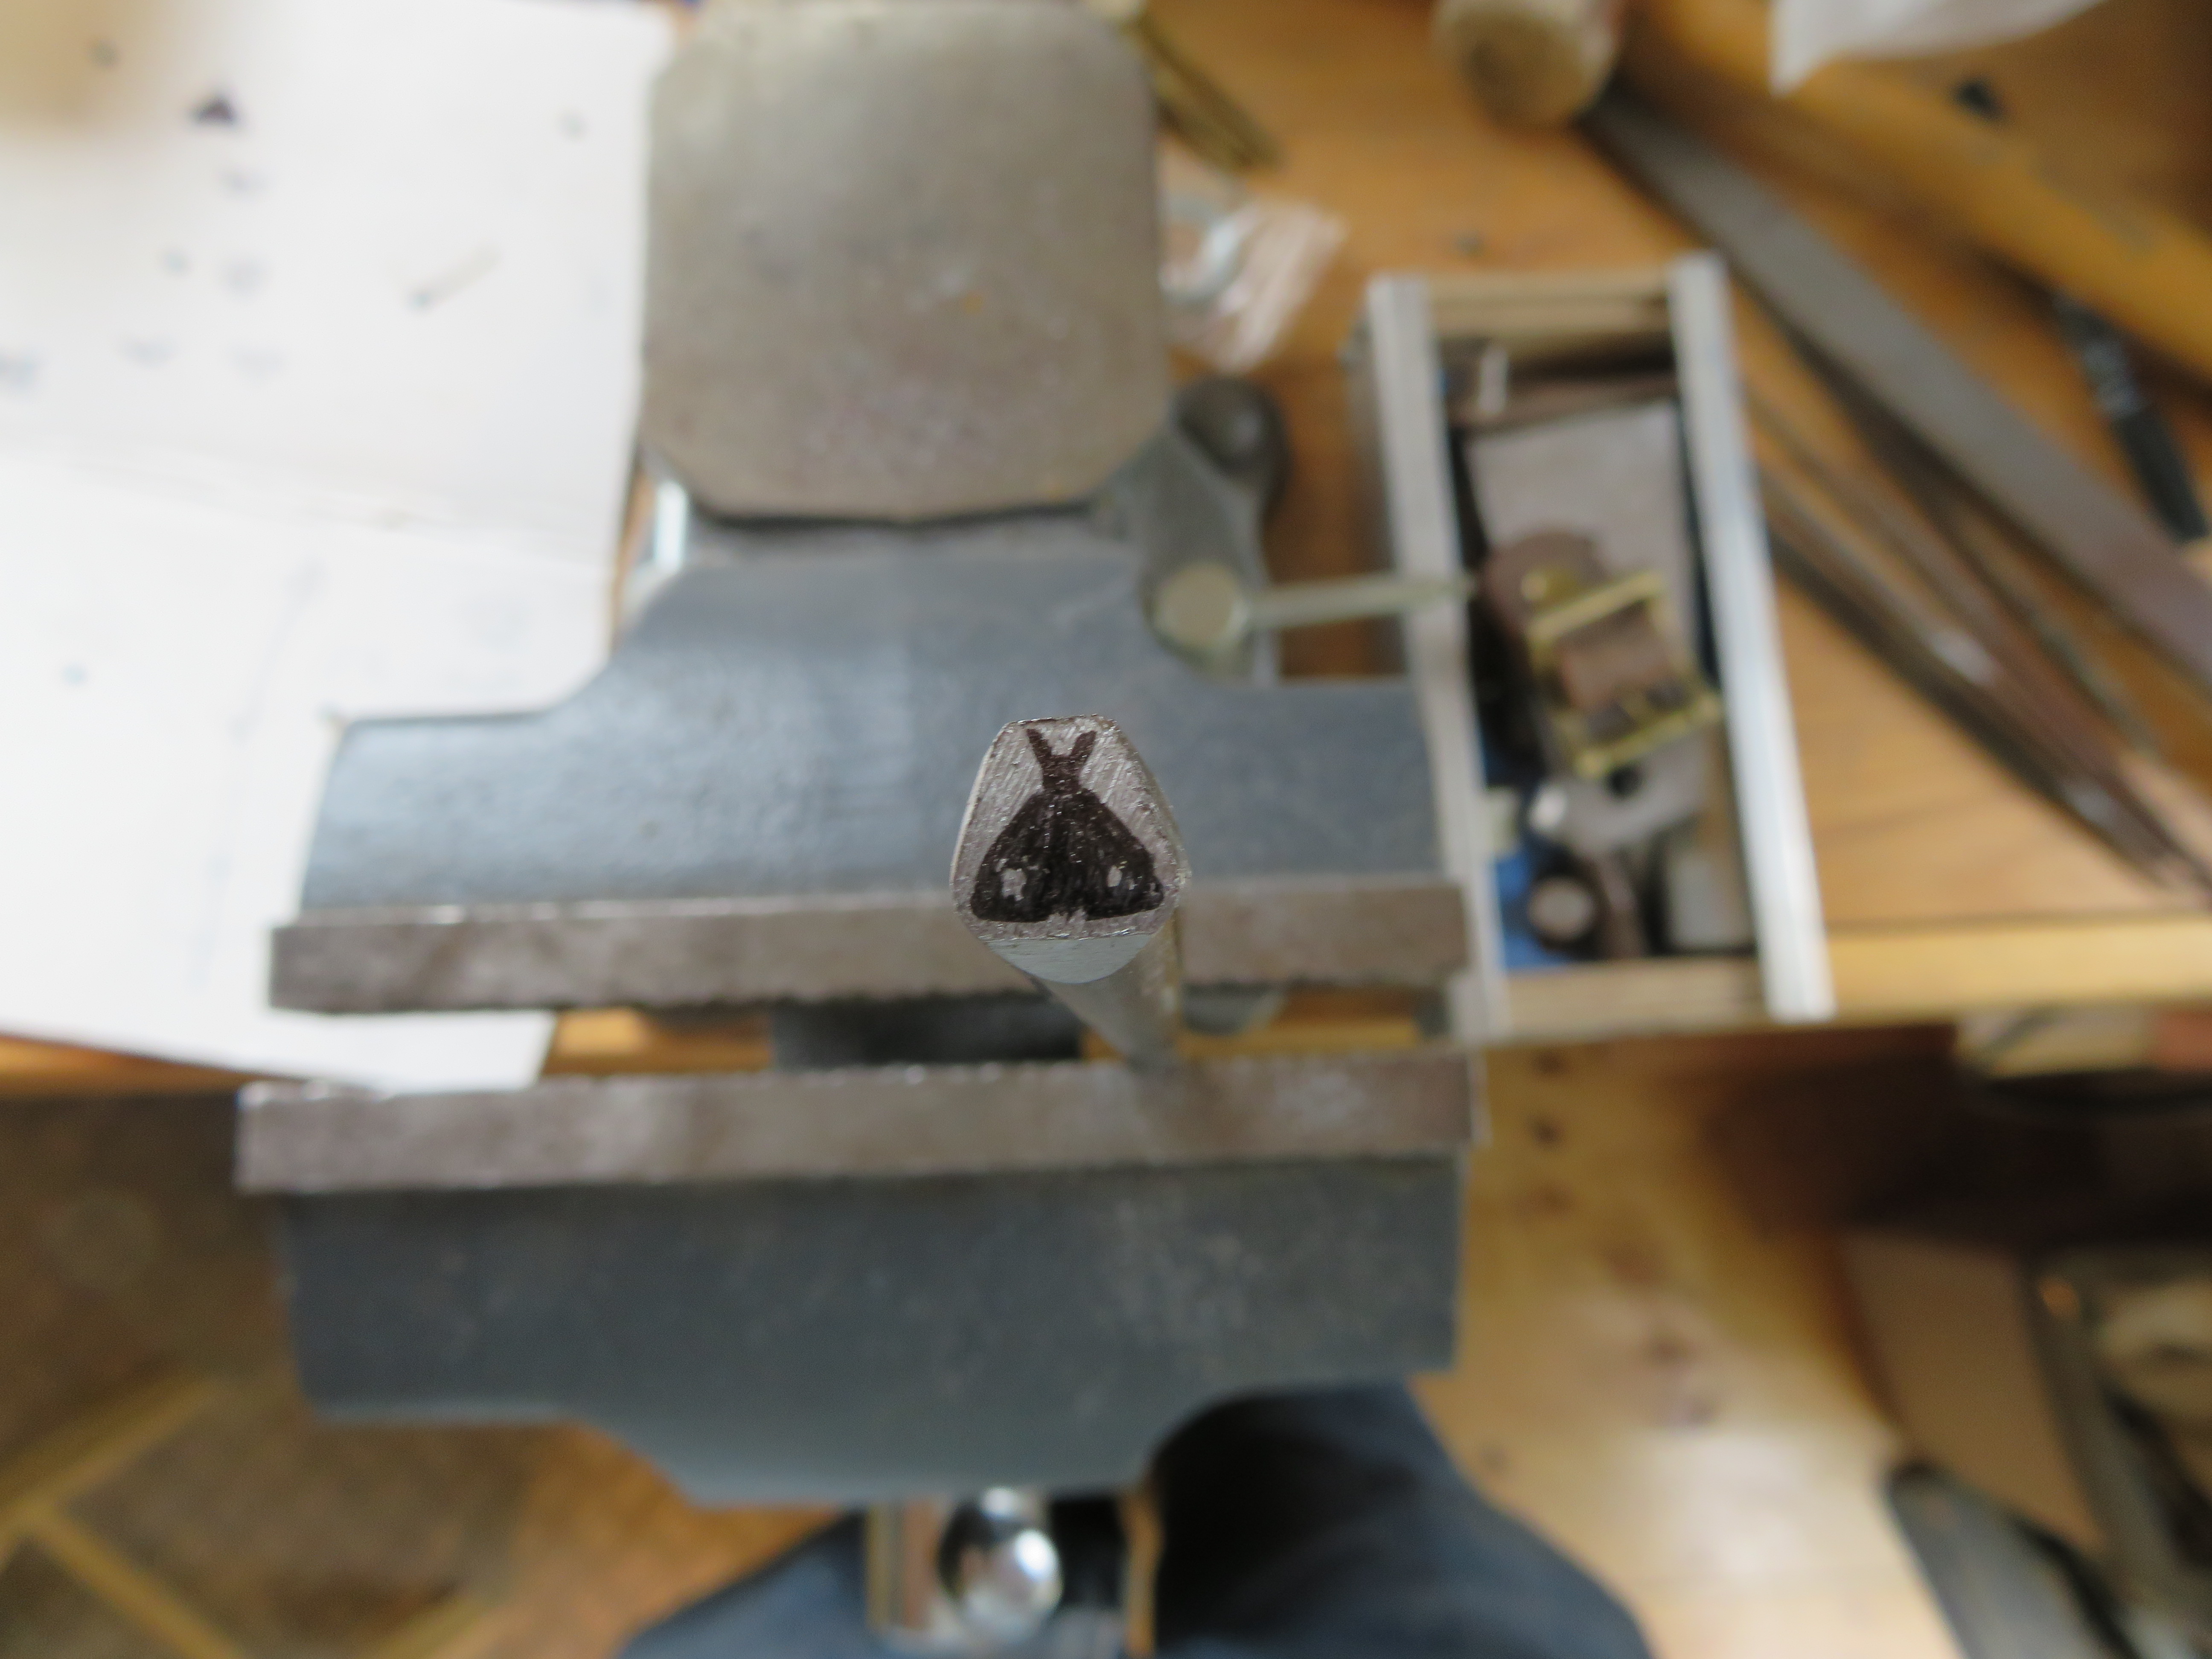
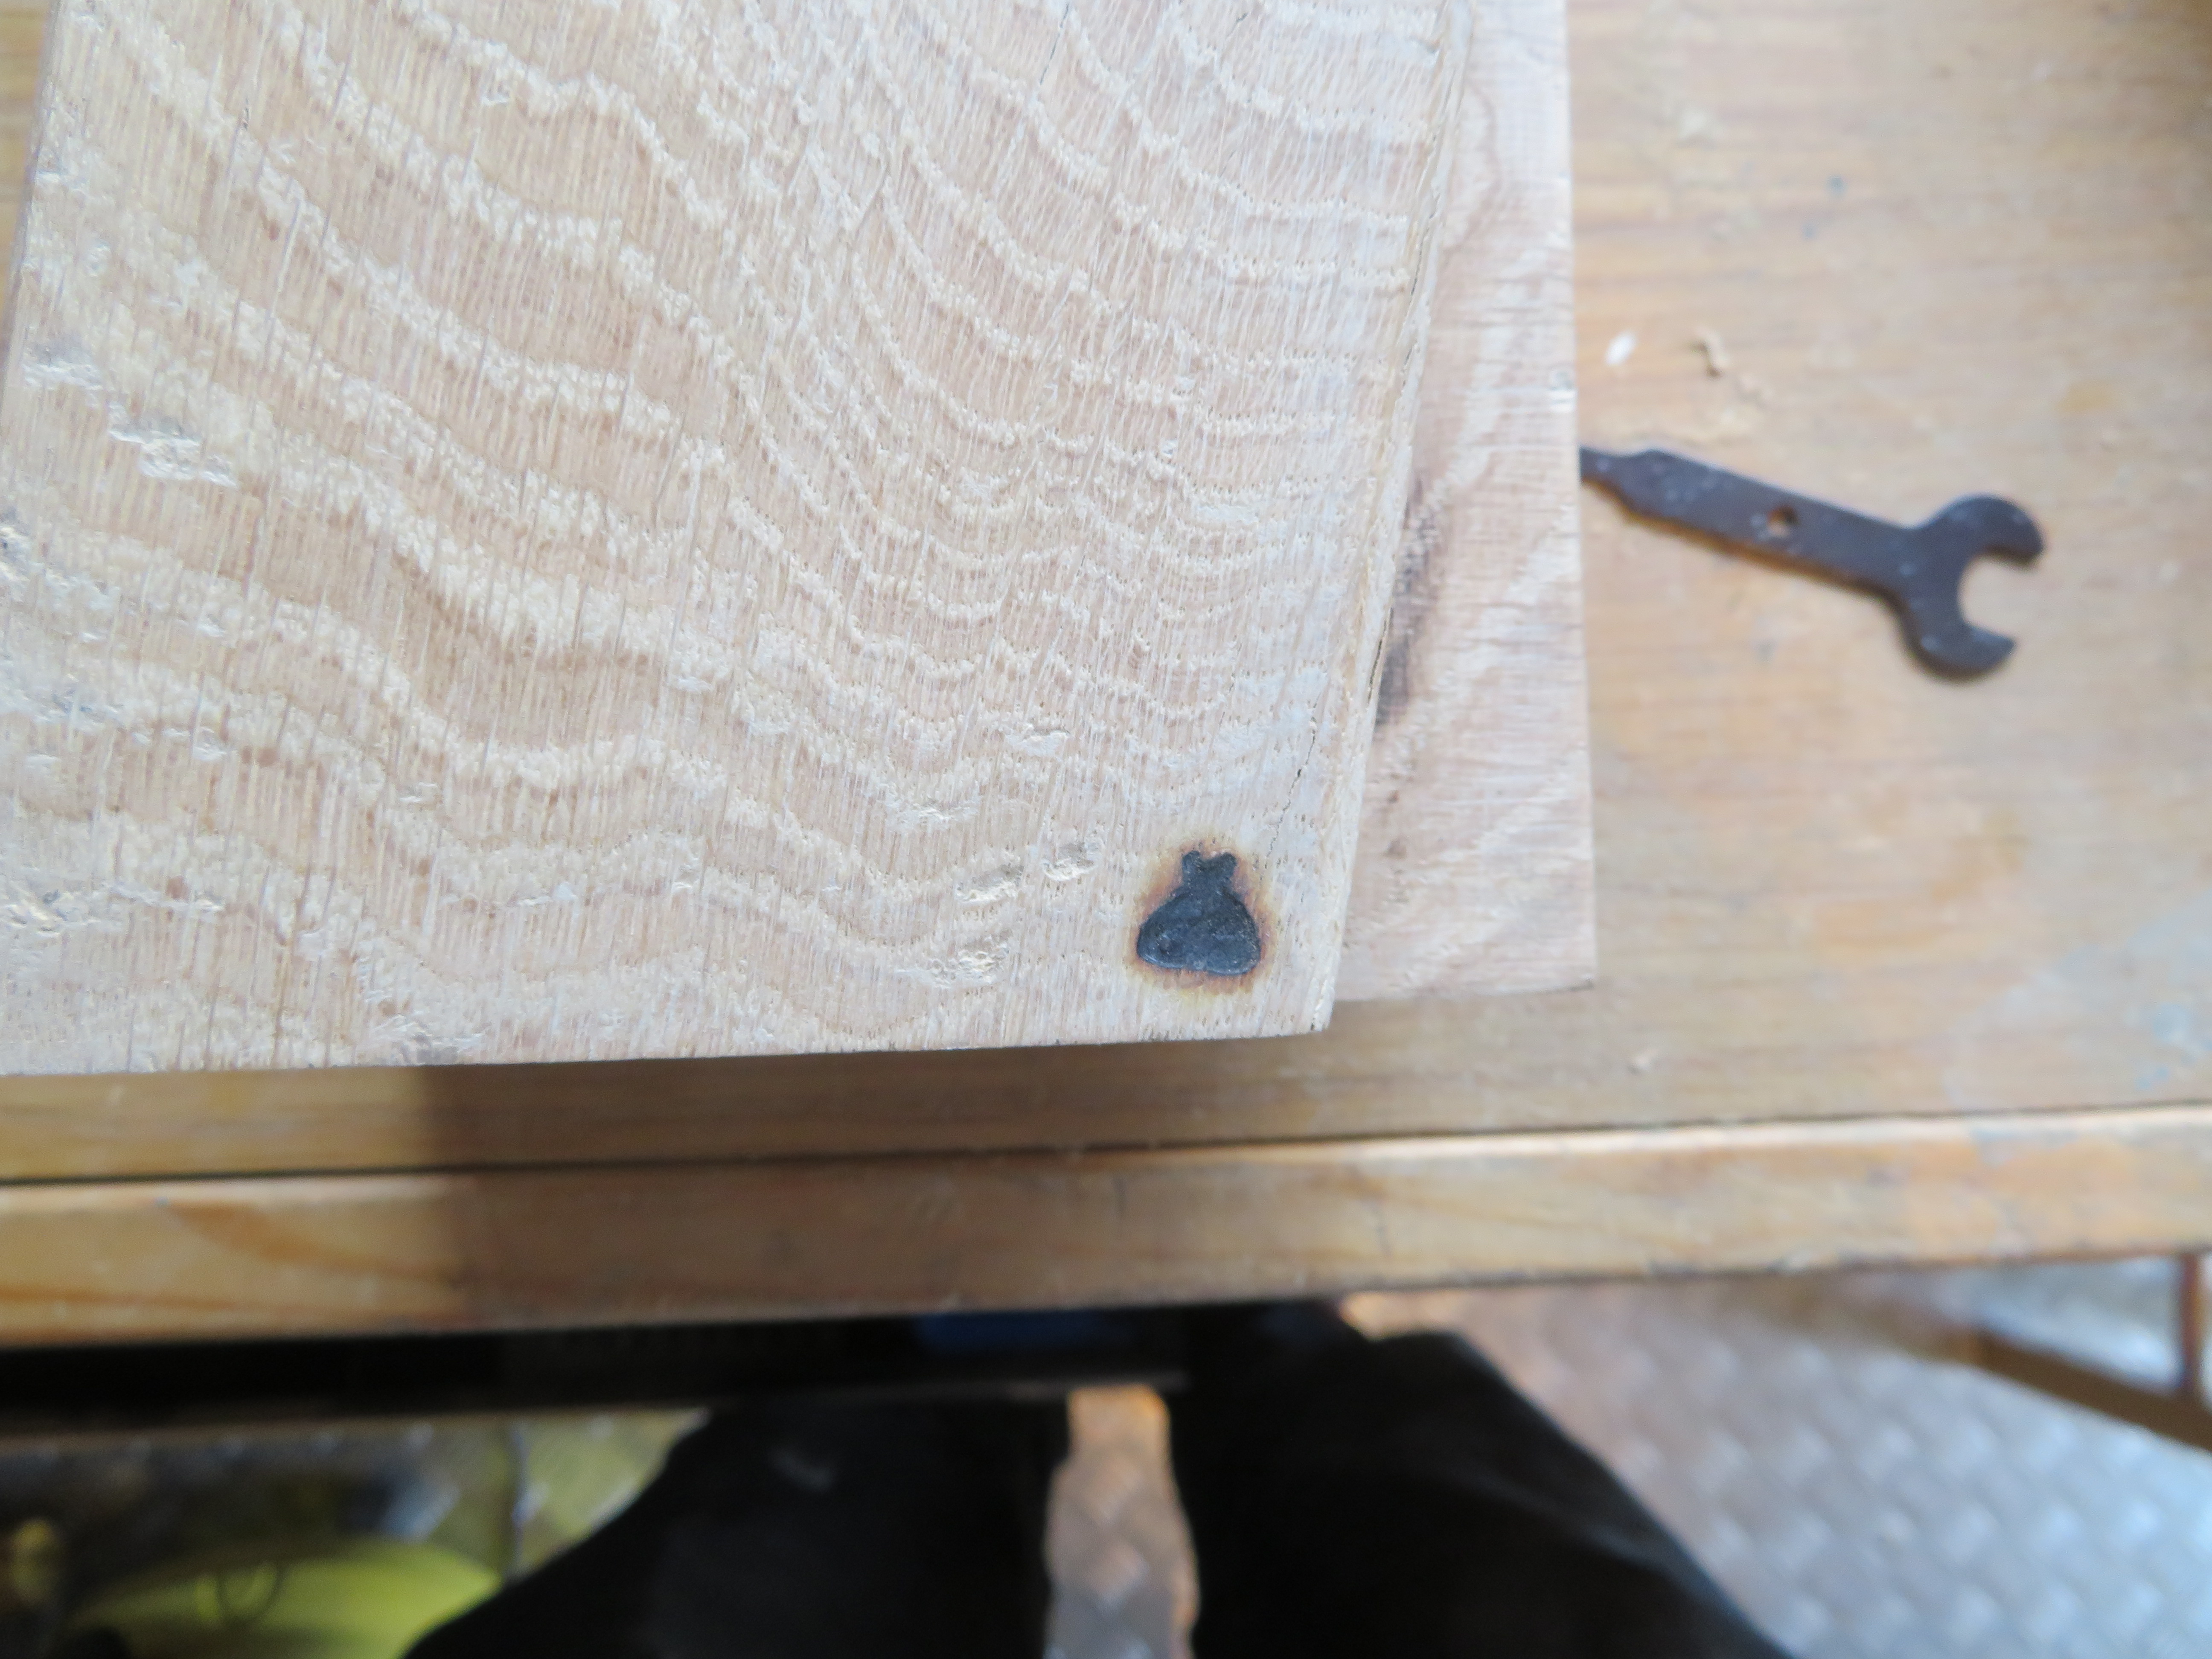
I had some difficulty actually using the iron. Getting it the the right heat that it would make a mark but not burn so much as to obscure the smaller detail was quite difficult. I think the design wasn’t ideal. It might have been more successful with narrower raised areas rather than the big flat area of the wings.
I’m not sure how well it actually reads as a moth…so far people have guessed ‘money bag’ and ‘dress’ so it seems not very. I think the loss of the tail detail does hurt readability quite a bit


Finally, I sanded over the whole surface and finished it with danish oil.