Category Archives: Leather Working

Making an Enclosed Helmet

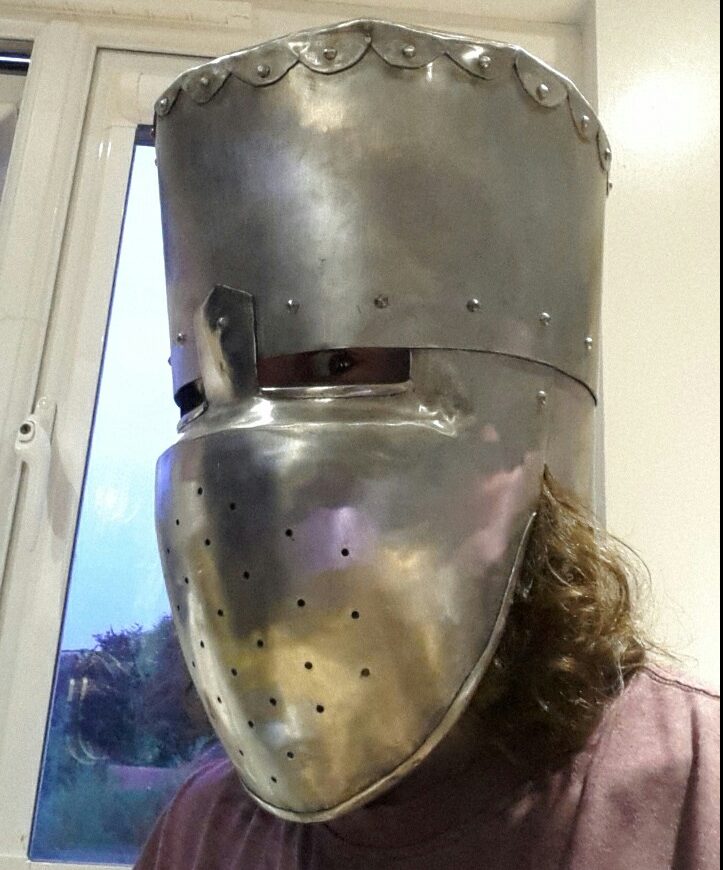
An enclosed helmet is the predecessor to the well known great helm that was used in the late 12th and early 13th century, which has a flat top, complete coverage at the front with a face plate and partial coverage around the sides and back. There are relatively few artifacts or depictions showing this form of helmet (at least freely available on the internet, that is) so there was a fair bit of interpretation as to the exact form and construction on my part for this. This was informed from some of the depictions in illuminations and also from other modern reproductions.

Planning and Pattern
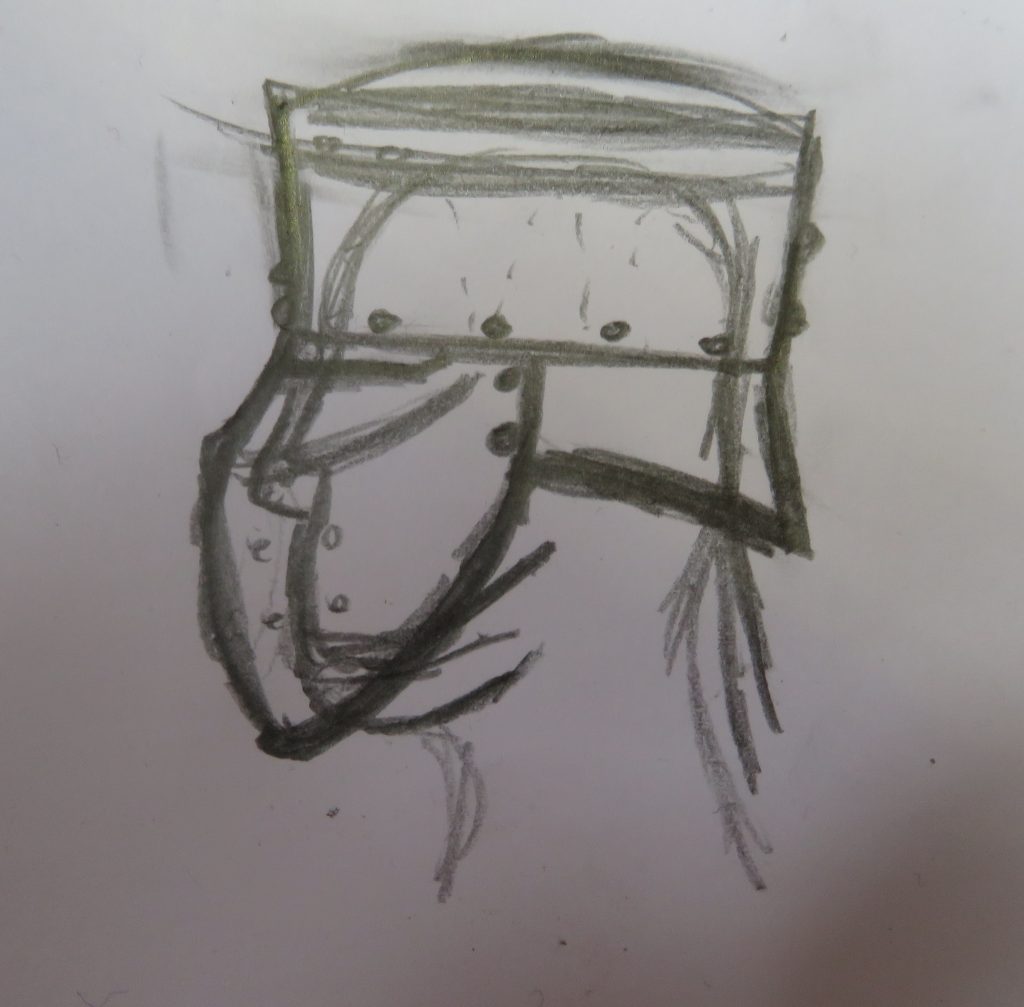
I began by sketching A plan for how I wanted the helmet to look and fit on a head. I planned a construction from four pieces: A face plate; a smaller back-of-head-plate; A long plate around the top of the head; and a circular top plate.

I then planned out the pattern for each piece. I started by taking measurements from my head with a fabric measuring tape. I made each piece over sized as it is very easy to cut them down later, but much harder to make them bigger.

I worked out the pattern for the upper plate using an online calculator for the net of a conic frustum, which gives it the larger diameter at the top than the bottom. I made a few versions of this pattern with different parameters and tried them on to determine the right proportions. I largely eye-balled the shape for the front and back plates patterns based on the upper plate pattern I selected and a few key measurements from my head. I didn’t make a pattern for the top plate as I would need to make that to fit one I had already shaped the rest of the helmet.

Cutting and Preparing the Pieces

I marked up the parts onto steel sheet from the pattern and cut them out using hand shears. These can be somewhat tricky to use, mine definitely have a bit of a knack to them and I remember I used to struggle with cutting larger pieces out. I have found that it it much easier to cut out the pieces with lots to spare around the edges initially and then go back and cut closer to the line on a second pass. This means you aren’t trying to make accurate cuts and sharp turns while there is a large amount of material, which is harder as the shears work by bending the off cut away, which is harder when there is more material to bend.

I then de-burred the edges and cleaned off the surface rust with 60 and 80 grit flap disks on the angle grinder (I wouldn’t recommend flap disks for this as I have found they seem to leave a surface finish that makes things more difficult when it comes to polishing). Finally I remarked the areas where plates were going to overlap.

Shaping the Front, Back and Upper Plates
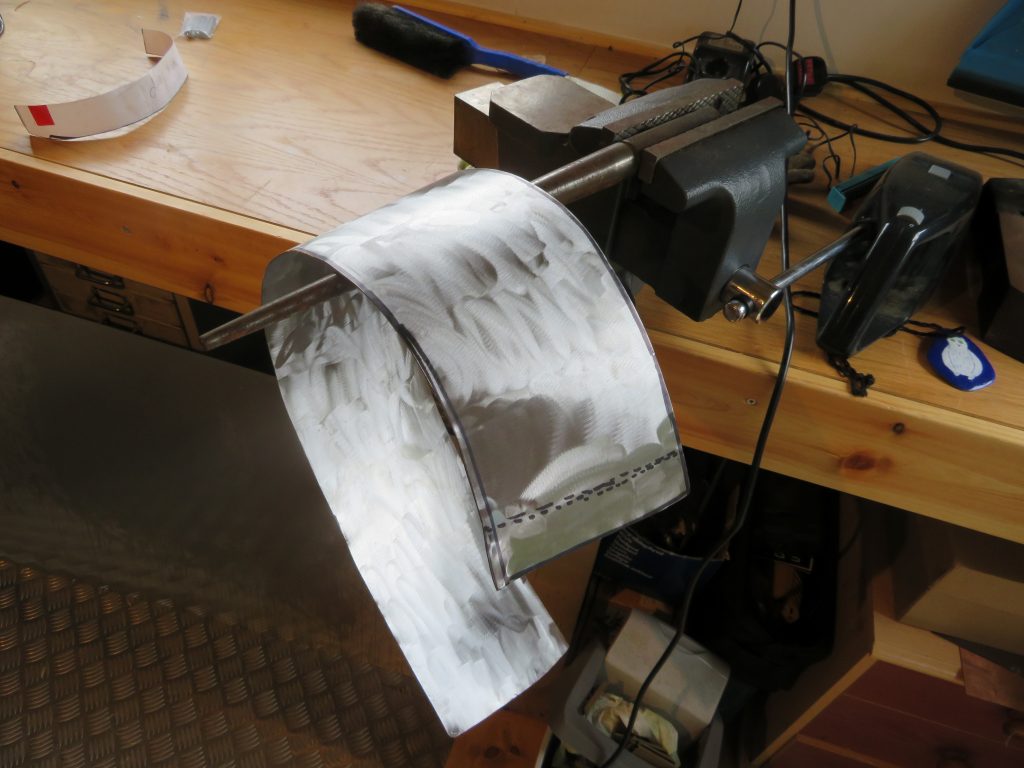
The upper plane was simple to shape as it only curves in one plane. I bent it by hand over a ring mandrel held in a vice, which was standing in for the horn of an anvil. I continually moved it and put small amounts of bend in at each point to give a smooth curve. At each end it becomes difficult to bend by hand as the leverage gets smaller and I needed to use a leather mallet. This is where I really missed having an anvil as the long lever action of the ring mandrel in the vice meant I could only get a few hammer blows in before I had displaced the mandrel and had to reset it in the vice. Once the part was shaped I punched 3 holes on the overlaps and temporarily secured them with bolts.

I shaped the front plate with a combination of dishing into a stump and raising over a mushroom stake to make the curvature for the fave plate. I then added a crease towards the top over a blunted chisel. Finally, I plannished the surface to remove the hammer marks.

I then married up the face plate and the upper plate to work out where they should overlap and marked up where the eye holes should go. In marking up the eye holes I had to account for the fact that I would roll over the bottom of each, which would make the holes larger. I cut out the eye holes using a combination of hand shears, a slitting disk on a dremel, and hand files.

Shaping the back plate was somewhat more difficult that the first two as I wanted it to flare out meaning it was curving in opposing directions on each axis, which is going against how the metal wants to move.

Once these plates were shaped I punched holes around the overlaps and temporarily secured them with bolts.

The Top

By far the most challenging part of this was shaping the top, which took me three attempts. The difficulty is that to join the top to the upper plate there needs to be a bend of more than 90 degrees all the way around the rim, which is creates a lot of excess material. Due to general frustration throughout this process I forgot to take many pictures.
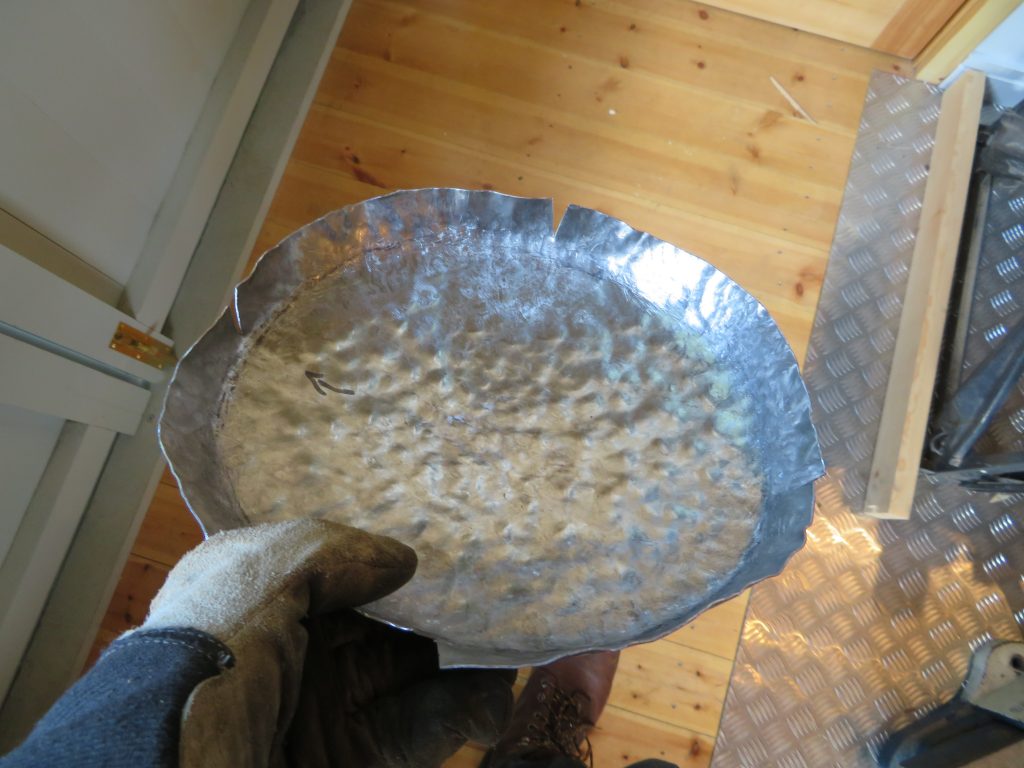
In my first attempt I started by using the shape from the already assembled parts to mark out the top plate. I thought that adding some curvature to the top would make adding the bend around the edge easier as it would no longer be need to be such a large angle. This was not the case as it meant the whole piece started to warp making lining it up with the upper plate more difficult. I had initially hoped to have a solid rim all the way around but this was quickly proved not to be feasible so I cut four slits around the rim to remove some of the bulk and make bending it easier.

After a while working on this I decided I wasn’t going to be able to make it fit and to start with a fresh piece.
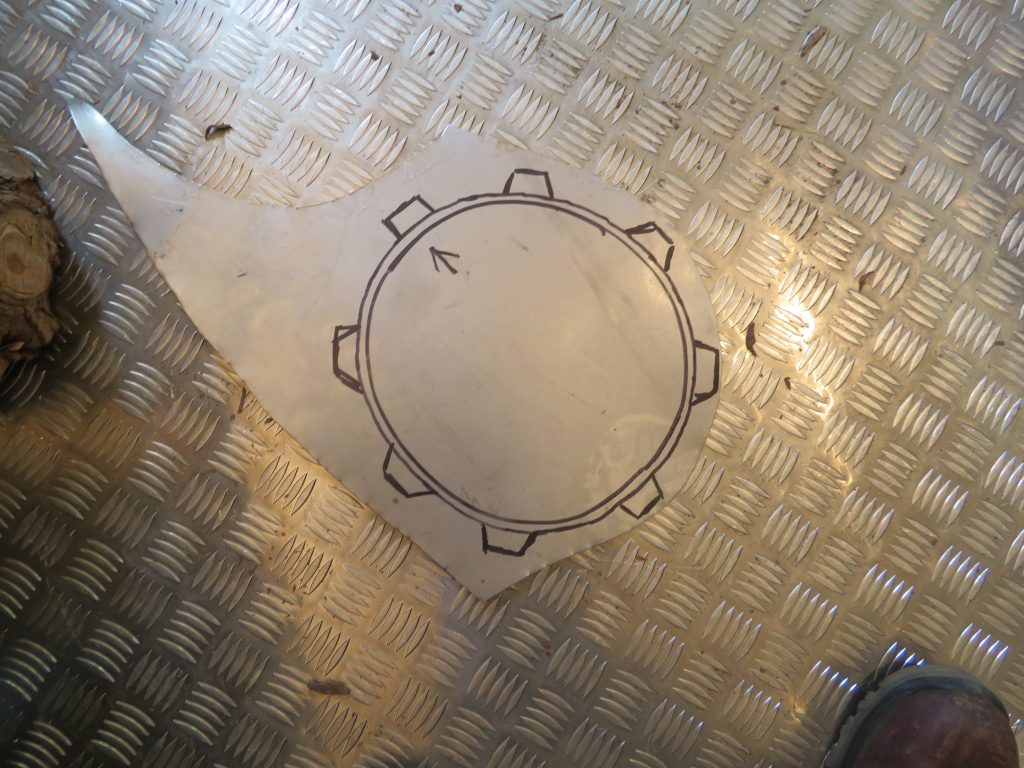
My plan for the second attempt was for the top to fit inside the upper, rather than outside, which was the plan for the last version, and to leave the top flat while I made the bend around the edge, which was only going to be a small amount of material with tabs around the circumference.

The main flaw in this attempt was the idea for the top to fit inside the upper plate as it quickly became obvious that this was going to leave a significant air gap.
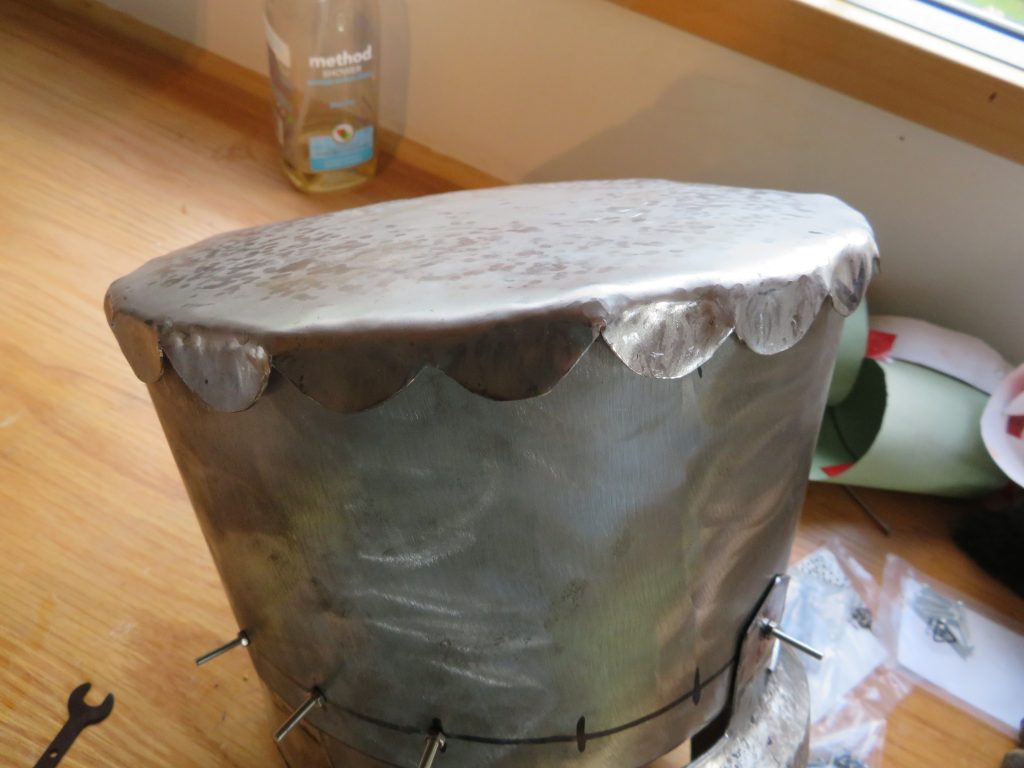
In the third attempt I decided to return to having the top fit on the outside and to have tabs all the way around. This proved to be much more successful and, once I had bent all the tabs mostly over I added a slight curvature to to top.

Finishing

I then polished up each plate going through a successively finer grits of sandpaper followed by polishing compound on polishing wheel. To protect the inside from rusting I painted the inside of each plate with black paint.
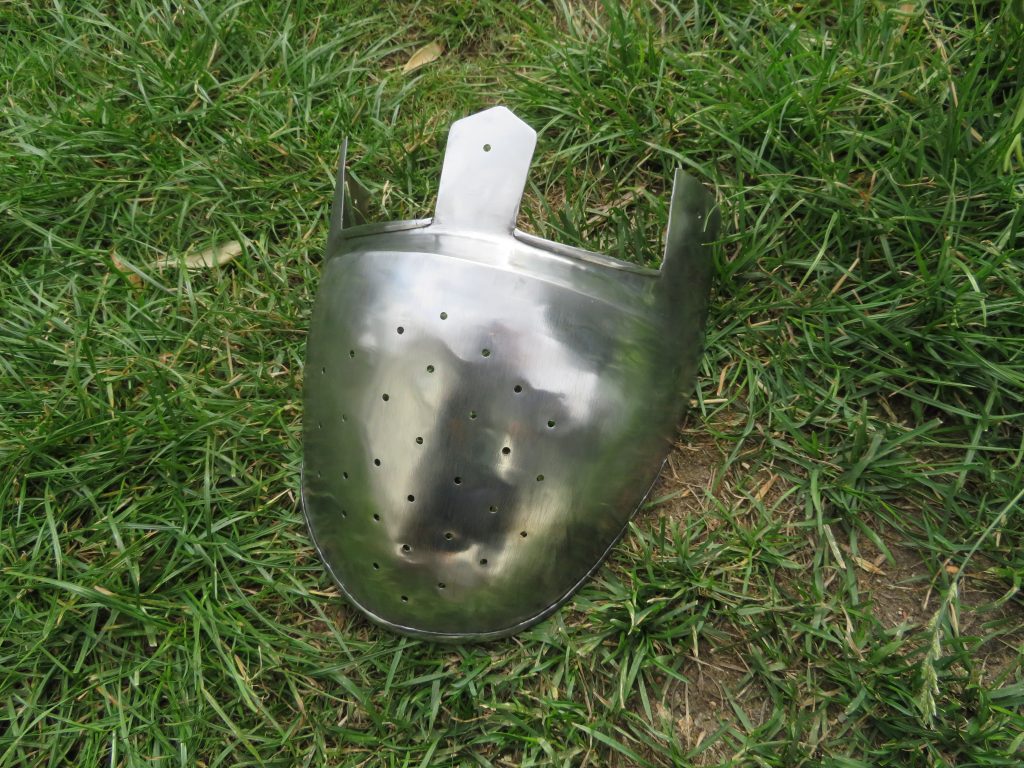
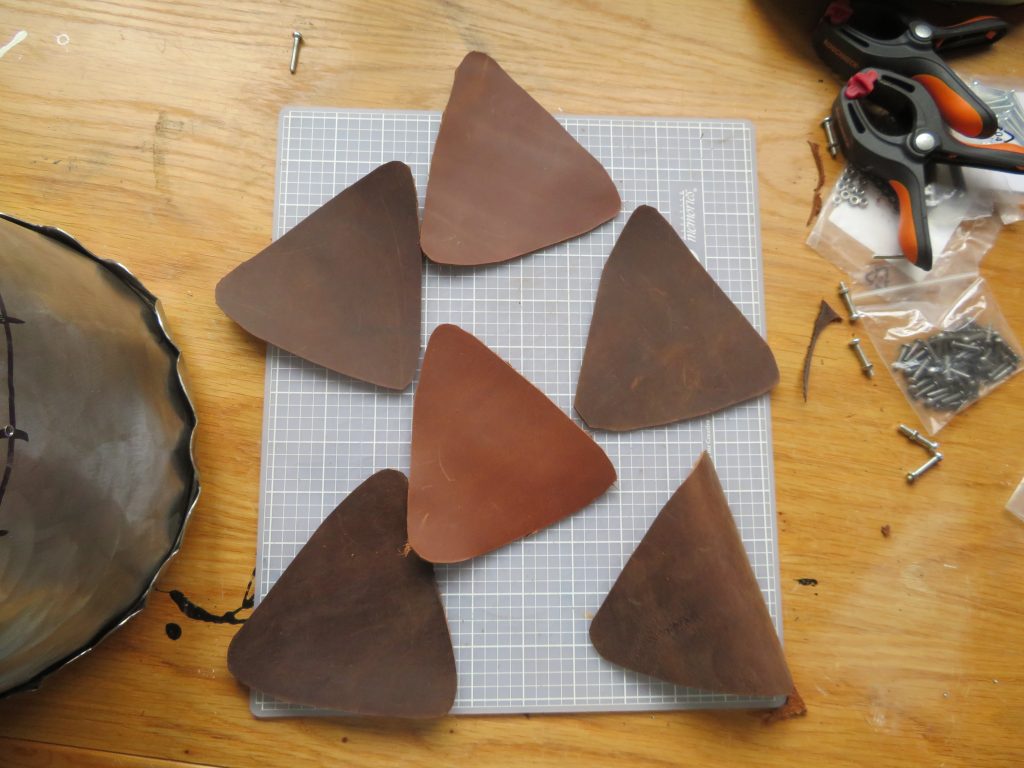
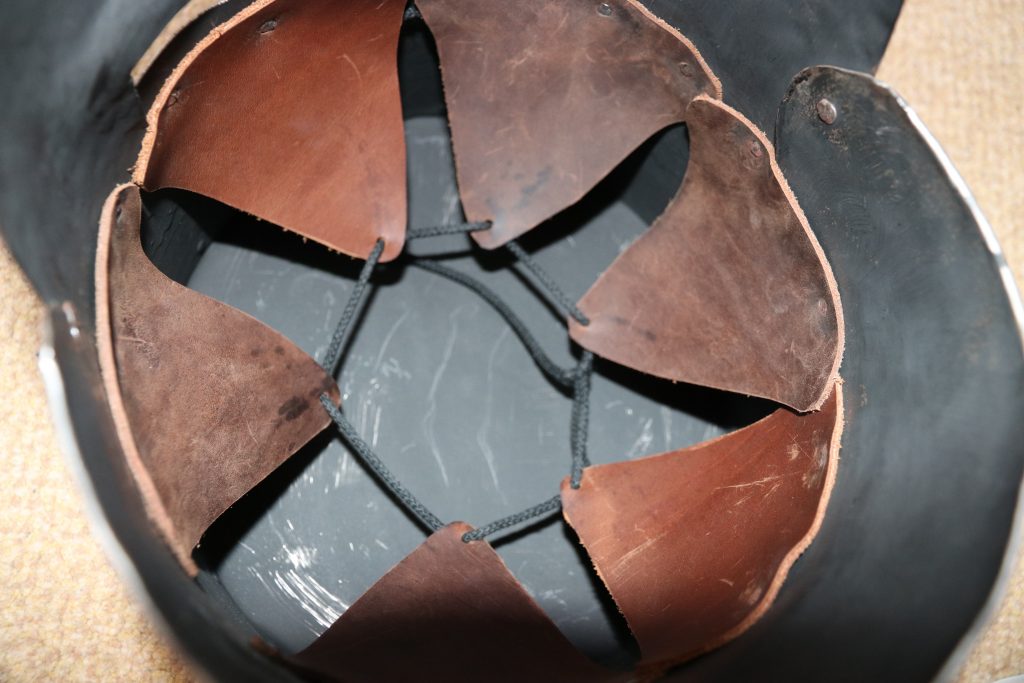
Finally I riveted all the plates together. The rivets around the brow band also held the suspension system in, which I made simply from triangles of leather each with an edge riveted to the helmet and then the remaining corners of each all loosely tied together. This system means that the metal of the helmet is not resting on your head, which would mean any impact would just be directly transferred, very similar to the suspension you find in modern hard hats. I am not sure this system of leather riveted directly to the helmet is particularly historical, from what I have seen helmet liners would more usually be textile and would be sewn to the helmet or to a second strip of leather that is itself riveted to the helmet. These systems allow the liner to be more easily replaced without having to grind out and replace a lot of rivets. Knyght Errant has a good video on the helmet suspension systems for those who are interested.
Making A Leather Belt Bag

This is the first project I undertook after having the idea to make this website so it will also be the first one that can form a full tutorial with process pictures throughout. 

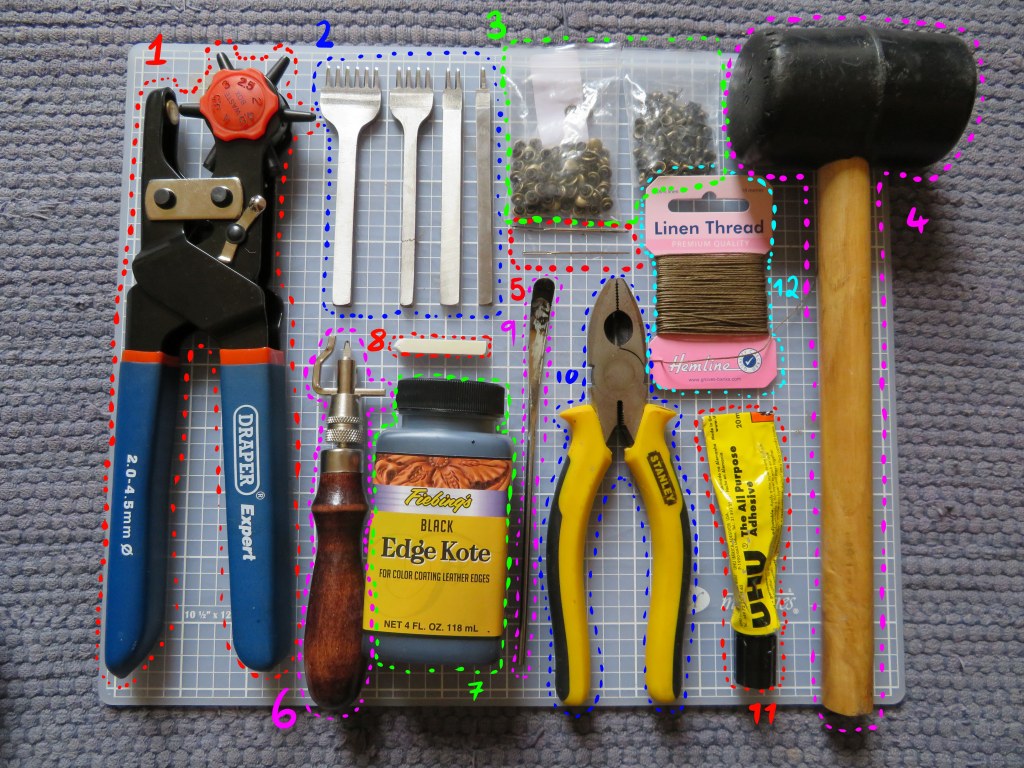
The Tools I used 

  1. Leather punch. Used for punching holes of various sizes.
  2. Diamond stitching punches. Used to create the holes for stitching with even spacing. Diamond refers to the shape of the cutting point and not the material.
  3. Leather rivets. 
  4. Rubber mallet. Used for cutting with the stitching punches and for the rivets.
  5. Sturdy rounded needles.  
  6. Stitching groover. Used to mark a line a consistent distance from the edge for where the stitching will go 
  7. Edge kote. Used to finish the exposed edges. Other processes can be used depending on your leather but I found this leather was too thin to burnish.
  8. Chalk. For marking up the leather. 
  9. Spatula. For spreading the edge kote.
  10. Pliers. Useful for pulling the needles through the leather and saving your hands.
  11. Glue.  For holing pieces together while putting in stitching or rivet holes. The type isn’t hugely important so long as it says its suitable for leather.
  12. Waxed linen thread.

How I Made It

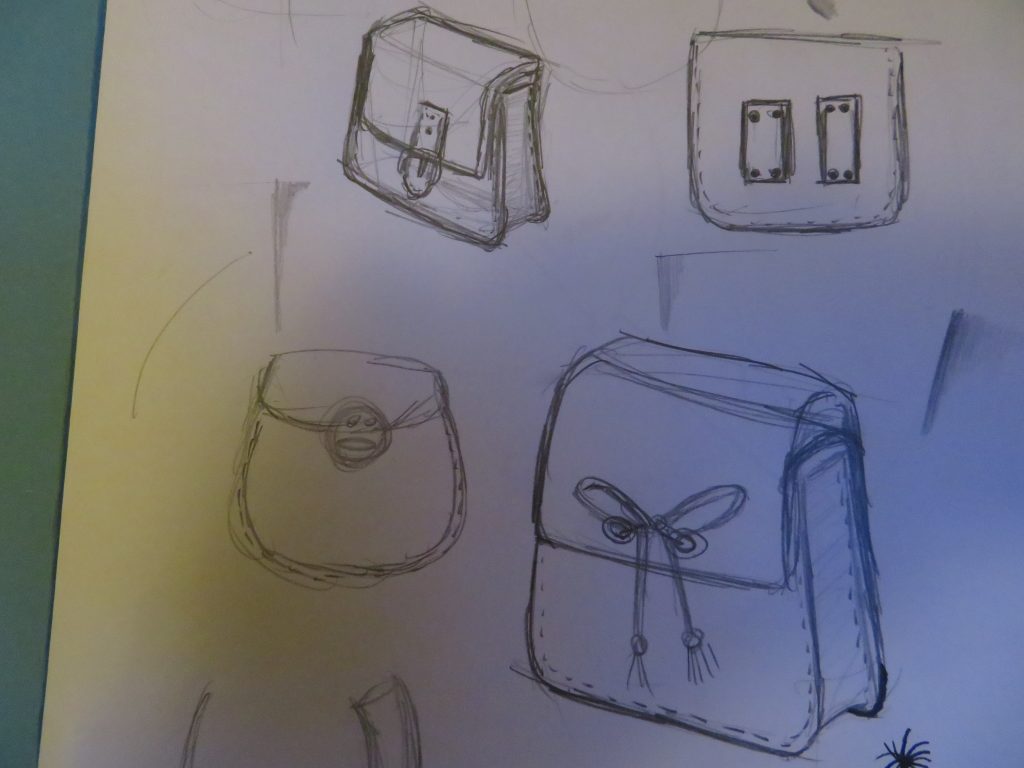
I began by sketching some ideas of what I wanted the bag to look like, finding various references on the internet  and picking out ideas and shapes that I liked. Then I drew up the pattern based off of these sketches (its at this point in writing the article that I realize I have no pictures of my pattern so have already failed in what I claimed I would have not one paragraph in). To make the pattern first I drew out the shape I wanted the front of the bag to have (at this point you should check to see that things like your phone or camera that you might want to carry fit into this shape with space to spare). Then  I copied out this shape again for the lower half of the back. Here I needed to decide how much depth I wanted the bag to have (again basing this off of the size of things that need to fit in the bag).  I took this value and added around 1.5-2cm on to this and then drew two parallel lines up from the top corners of the pattern for the back piece, this will be the bit that goes over the top of the opening to the bag. Then I turned the original shape for the front upside down and, starting from the end of the parallel lines, I traced about half way up it and then drew a straight line across. This part is the bit that folds over the front. 

Then I measured the distance around the edge of the front shape, excluding the top edge and drew  out a rectangle of this length (I would recommend adding a bit to this length ans it was quite a bit of work to make this piece fit and it would have been easier if it had been oversize and I just cut off the excess) and with a width the same as the ‘bag depth plus 1.5-2cm’ distance I used before. This is the piece which joins the front and back parts of the bag. Finally I made pattern for the buckle fixings, which are very dependent on the buckle you will be using.   


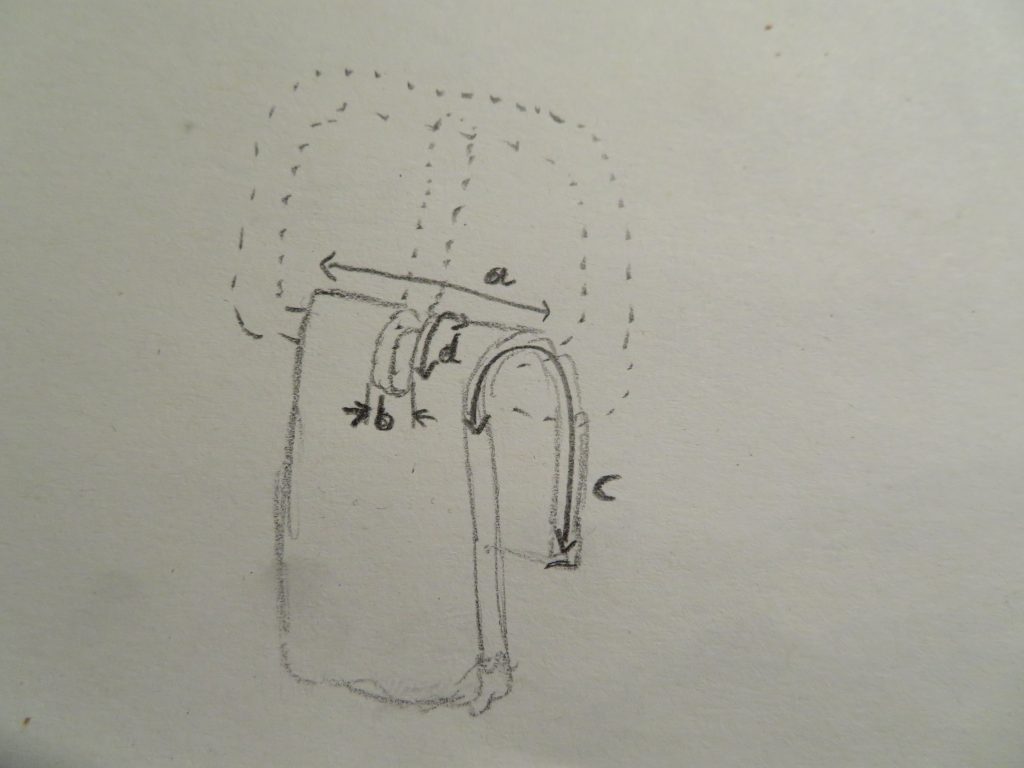
The main dimensions that are important for the part that will hold the buckle are shown in the diagram. The width of the part, a, must be slightly narrower then the inside width of the buckle. There needs to be a  hole of width b that is slightly wider than the width of the prong of the buckle and of length d that is sufficient for the prong to rotate through a large enough angle to function. Finally it need to be long enough in c to loop round the buckle and have enough spare to be stitched and riveted to the front part. For the part that goes through the buckle it simply has to be of width a and also be of sufficient length. The shape for the ends of these parts is mostly an aesthetic choice. I chose to have them both be the same at the ends but they could be different.

Finally I drew up two small rectangles to go on the back which the belt will go through. These just need to be long enough to fit the width of a belt plus have room on either side to be attached by. 

When I had drawn and cut out all the patterns on card I then arranged them on my sheets of leather trying to make the most efficient use of the material. I then used chalk to trace around the patterns and mark onto the leather. Then I cut out the pieces using a pair of textile scissors. This is probably are not the most ideal way to cut leather but it seemed to work well enough.

Now seems an appropriate time for a short side note about the leather I am using. As I did not buy the leather myself and It came as a collection of cut offs I am not entirely sure as to exactly what kind of leather it is. The important thing about it for this project is that it is fairly thin and flexible. Trying to make the bag with stiffer leather would be quite tricky.


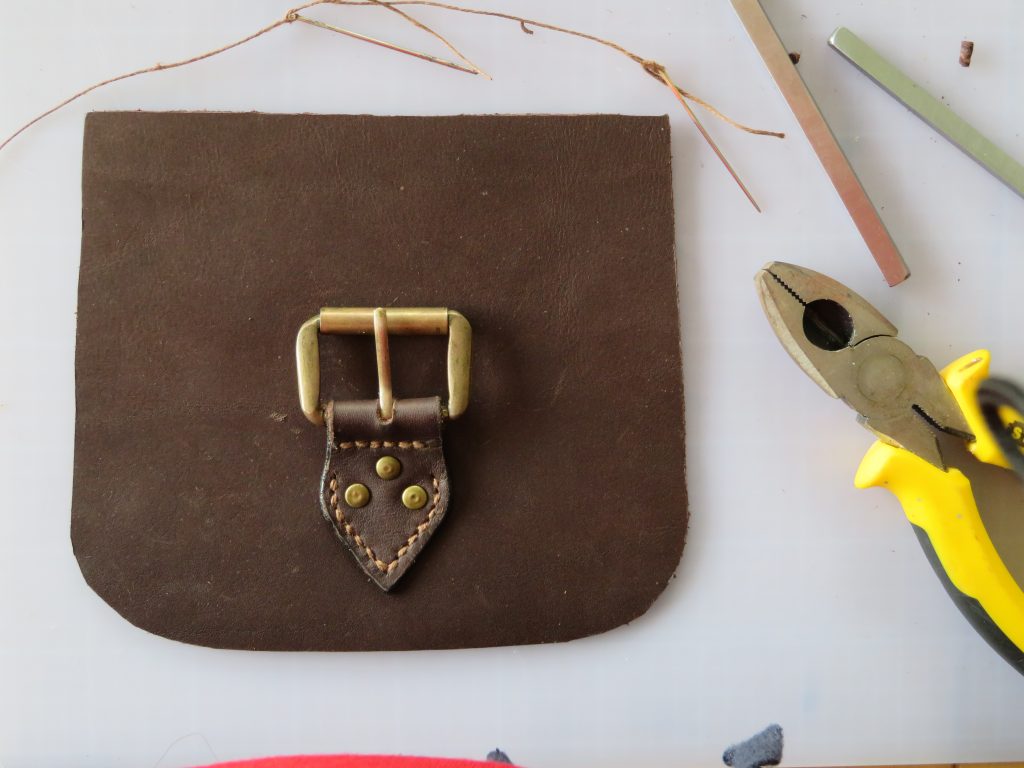
I started by attaching the buckle to its piece of leather. I slotted the prong through the hole then wrapped the piece around the buckle. I then punched a hole through both layers and attached them together with a rivet. The rivets come in two parts one with a smooth face and the other a hole in its surface and a rod that fits into the first part. To fit them together place the first part in the hole then put the other part in from the other side. Then hit it with the mallet from the backside to fix the rivet in place. 

I then use a stitching punch to put a line of holes just beneath the buckle and stitched along this line. Leather stitching is done with two needles at other end of the thread in a way called ‘saddle stitch’. The first thing do do is thread the needles, which includes an extra step to secure the tread as otherwise it has a tendency to get pulled out as you pass it through a hole. First pass the thread through the eye of the needle then twist part way along the thread that has come through the eye to open up a hole through which you put the end of the needle. Then pull it tight. Ideally you would leave more tread than I did in the pictures as this was just an example I didn’t use too much thread for it.   

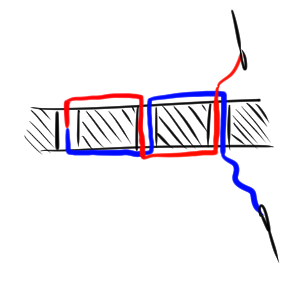
Once the needles are threaded start by putting one needle through the first hole and drawing it through until there is half the thread on each side of the hole. Then pass one of the needles through the next hole from one side and then the other needle through the same hole from the other side. The diagram shows what the stitching should be like. Repeat this along  the whole length and, when you reach the end go back a few stitches and then take one thread one stitch further and tie them off. It isn’t strictly necessary to tie off but I like to be doubly safe. 

I then ran around the edge where I wanted yo put the stitching with the stitching groover. It was easier to do this before attaching it to the other piece even through there were a few more steps before I came to the stitching. I also painted the exposed edge with a few layers of edge kote as it would be imposible to do this once it was attached without also getting it on the front piece. To apply the edge kote I used a metal spatula though I would guess that a paint brush would actually be more effective. I applied a layer and then let it dry before sanding it flat and applying another layer. I repeated this until A layer looked good enough left shiny.

I then glued the buckle piece into place on the front part of the bag and punched two holes and riveted through them. Punching these holes is a bit tricky as it is necessary to bunch up some of the leather to get it far enough into the jaws of the punch.  I then punched the stitching holes and stitched it.

 I then repeated pretty much the same process to attach the other part of the the buckle arrangement to the back piece (I can not seem to find what the part that goes through the buckle is called) and then again with the two belt loops. 

I then began stitching the side piece on to the front piece. I couldn’t get it all lined up in one go so I lined up one part and then punched the holes and stitched them before moving on to punch the holes for the next section. I had to go very slow around the bends using the 2 pronged punch and only going a few stitches at a time. When I got to the end I found I really had to stretch the leather to make it reach all the way round but hopefully anyone following along will not have this trouble as they should have added on some extra length. I then repeated this process to attach the back.

I then applied edge kote around the remaining edges and finished it off by punching the holes for the buckle prong to go through. To work out the position for this I just did a test fit and marked where the prong wanted to go though and then punched a hole there. 


If you have followed this you ought to now have yourself a nice leather belt bag. My intention when making it was for the too loops on the back to go on either side of a belt loop on your trousers so as too hold it in place. Alternatively to save having to undo your trouser belt whenever you want to put it on or off you could make or buy a dedicated belt to put it on. If anyone our there does make one I would love to see a picture of your results (though I am not expecting anything any time soon the amount of traffic I have at the moment). 

Making A Sword

Who doesn’t love swords? well I don’t like them quite as much as I did after the hours I have put in making this one, messing it up and having to try and rectify my mistakes and generally making a bit of a meal of it. I started this project almost 2 years ago, largely interrupted by the small inconvenience of going to university but even with that it still ended up being quite a lot more work than I had originally anticipated. With that in mind, if you are here looking for a tutorial on how to make a sword you are in the wrong place. My main advice to anyone considering trying to make a sword would be ‘don’t’ at least not until you have honed your skills on smaller things, I think a knife would be a much better place to start rather than diving in at the deep end like I did. My second piece of advice would be to avoid doing a fuller (the groove running down the middle of the blade commonly, and incorrectly, called a blood groove) as without more advanced tools getting a good fuller is pretty difficult, time consuming (you will notice mine only goes half way up the blade) and you run the risk of, as I did, putting a hole in your sword. For those of you who are not deterred by this (or are just interested) I will give an overview of what I ended up with and the process by which I made it.

 What I Made

Despite what this article is named I didn’t make a sword, not really anyway. If you were to use this in battle you would be in a bit of trouble, for one thing it is about as sharp as a butter knife with the only vaguely offensive part being the point, it is also only made of mild steel which makes it rather soft and, at the thickness it needed to be to have a balance similar to a functional sword, very floppy. So in reality what I made is something that looks like a sword and feels a bit more like a sword than a stick but is pretty much just a decorative item. 


How I Made It

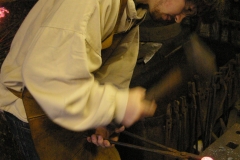
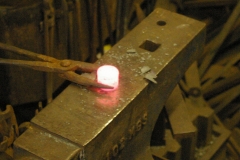
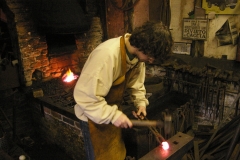
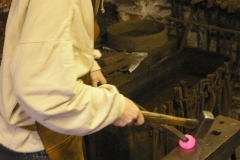
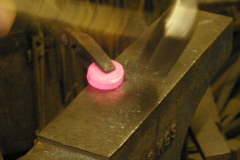
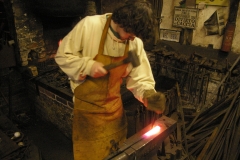
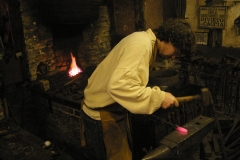
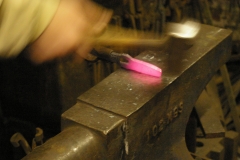
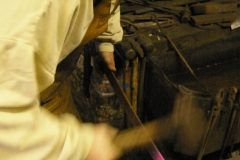
The initial stage of making the sword was done in a blacksmiths forge where I forged the metal parts into their general shape. 

The sword consists of three metal parts: 

  • The blade, which is the the main obvious ‘sword’ part of the sword and also extends through the hilt as a part called the ‘tang’.
  • The crossguard, also called quillons if you want to sound fancy, is a bar that slides over the tang and protects the users hand.
  • The pommel, which placed behind the grip and the tang, which is then peened (hammed down) to fix it in place. The pommel serves the dual purpose of holding the hilt construction together and also providing counterweight to the blade to bring the point of balance further down the blade (although this is not always the case as many historical pommels were actually hollow).  

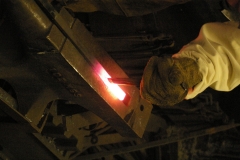
I began by making the pommel. It started as a billet cut from a cylinder, which was forged out to bring it to a flatter cylinder with a slight taper towards the edges and then drilled a hole through it for the tang to go through. 

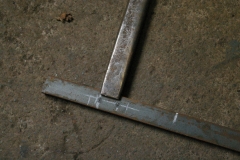
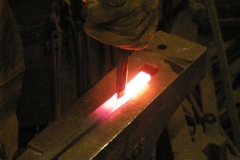
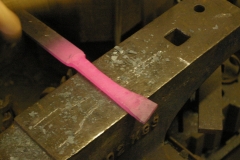
The cross guard was forged from a flat bar. This was marked up and then a chisel was used to create the hole that the tang would go through. I then forged a taper on each side to bring it to its final shape. My first attempt was left in the fire for too long and ‘burnt’ causing it to be overly pitted, which meant I had to repeat the process to make a new one, which turned out better than the first as I had had more practice.

Then we come to the most substantial part, the blade, which began as a long flat bar slightly shorter then the final length of the sword. If I had more time at the forge I would have started with a shorter length so it would end up with a much stronger distal taper, which is an important factor for balance, without having to grind it down, which is much more time consuming.  The blade was made by first forging the tang, then the fuller, which was done with a custom made tool, and then finally tapering out all the edges into a more blade like shape. This was the point at which the first major issue was introduced, which was that the edge was very wavy (in both directions), rather then straight. Once the forging was done there wasn’t really any way to fix this so the problem persists in the final incarnation. 

After this I did a small amount of grinding to clean everything up and then fitted everything together.  First the crossguard was placed on the tang. Then the tang was heated up and the grip, which was simply carver from an old hammer handle (the square space is because I was thinking about inlaying some horn, an idea I since abandoned), was pushed on to it, burning away the inside, which ensured a tight fit. Finally the pommel has placed on leaving a part of the tang protruding, which was then hammered down to hold everything in place. 

Finally I added leather around the grip, which proved to be slightly difficult once the sword was fully assembled, so the edges ended up rather less than flush. The only particularly note worthy part of this stage is to thin the leather on the ends that will overlap with each other, which means there won’t be a large and obvious seam that would be likely to peel away after a while of handling.  

This was then the state that the sword was left in for quite a while until I came back for summer from my first year at university, when I decided I wasn’t happy with how it was and I wanted to take it apart and improve it. This is where a lot of my troubles started.

The main problem I faced was the tool I was using to shape the blade: an angle grinder, which is very much not ideal for the task. A belt grinder would have been much more suitable, and even then a specialist belt grinder called a ‘linisher’ is what actual bladesmiths would usually use but these a bit too pricey for me so I had to make do. The main aims from the grinding were to: clean up all the surfaces to remove pitting, taper the blade and to enlarge the fuller.

Cleaning the surfaces was fairly straightforward and did not pose any real problems. Tapering the blade, however, proved much more difficult as it required the removal of a lot more material and it was quite easy to accidentally take off too much material as the blade thinned toward the edges. This is what ended up causing me to thin a section in the middle much more than I meant to, resulting in more of a ‘neck’ rather than the gradual taper I had intended. Expanding the fuller was probably the most troublesome part as the angle grinder was very much ill suited for the task. I ended up managing to grind almost all the way through at one point leaving a foil thin section with a crack through it (Rather embarrassingly this was very shortly after being warned to be careful about grinding through it). To solve this I had to get the hole welded up, which cleaned up fairly well and didn’t leave too much of a mark.  

The next thing I wanted to do was to add some decorative file work to the hilt to make it look a bit nicer. This was probably one of the easiest stages and turned out pretty well. The straight lines were simply cut in with a small triangular file with the initial cut starting on a corner and then working across much like you would when cutting with a saw. The round cuts were started with the triangular file and then expanded with round files. 

Then everything was polished. At this stage I did not really have the patience for polishing and was very aware that summer was running out and I wanted to move on to other things so the level of surface finish is not anything particularly amazing. 

At this point I made the handle thinner and redid the leather by the same process as before but this time as it was detached from the rest of the sword I was able to get it much neater. 

Finally It was time to reassemble the sword, and even this final step proved to be a bit tricky. The trouble was that in order to take it apart I had to grind away some of the tang as everything had been such a tight fit. This then meant that when the crossguard and grip were put back on they were incredibly loose and there was a lot of rattle to everything.  To keep the cross guard tight I mixed up a paste with some wood glue the leather shavings I made from thinning the ends of the leather and then used this to fill in the gaps between the tang and the crossguard, which worked surprisingly well. The problem was that I thought that once the pommel was peened in place the grip would be held in place between the cross guard and the pommel. This was not the case. Once the pommel was peened in place, however, I couldn’t then remove it again as, without access to heat, I has to grind the the protruding part of the tang away to take everything apart and if I were to do this again I would not be left with enough to peen the pommel in place again. So I would have to leave it as it is: slightly wobbly.

That then concludes my first article. Im not really sure about a good way to ended it so I guess I will just stop.