Tag Archives: Bamboo

Making a Boot Rack with Bamboo (with my Brother)

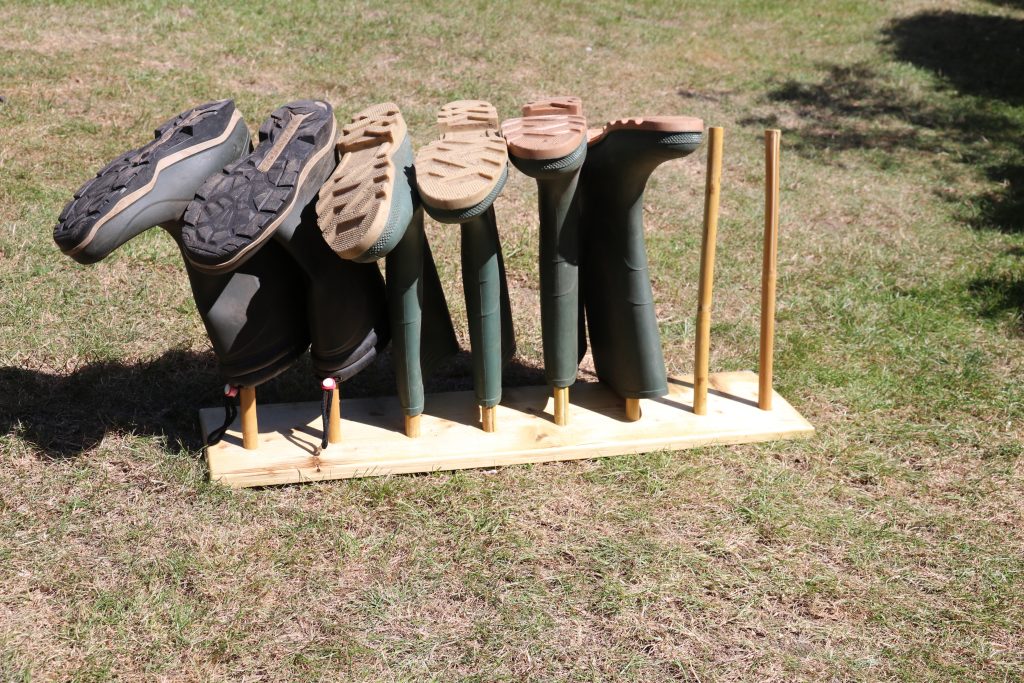
My family have been asking me to make a boot rack for a while. My Father wanted something made with the bamboo from the garden for his birthday. Hence: bamboo boot rack.

The credit for the idea must fall with my brother, although his concept was more of a lashed bamboo construction.

Bamboo Posts

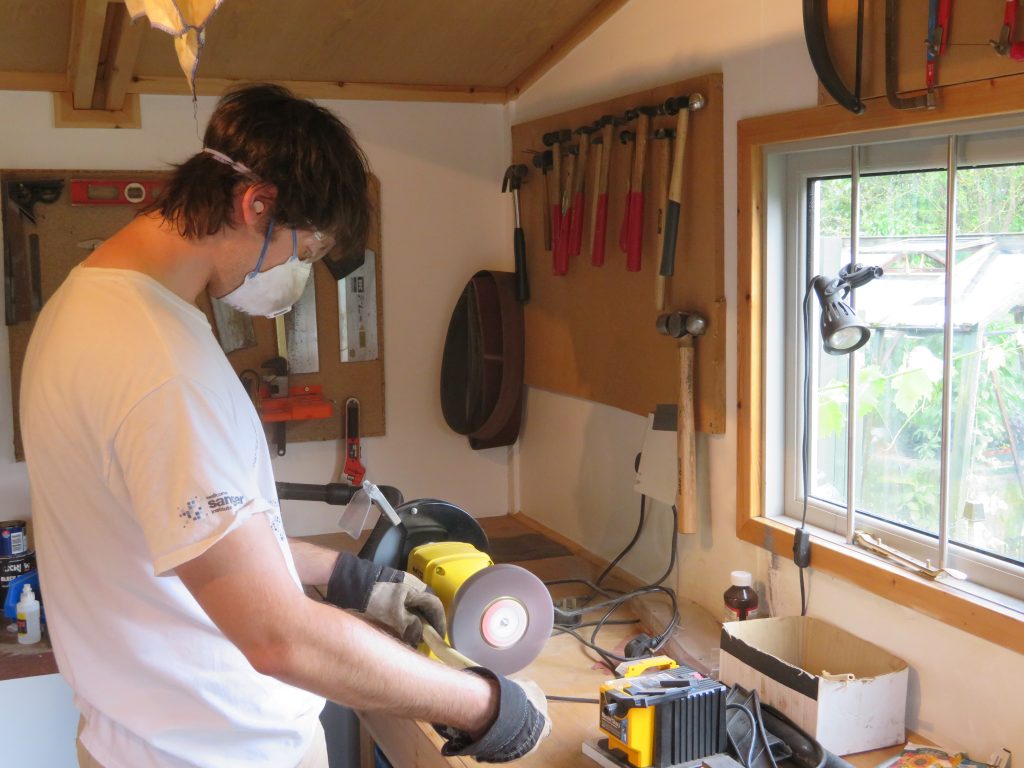
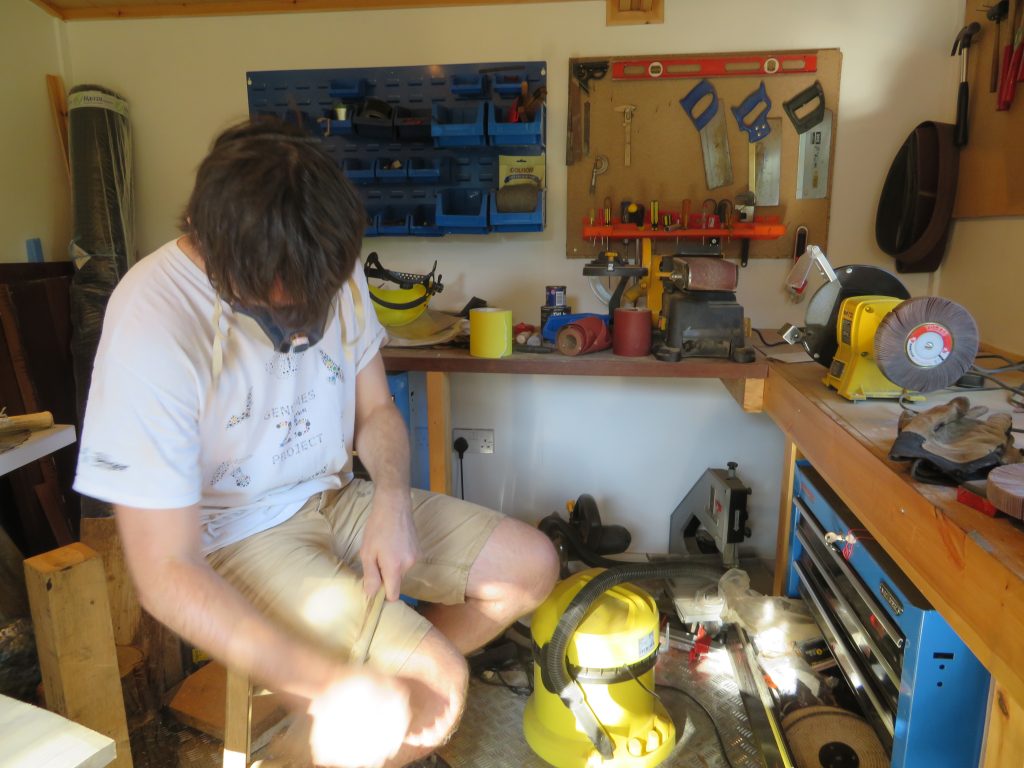
We started by measuring how long a section of bamboo was needed to fit in a boot and then searched for eight reasonably straight sections of bamboo with similar widths with a node at one end. The idea being that the node would give a solid end to go at the top. Unfortunately, when cutting across the nodes, only half of them ended up being solid. We then set about sanding down the bamboo sticks. We initially tried using a flap wheel on the polisher, but it was fairly uneven so we ended up just doing it by hand, going through 80, 120 and 240 grits of sandpaper.

The Base

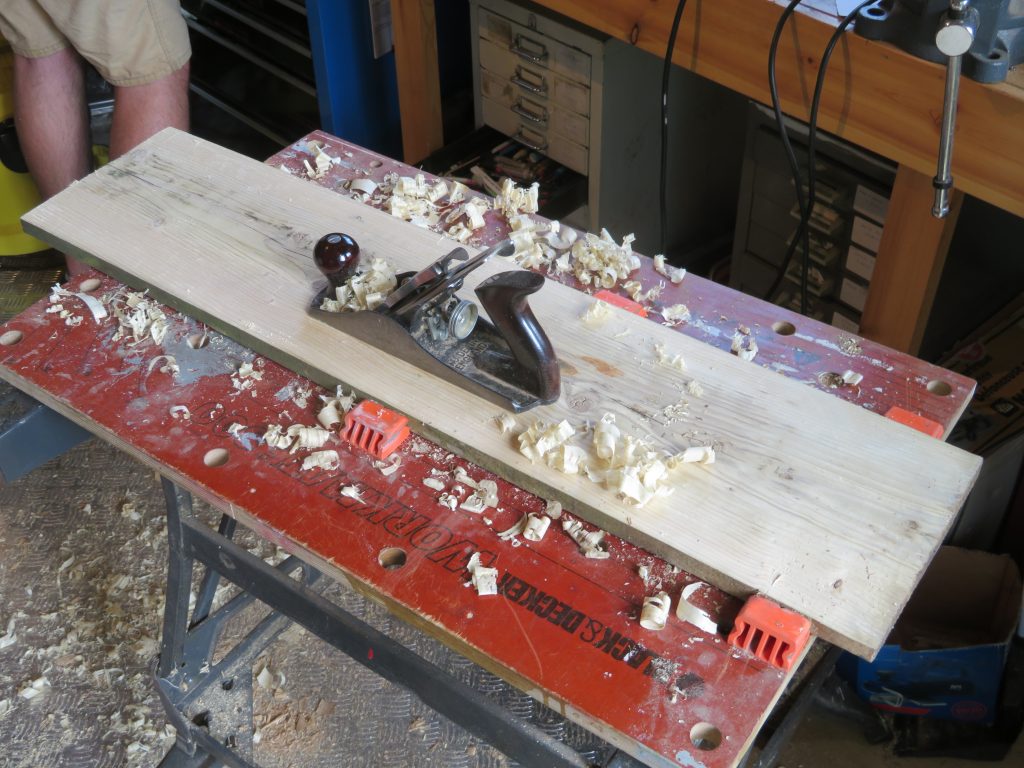
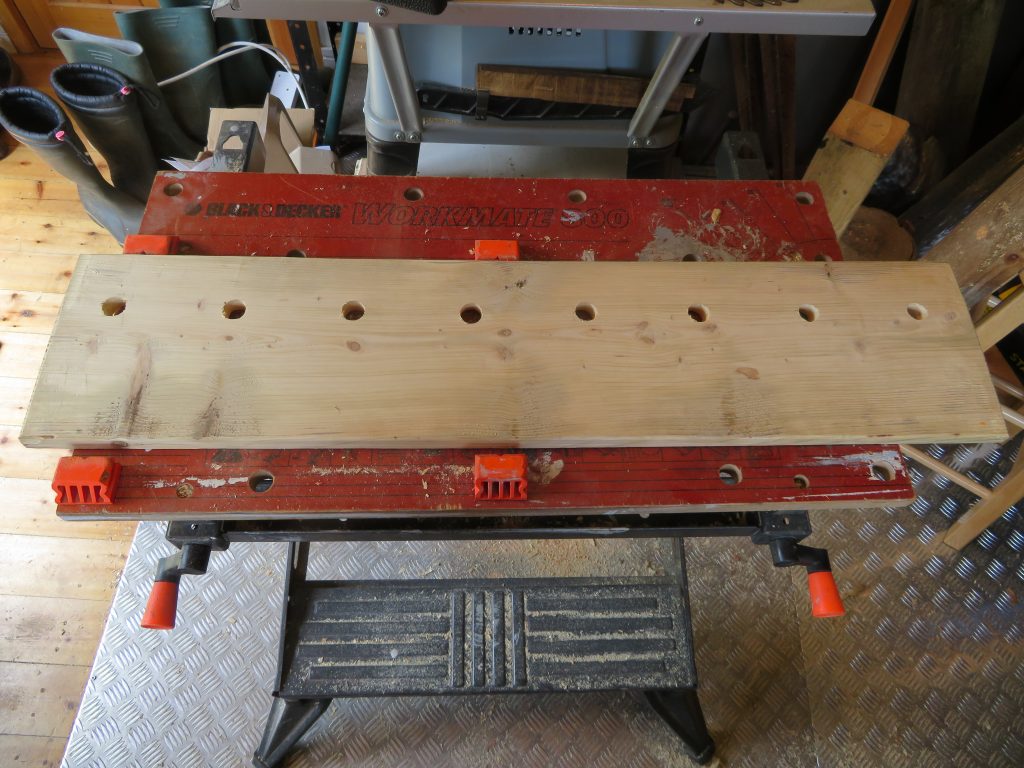
I found a rather weathered and warped old plank that was about the right size, and when I planed off a small section the wood inside seemed pretty good, so I set about planing it down to a clean flat board. I could have put a little more time into this as there were still some discoloured areas that show quite well once the finish was applied. After planing it, I rounded over the top edges with a router and sanded the board all over.
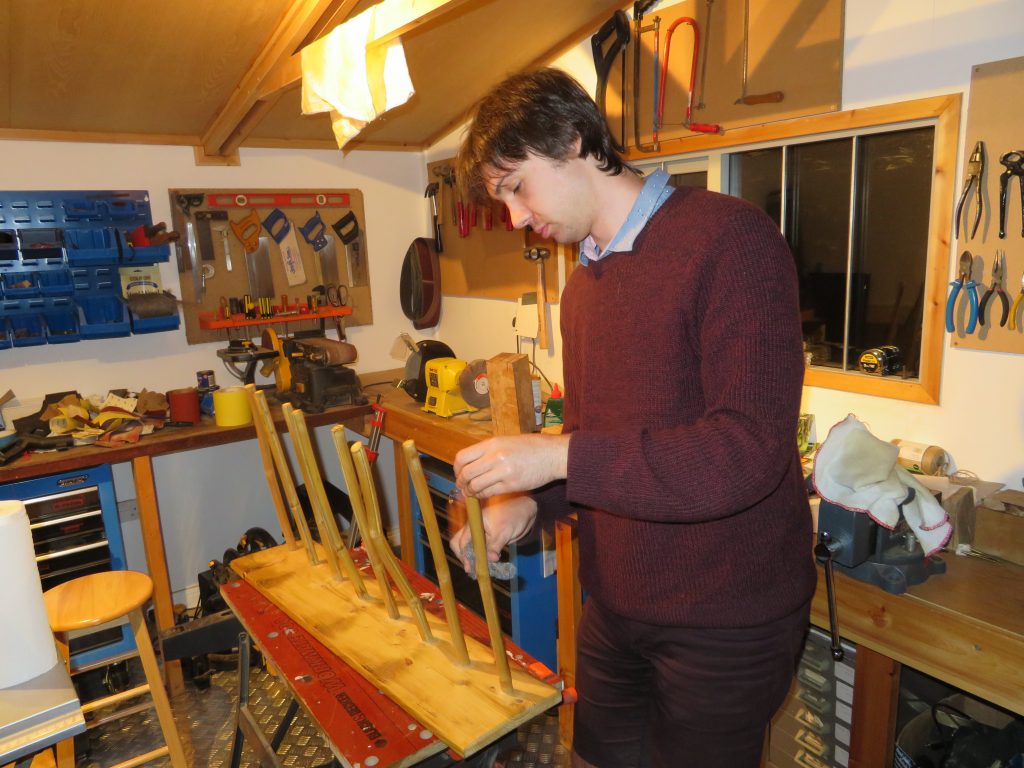
Assembly

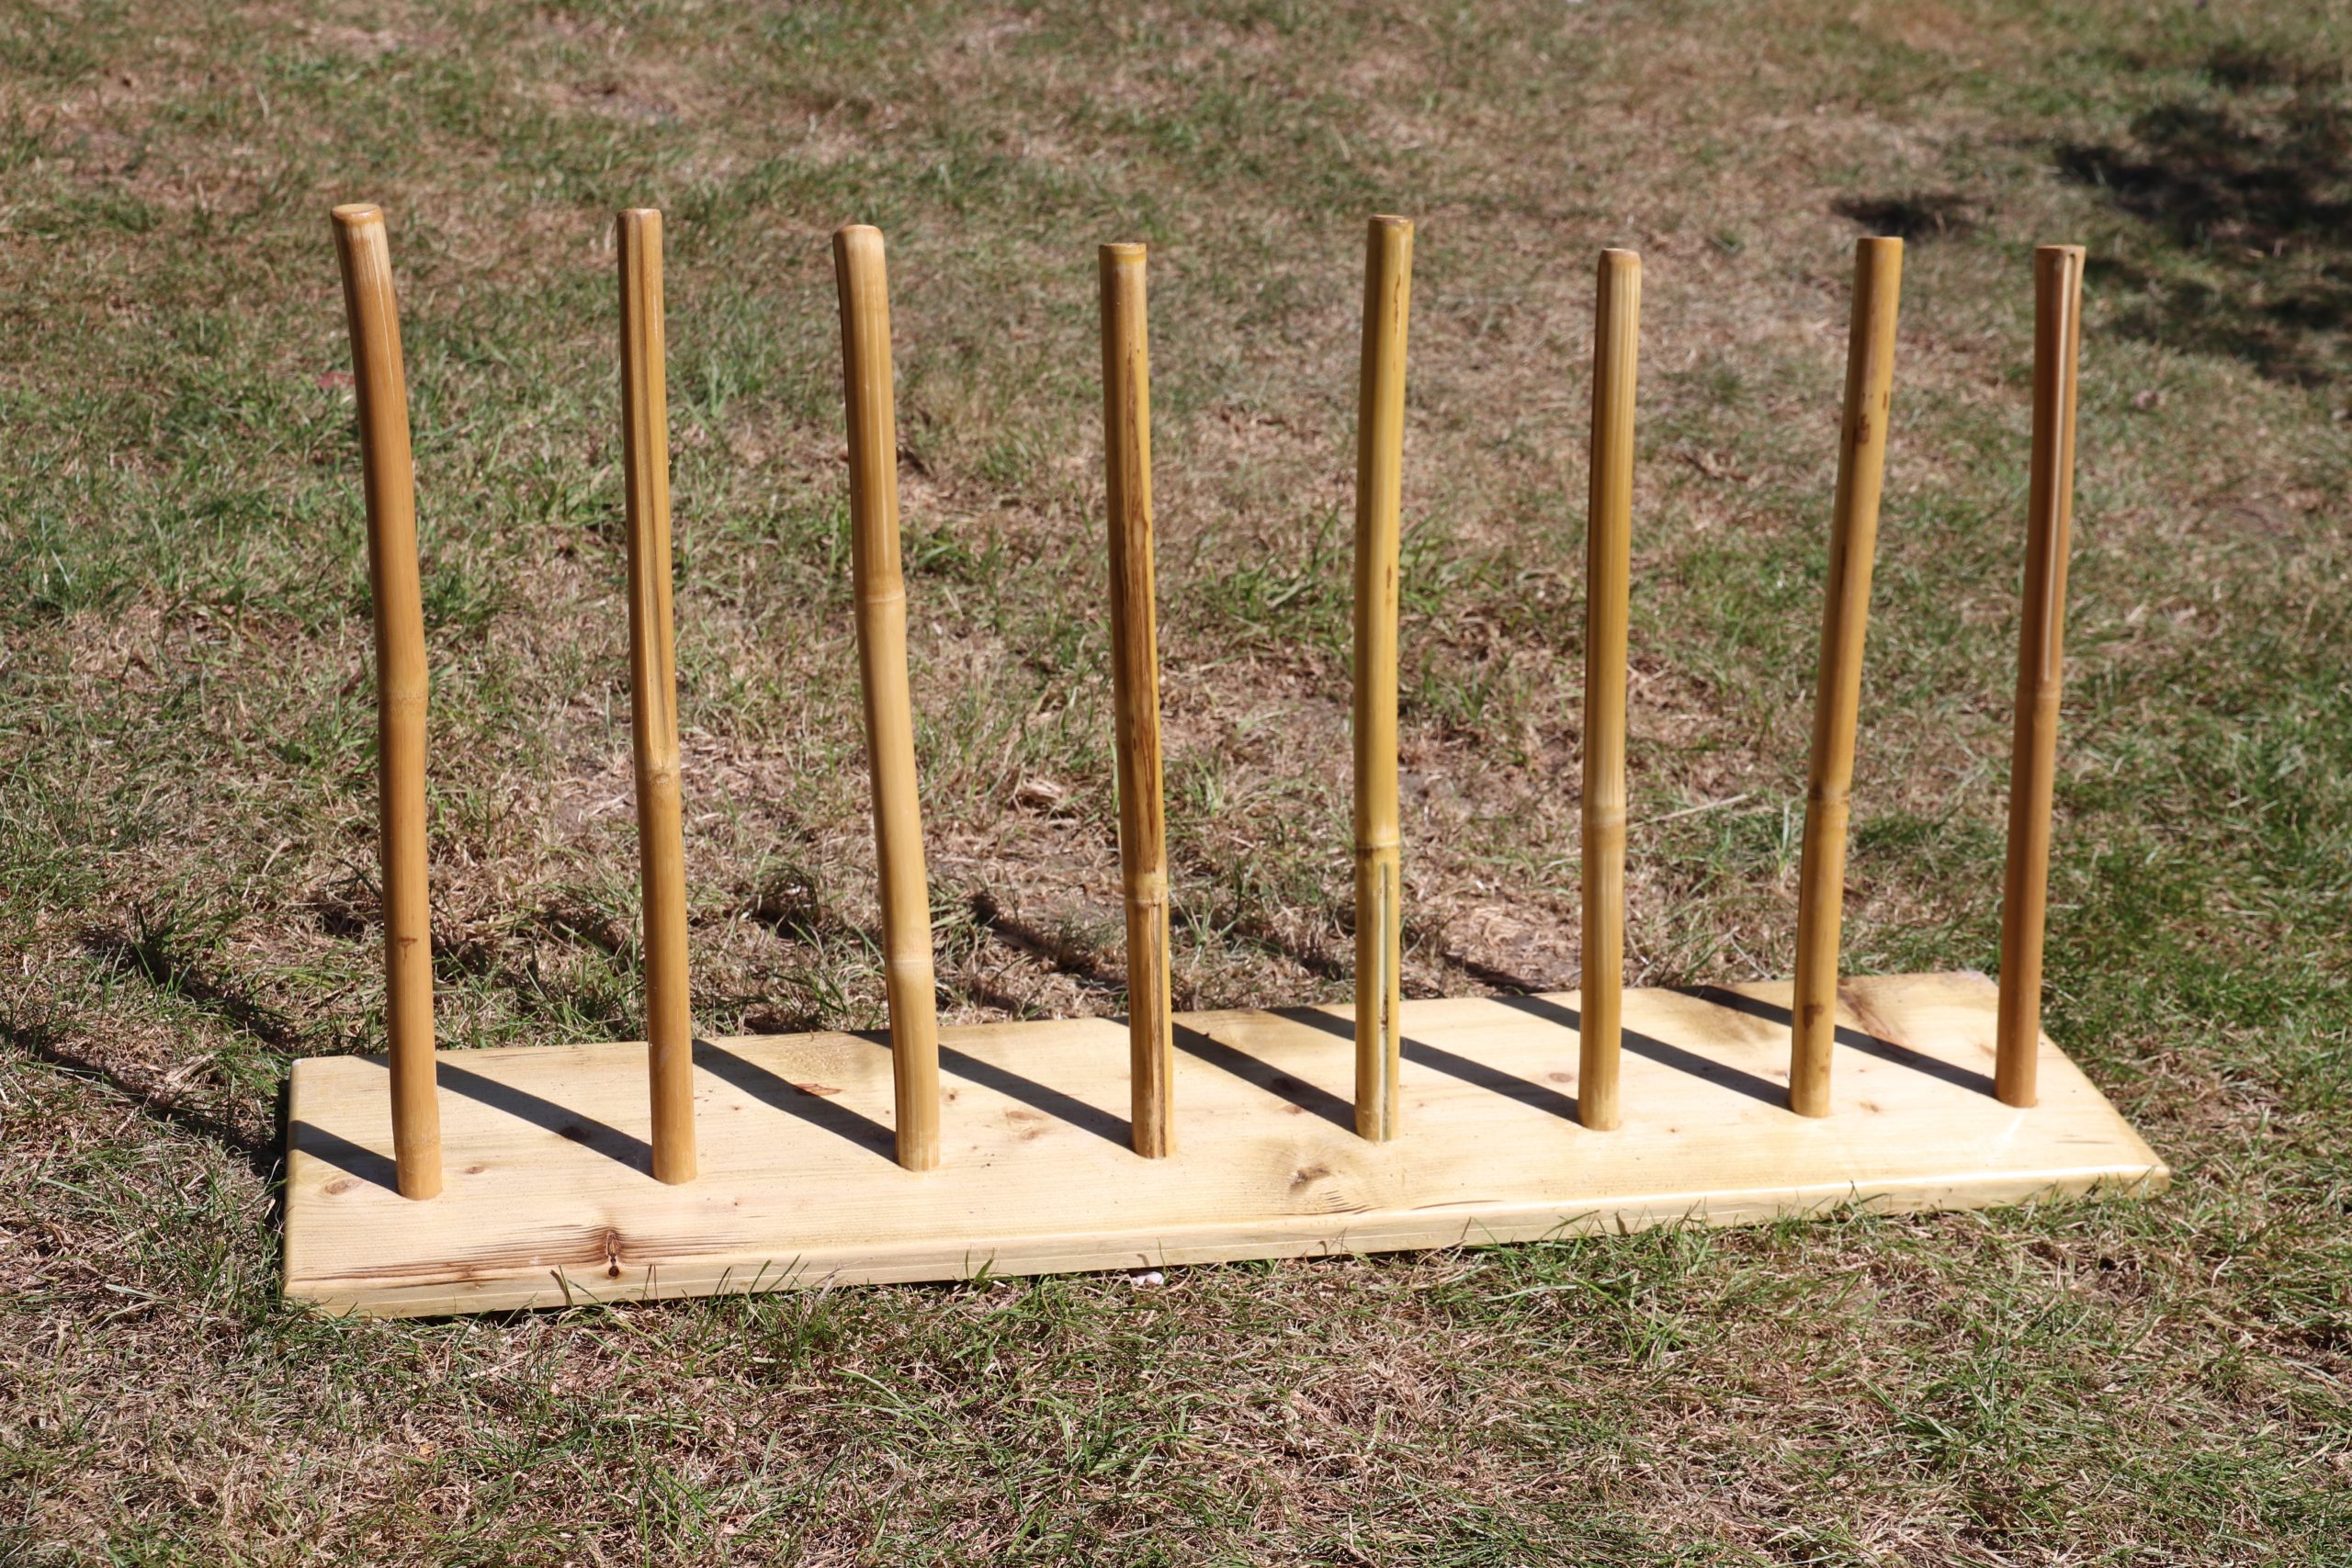
We decided to fit the bamboo posts into holes in the base. This is slightly tricky as all the bamboo posts are slightly different sizes do not have a circular cross section. We measured the diameters of each of the posts to work out what size drill bit to use for each, aiming slightly undersized so the holes can be expanded and the posts tapered to give a tight fit.

The posts also needed to be at an angle do the boots will sit correctly and the whole thing won’t tip over. unfortunately the holes need to be angled in a plane that my drill press will not do. We spent a fair while trying to set up an arrangement to drill all the holes at the same angle using the press but eventually gave up and used a hand drill using a wedge cut at the correct angle as a guide. We then worked filed out each hole with a round file and sanded a taper onto the end of each post with the belt sander until there was a good fit. The posts were then glued in with wood glue.

The twin of the plank used for the base making an appearance in the background

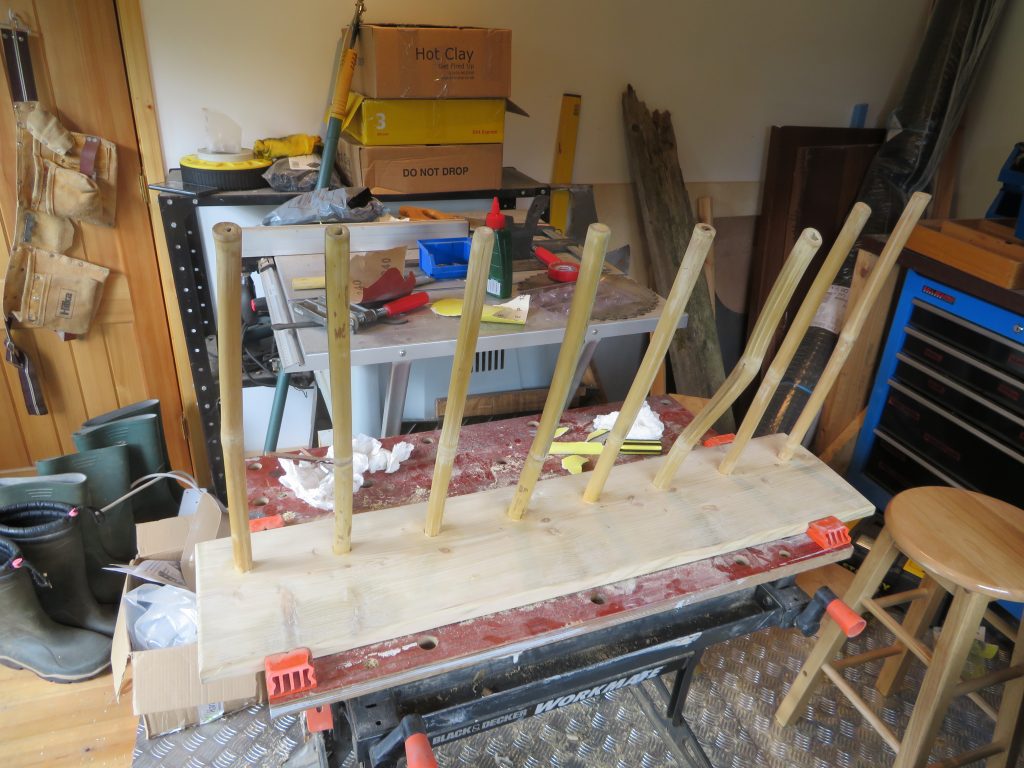
There were still some gaps around the base of the posts and holes at either end. We decided to use a mixture of wood filler and glue to fill the holes as plain wood filler was too dry and not sticky enough. This wasn’t a very good idea. Our concoction needed large amounts to completely plug the holes, especially the larger ones at the bottom and then took forever to dry.

Because of the deadline of our dad’s birthday we eventually gave up waiting for it to fully set and applied the finish, which was danish oil.

wellies in place

Making A Bamboo Notched Flute

This style of flute is among the oldest and most straightforward to make instruments. Flutes of this style are quite widespread with examples being the Quena from the Andes and the shakuhachi from Japan. While it is fairly easy to make I found it rather difficult to play even compared to regular flutes which are already fairly tricky. The flute works by sealing the hole with the area bellow your bottom lip and then blowing down over the notch to create the vibrations in the instrument. Covering the finger holes  then changes the note as with an ordinary flute or a recorder.

How I Made It 

To start the project I selected an appropriate length of bamboo. Bamboo is ideal for this sort of instrument as it is already hollow most of the way down, with solid parts only at the divisions between the sections, called nodes. Luckily we have some fairly large bamboo in our garden, which made sourcing a piece very straight forward. Although this bamboo has somewhat thinker walls than would be ideal. When I found a part with fairly large diameter and two sections spanning roughly 30cm I sawed through it just inside of each of the nodes leaving a tube that was open at each end and had a solid node in the middle. The next stage was to open up the node in the middle, which proved to be a reasonable amount of work. The only thing I has that was both thin and long enough was a length of threaded rod, which I used to ram down the bamboo it try and knock out the middle of the node. Once a hole had opened up I used double sided tape to attach sandpaper to the rod and used that to widen the hole and clean up the inside.

The next stage is working out where to place place the finger holes, to do this I used the flutomat calculator. I entered dimensions and then tried different scales until I had a set of holes that would fit nicely on the flute. Where the calculator says embouchure it is referring to the hole that you would blow across on an ordinary flute, for this design this is effectively the end of the flute. Now the flute needs to be cut down so that its overall length is the length given for the embouchure.

I then drilled the holes. Bamboo has a sort of groove running down each segment, with each one being on the opposite side to on adjacent segments, when drilling the holes I oriented the bamboo such that the two grooves were on the right and left sides rather than top and bottom. It is important to realize that the holes do not need to be all in a straight line down the middle of the flute. Moving them slightly over to either side will make it much more natural to hold so, once you have marked up where each hole needs to be try holding the flute and see where your fingers naturally want to go  (obviously only moving them side to side and not further up or down the flute). This is where you should place the holes. I first ran over where I was going to place each hole with a half round file so as to give a better surface to drill into. I then drilled a small pilot hole before expanding it to the full width. I then files over it again to give a slight dip around the hole for your fingers to fit in.

Then comes making the mouth piece. I shaped this using a round file. It needs to have a ‘U’ shape with a sharp edge at the bottom. There is quite a lot of variation of the exact shape with some being much shallower and others being deeper like the one I made. I would recommend searching about for different pictures and also experimenting a bit with how it sounds with different shapes. Although you will not be able to add material back once you have taken it off so if you have a shape that sounds good probably don’t take it any further.  

After this all that remains is to give it a nice surface finish, which I did by going over it with sandpaper, working up the grits until it has a shiny surface, which is relatively easy to achieve with bamboo. If you wan’t to go on to paint it you will probably have some difficulty as bamboo does not seem to take well to any paints that I tried, the surface being much too shiny and not absorbent at all. 

Now that you have your flute all that follows is trying to learn to play it, which may prove to be a bit of a struggle.