So, I finally got back to this one…
I think part 1 contains enough preamble (and you should probably read that part if you haven’t already) so lets just get right into it.
Clean up


To start with I needed to remove the old sound board and then clean up the whole instrument, removing all the old finish to make it ready to start putting back together.I used a thin knife and a chisel to remove the old sound board. I had hoped to be able to remove it in one piece but it did end up breaking. Additionally a small chip broke away from the body with the soundboard so I had to glue that back in. At the same time I also glued up the long crack that was in the body. Once these glue jobs were dry I set about sanding the whole surface of the body to remove the old finish. It would not be possible to remove all the finish on the carved head without removing detail, so I sanded on the high points and left the finish in the troughs and I figured it would end up adding deeper shadows when I applied the new finish anyway.
The Bow


I had two rebec bows without their horsehair, which I could use to work out how the hair had been attached, and then go on to repair one to use. Additionally one of the bows had split near the end so I started by gluing that together.
I worked out that the horsehair was held in the bow in a slot with a small piece of wood pressed in after to hold it in place. The other end of the bow had a groove with two hooks. I guessed that this was supposed to hook some expansion on the end of the horsehair.
I prepared the horse hair following instructions I found online: wrapping the hair with thread and then applying a drop of superglue to turn the tread wrapping rock solid. It took a bit of experimenting to find the correct place to put the second thread wrap to give the bow the correct tension when strung.
The bridge


I started by tracing out the shape of a bridge for second rebec onto some of the spare wood for the sound board. I sawed out the rough shape and then sawed at intervals into the space between the feet and cleared it out with a chisel. From there it was a matter of cleaning up the shape with needle files and sandpaper.
Small fittings


I needed to make a few additional pieces: the saddle, end button and top nut. For these parts I used a few ebony scraps I got from a local violin maker. I started by sawing a large block in two to make the saddle and top nut, from there this was all file work to get them into shape and then clean up with sandpaper to get them to a nice finish.
Finishing


Finally it comes to glue up and applying a finish. I just used standard wood glue on all the parts, there are fancier glues people use for violins but this seemed to work fine for me. After glue up I then went over everything again with progressively finer grades of sand paper to clean it up. For the finish I used Tru Oil, which is a gun stock finish which is also often used on musical instruments. I applied layers of that until I was satisfied with how it looked.
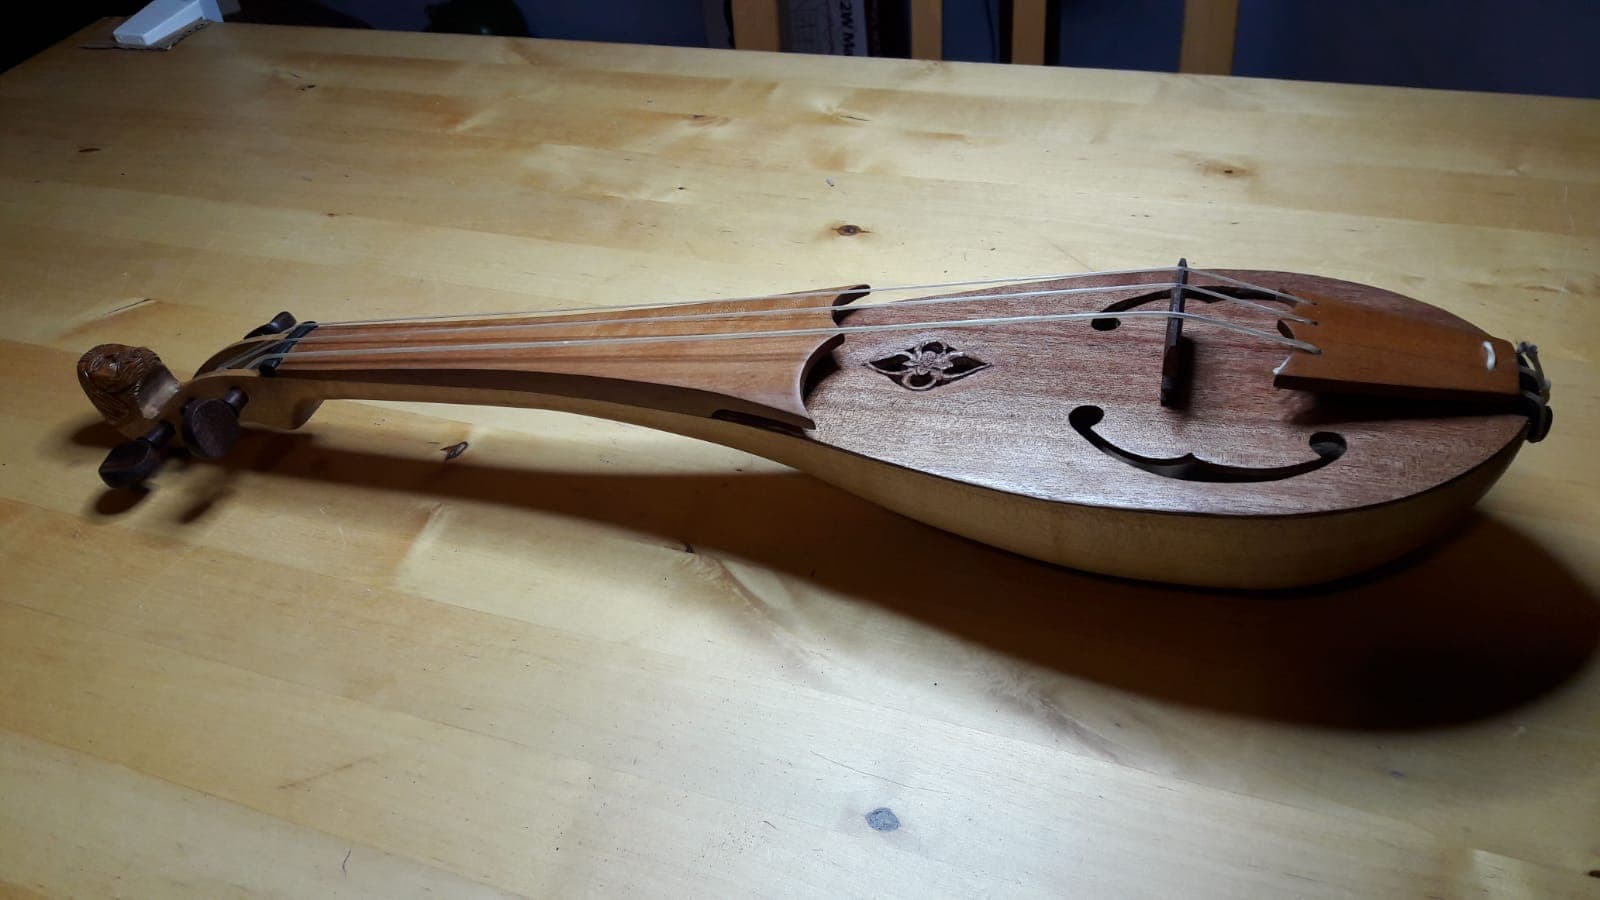
Out of a desire to get this finished before I went away from home again, I ended up deciding to just buy a new set of tuning pegs. So from here it was just a matter of stringing and tuning it and I was done! Hopefully I can update this at some point with someone who knows how to play violin having a go with it!


Nice rebec bro, how does it sound now it’s all fixed up
Oooo nice work!